landscape

4-Day Galaxy Skies Challenge

As part of my effort to light a fire under my butt to paint more often, I decided to participate in a 4-day galaxy skies painting challenge that I saw on SkillShare with artist Swathi Ganesha. Click here if you’d like to try a month of SkillShare for free.

Day 1: Monochrome

Day One was a monochrome painting, so just one color. I chose Phthalo Blue from Daniel Smith Watercolor and went to town making a basic diagonal edge to the Milky Way. There was something very freeing about doing all I could with just one color. Click here to watch a time lapse of this painting. A couple of tiny mountains at the bottom added some depth to this one.

I painted the stars using white gouache paint and a splatter method where I tap two brushes together. This is a method I used a lot when I was doing galaxy-dyed shoes and baby carriers a few years ago. I would use acrylic paint and it gave the most awesome and varied sizes of stars, but I had very little control over where they landed, and sometimes I’d end up with an odd-shaped glob of paint that wasn’t round. Also, paint ended up everywhere! Those reasons are why I originally used masking fluid and white pens to make stars for my watercolor paintings, but after using this splatter method again, and with gouache this time, I think it’s going to help me level-up on my galaxy stars.

I have an awesome set of gouache paints from Himi that my sister gave me for Christmas.

Day 2: Duo Chrome

Day Two was Duo Chrome, so two colors. I opted for Phthalo Blue again and added Quinacridone Rose. I haven’t been using very high quality paper for these; just a 4x6 pad that I got from Michael’s. Today the paper bowed down the middle when it was saturated and the paint was pooling along the bottom. I managed to dab the puddle with a tissue in an attempt to salvage it, but I almost tore it up and threw it away. Once I added stars, the painting redeemed itself.

I added a few happy trees and I was happy with how it ended up. Click here to watch the time lapse of this one.

Day 3: Three-Color Seascape

Day three; a three-color seascape, proved to be the most challenging. I have a palette of watercolor from Culture Hustle that I tried to use for all three colors. The lavender and turquoise just weren’t pigmented enough. So attempt one went into the trash. With attempt number two, I tried to use Phthalo Green straight for the aqua shade along the bottom, but it was way too green and I scrapped that one too.

For attempt number three, I premixed that aqua color using Phthalo Green and Cobalt Blue. Then I used Imperial Purple and the bright pink called Runaway from the Culture Hustle Watercolour Palette. I absolutely hated how the colors were coming together when they were wet. But once it dried and I added stars, it was worth saving. After adding some more definition in the ocean at the bottom, it avoided the recycling bin.

Click here to watch a time lapse of this painting.

Day 4: Dreamy Landscape

Day four was fun because I could use pretty much anything I wanted. I chose to limit myself to only four colors: Indigo, Moonglow (that purple shade), Phthalo Green, and Cobalt Blue. These colors are more muted than the ones I used before, but I still love how they turned out. This time the paper was cooperative and I was happy with how the paint behaved. I tried to be more patient and waited longer after applying paint to see how it spread and I think it paid off.

I opted for a few more happy trees and I love how it turned out. Click here to watch the time lapse of this one being painted.

I had such a fun time with this challenge, maybe I’ll do it again next week but with all different colors. Maybe if I can paint enough of these little paintings, I can have them for sale.

Milky Way Over Sundial Peak & Winter Blues

Sundial Peak Watercolor

There’s something to be said about noticing when you’re in a funk and acknowledging that it’s okay and just rolling with it. I first noticed it with my kids. We’re all cranky and mornings are tougher than usual. I told them both that it’s normal for this time of year. The holidays are over, it’s cold, it’s dark, and spring and summer feel a million years away. It feels like there’s nothing to look forward to like we had in November and December. My kids and I have deemed it the Winter Blues.

*Not to be confused with actual depression. Seasonal depression is real too, and I dunno, maybe I get a touch of it this time of year?

Somehow, acknowledging that we’re all feeling it made it suck a little less. We are hanging in there and simultaneously enjoying the snow we’re getting and also anxious for spring to get here.

Last week I realized I hadn’t done any painting since the end of December. And before that, I hadn’t painted since August. I had no motivation or inspiration; which sucks because I live in such a beautiful state!

Imposter Syndrome loves these moments and chimes in with little tidbits that sound like, “you aren’t skilled enough to paint that,” “don’t even start painting that, you won’t finish it,” and the ever popular, “paint that and everyone will learn how awful/fake/not-a-real-artist you are.” She’s a sneaky bitch.

Last summer, during one of my weekend shows, a guy asked how I made the stars on my Milky Way paintings. I told him that I was trying out different techniques as I went; some I used masking fluid, some I used white ink, some I used both. He commented that on a couple, it was hard to tell if I was going for stars or snow. I took no offense because his comment came from a place of pure analysis, but it did make me think. A few of my paintings are small, 8x10 or smaller. So when I’m using masking fluid, it can be more challenging to paint smaller stars if; especially if I’m just flinging masking fluid off of a brush.

One such painting was this one of Sundial Peak and Lake Blanche. This is a local mountain to me and one I am hoping to hike or backpack to this summer. The first time I painted it, I used masking fluid to make the stars. I splattered it on the page and then erased it off when the painting was done. It acts similarly to rubber cement. This original is maybe 8x10 inches, and I didn’t have the patience to make smaller stars by using a tiny brush and doing one at a time. You can watch a time lapse video of how I made this painting here.

I wanted to repaint this mountain on larger paper and see what I could come up with. This version has a bit more snow, more sky, and less of Lake Blanche. I skipped using masking fluid this time and made all of the stars with white pens.

This one took me more than a few days. I would paint a small part and step away for a day or two before coming back to it. I wasn’t thrilled with the mountains, feeling like they lacked some depth. Then I wasn’t happy with parts of the sky; the blues not inky enough. I wasn’t sure how I wanted to show the little bit of Lake Blanche that shows at the bottom. The reference images I had showed dark green spots where it was iced over.

I overthought this one a lot. Heck, I still am. I already know a few spots I want to change in Photoshop; like that stripe of snow down the middle that I didn’t intend to go almost perfectly vertical, LOL. I’ll scan this one and make it into prints and stickers…. after I’m happy with it.

Here you can watch the time lapse of how it was made.

Here’s a list of the supplies I used; including links. Some are affiliate links.

…and the desk lamp that also holds my iPhone so I can make these cool videos.

What should I paint next?? I really want to paint locations that are outside of Utah, but I don’t love painting the same views of the most popular spots that everyone takes photos of. I kinda want to continue with public lands and National Parks too. Decisions…

Hand Painted Wood Ornaments

A while back I bought a box of little wood slices with the intention of painting them all with little landscapes and giving them as gifts. If I could get enough of them painted before Black Friday, I was considering selling them to hopefully make a few bucks before Christmas. It was mid November before I painted any, so yeah, I think I’ll have to buy another box and try again for next year.

Instead of stressing over getting a bunch of ornaments painted and shipped before Black Friday, I prepped all of them with Watercolor Ground and had the kids who joined us for Thanksgiving paint them. Ages ranged from 4 to 18 and they went to town making some really awesome ornaments. I brought Tombow markers, some inexpensive acrylic paint, and a set of iridescent watercolor that was on sale. I was so proud that they all had fun and spent a good amount of time painting their ornaments on Thanksgiving. It was a great activity for them to all do together that wasn’t a video game.

Watercolor Ground is a painting medium that can be painted onto porous surfaces to allow them to be painted with watercolor or gouache paint. I applied two coats to each of the wood slices and it allowed the wood to behave a little like watercolor paper. It’s not nearly as absorbant and you do get some bleeding or weirdness from the grain of the wood, but it’s overall a much easier surface to paint on than if I’d just painted on raw wood.

Of course I had to paint one wood piece to see how it would turn out and made this little painting of Half Dome from Yosemite National Park. I LOVED how it turned out. The medium doesn’t behave exactly like watercolor paper, but it’s close enough to make for some fun little paintings. On this one I used a combination of watercolor, gouache, and water-based brush pens. I made a TikTok video showing this process that you can see here.

Painted Wood Ornaments

I had so much fun with that first ornament that I had to make another one… or a couple more.

Joshua Tree Nat'l Park Painted Ornament

This time I tried for an epic sunset at Joshua Tree National Park. With the sunset I tried harder to get more of the look of a watercolor wash. The paint doesn’t blend quite as well as it does on paper, but I was happy with what I was able to achieve. Then I used gouache and brush pens for the trees and foreground. What a fun and unique park to explore! Here’s is the TikTok video I made of the process.

Hand-painted Ornament Green Parrots

The next one I did was a Christmas gift for my son’s 2nd grade teacher. She has two parrots and my son had the genius idea to paint her beautiful birds onto one of these ornaments. He sent her an email asking which breeds they are (Blue Fronted Amazon and Solomon Island Eclectus) and she sent him a few photos. I was more than happy to paint them onto the little piece of wood and he wrote his name on the back. You can view the TikTok video here.

Babylon Arch Painted Ornament

The next ornament I made for my sister of Babylon Arch. She and I hiked to this beautiful arch in southern Utah last year while we were both on a women’s retreat. It’s such a magical place with beautiful views of the Virgin River and gorgeous Navajo sandstone. For this ornament I used gouache for the whole thing. It’s been fun to re-remember how to use gouache, get the right consistency, and how to layer to get the affect I want. Here you can view the TikTok video.

Coyote Gulch Ornament

For the last ornament I made this year, I made this scene from Coyote Gulch for my friend Michelle. She and I, along with another rad woman, backpacked to Coyote Gulch this past spring. I wrote a long blog post about it earlier this year. The third night of our trip, we camped under this alcove and it was such an epic camping spot. Here’s the TikTok showing this ornament’s progress.

Making these ornaments has been such a joy this fall that I'm planning to order more wood slices and then spend the spring and summer next year painting a stock of them that I will sell online and locally. I am hoping to get into some local arts and crafts fairs and festivals next year selling prints and stickers, so maybe I can sell some of these ornaments there too.

What are some epic locations you’d like to see painted on an ornament?


Follow me on TikTok!

As a middle-aged lady, AKA: member of the Oregon Trail Generation, I avoided TikTok as much as I avoided Twitter… which was a lot. But this spring a friend convinced me that TikTok could be a potentially awesome funnel for my business, so I begrudgingly downloaded it. I’m still learning how to upload videos at different lengths and how to find music that fits, all while trying to figure out how to create interesting content. But I’m starting to feel more and more comfortable with it.

My new Canvas Lamp has TOTALLY helped with this. You can read about it here.

One thing I do know, TikTok is a HUGE time suck. I will flip through a few videos and suddenly two hours have passed. I’ll go all day without looking at TikTok and see 50+ notifications that my sister or my husband has shared videos with me. #enablers

I plan to keep the content art-related as much as possible. I did post a video last week of me making peach jam, so there will be randoms non-art here and there. Although some may argue that making jam IS an art.

I have gone back and forth many times on whether to share about my taekwondo training and black belt journey. But since my black belt test is in two weeks, I feel like if I was going to document that journey, I should have started six months ago. Oh well. If I ever decide to get a 2nd Dan in taekwondo, maybe I will document THAT journey. Practicing martial arts is a whole other world when you don’t start as a kid.

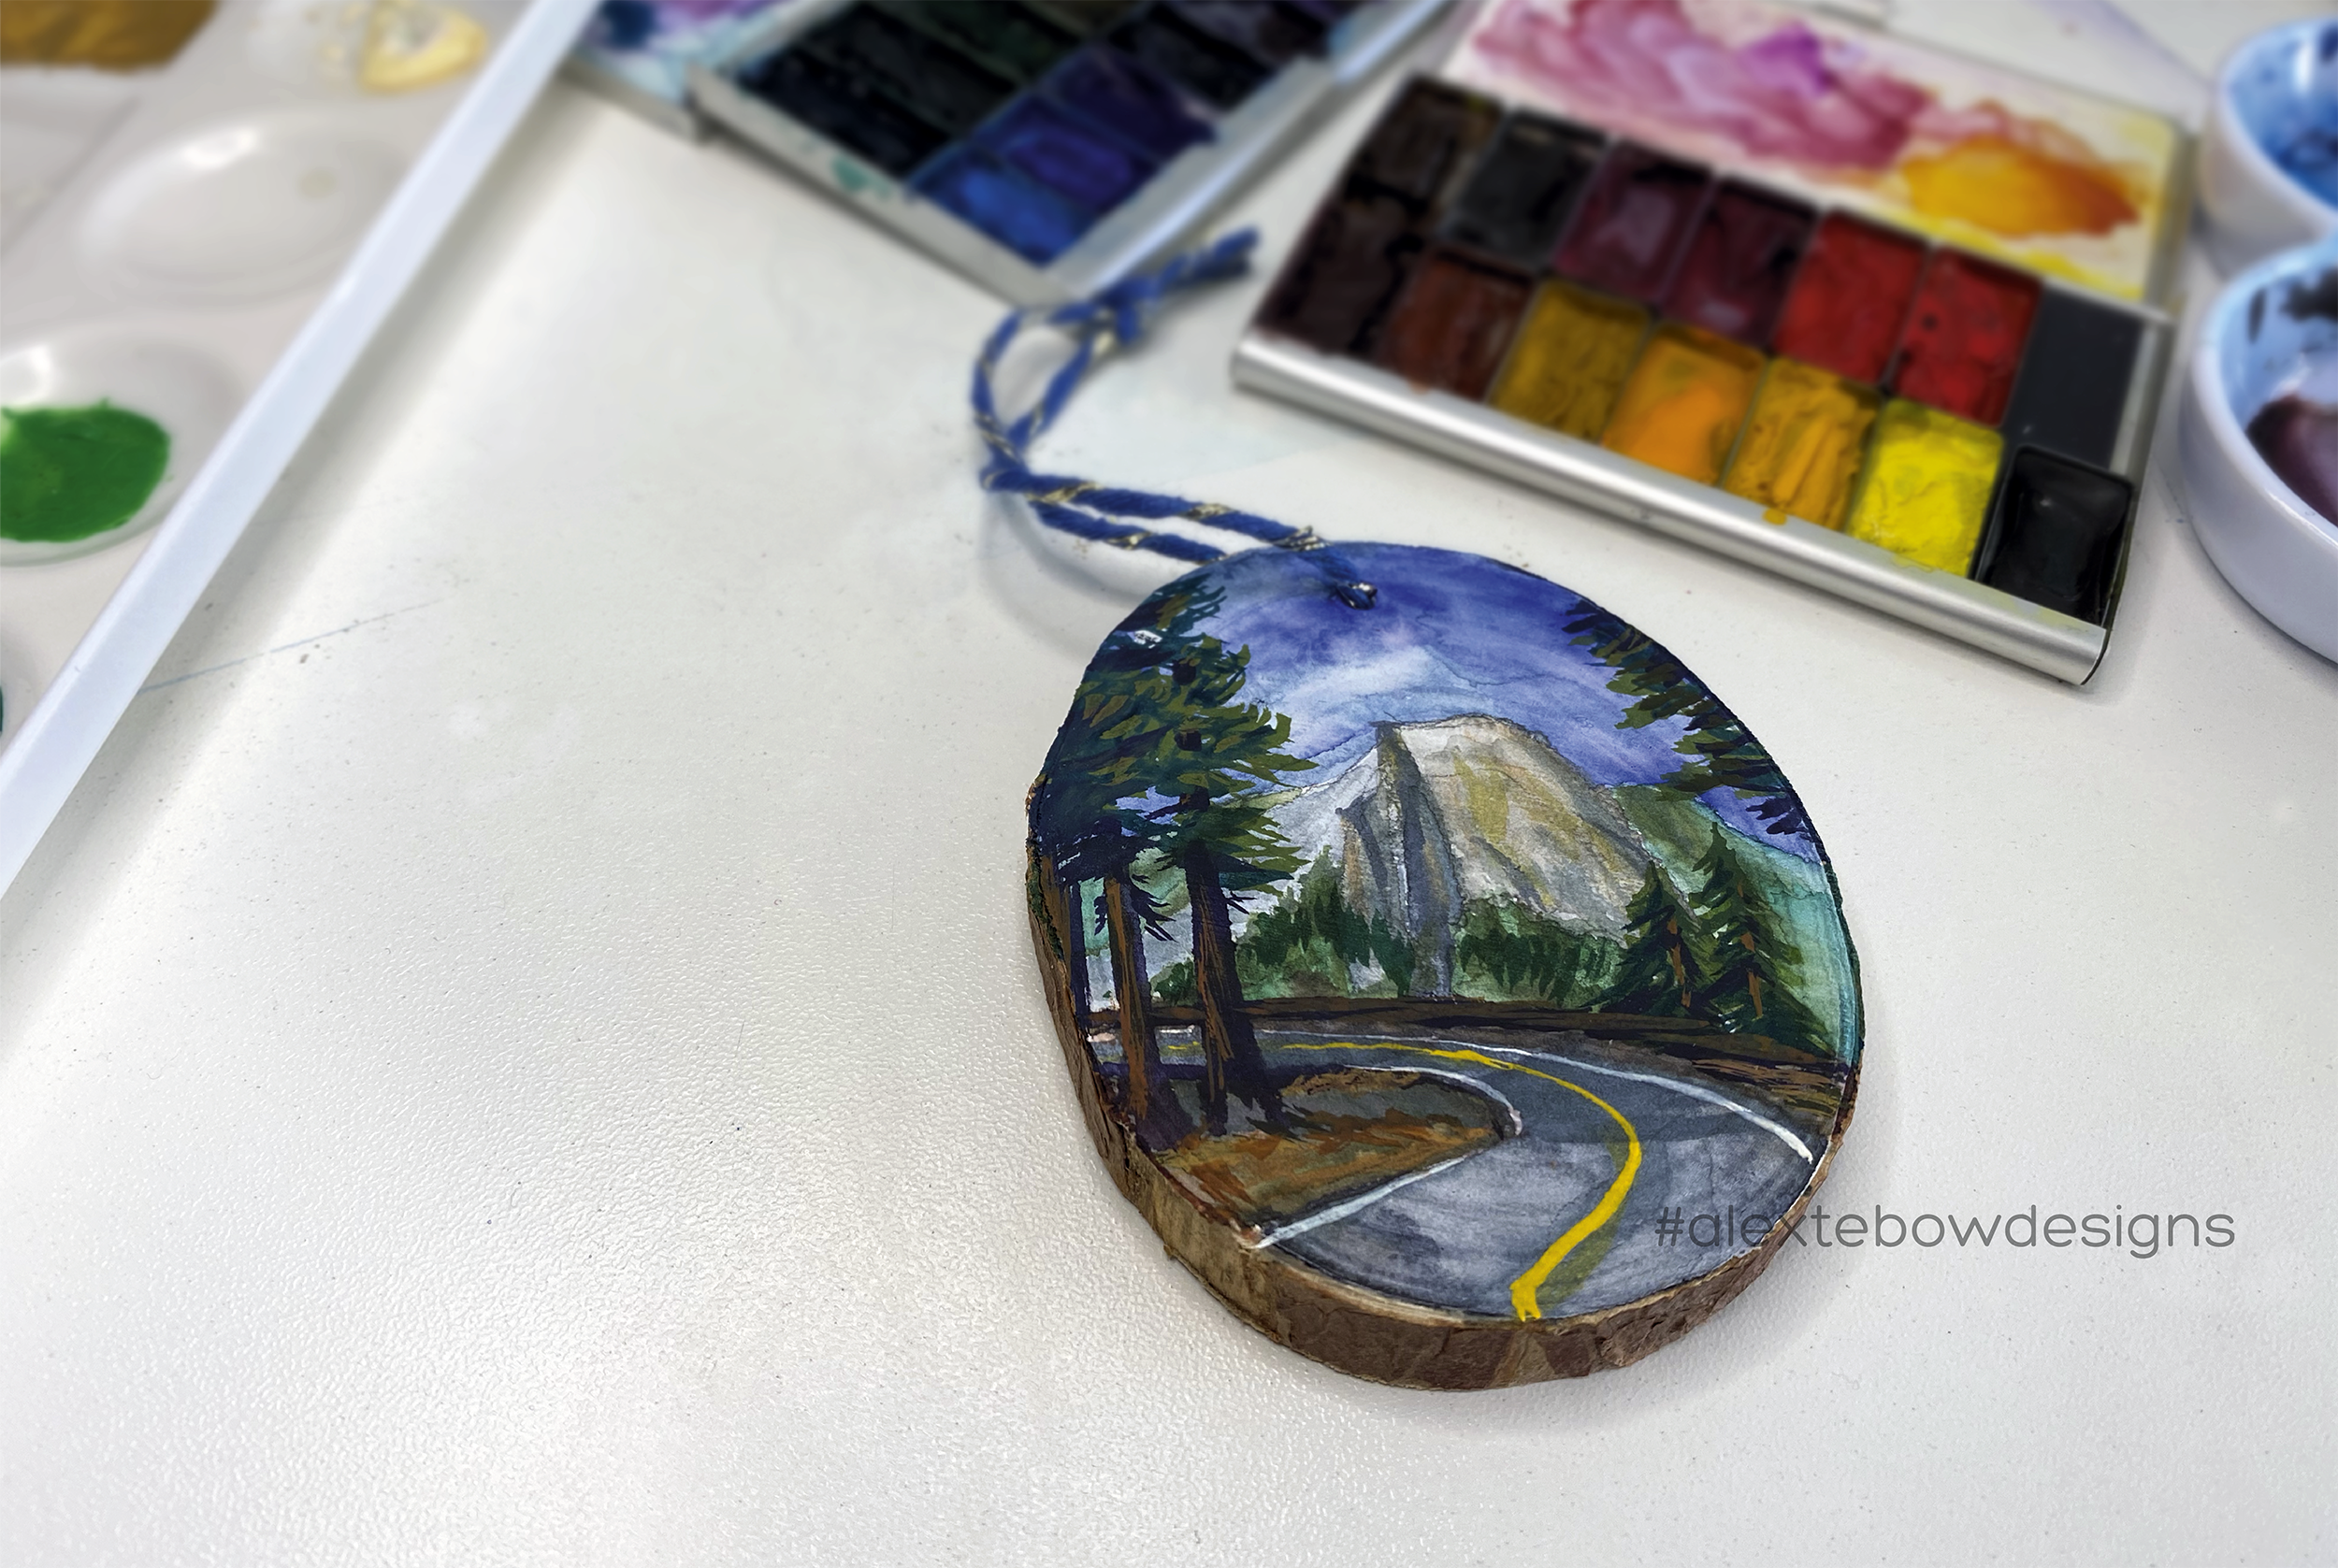
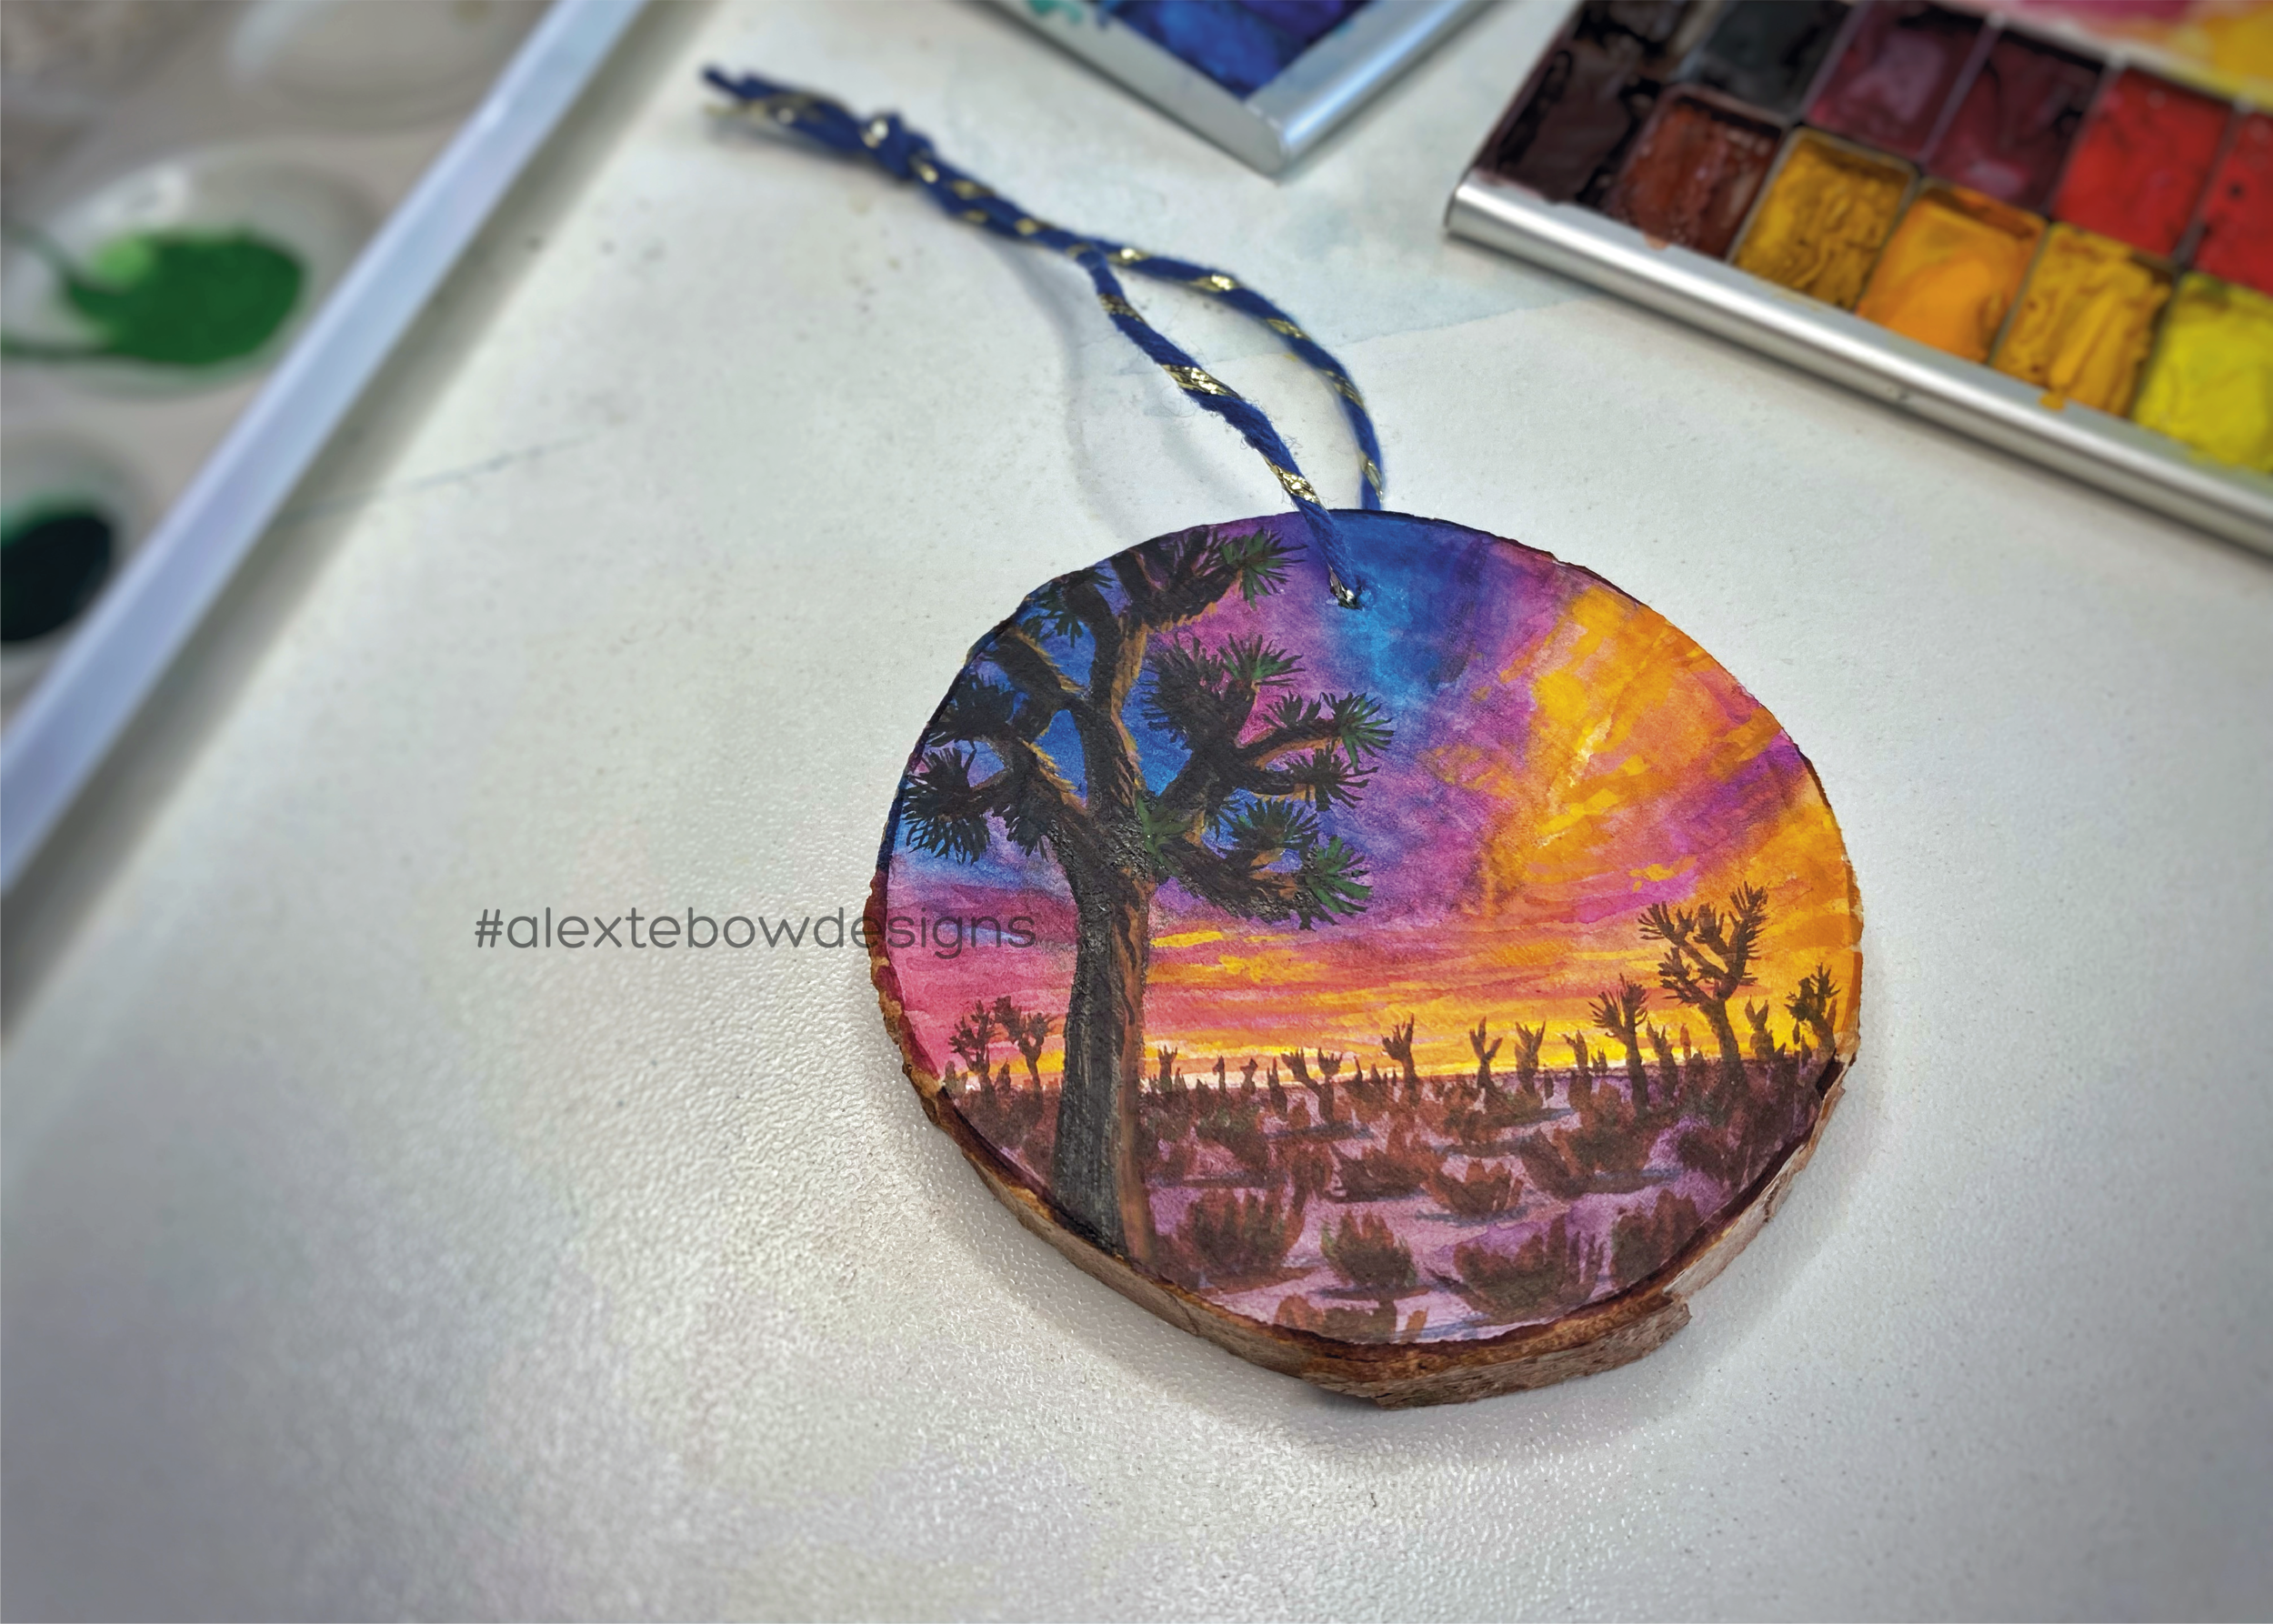
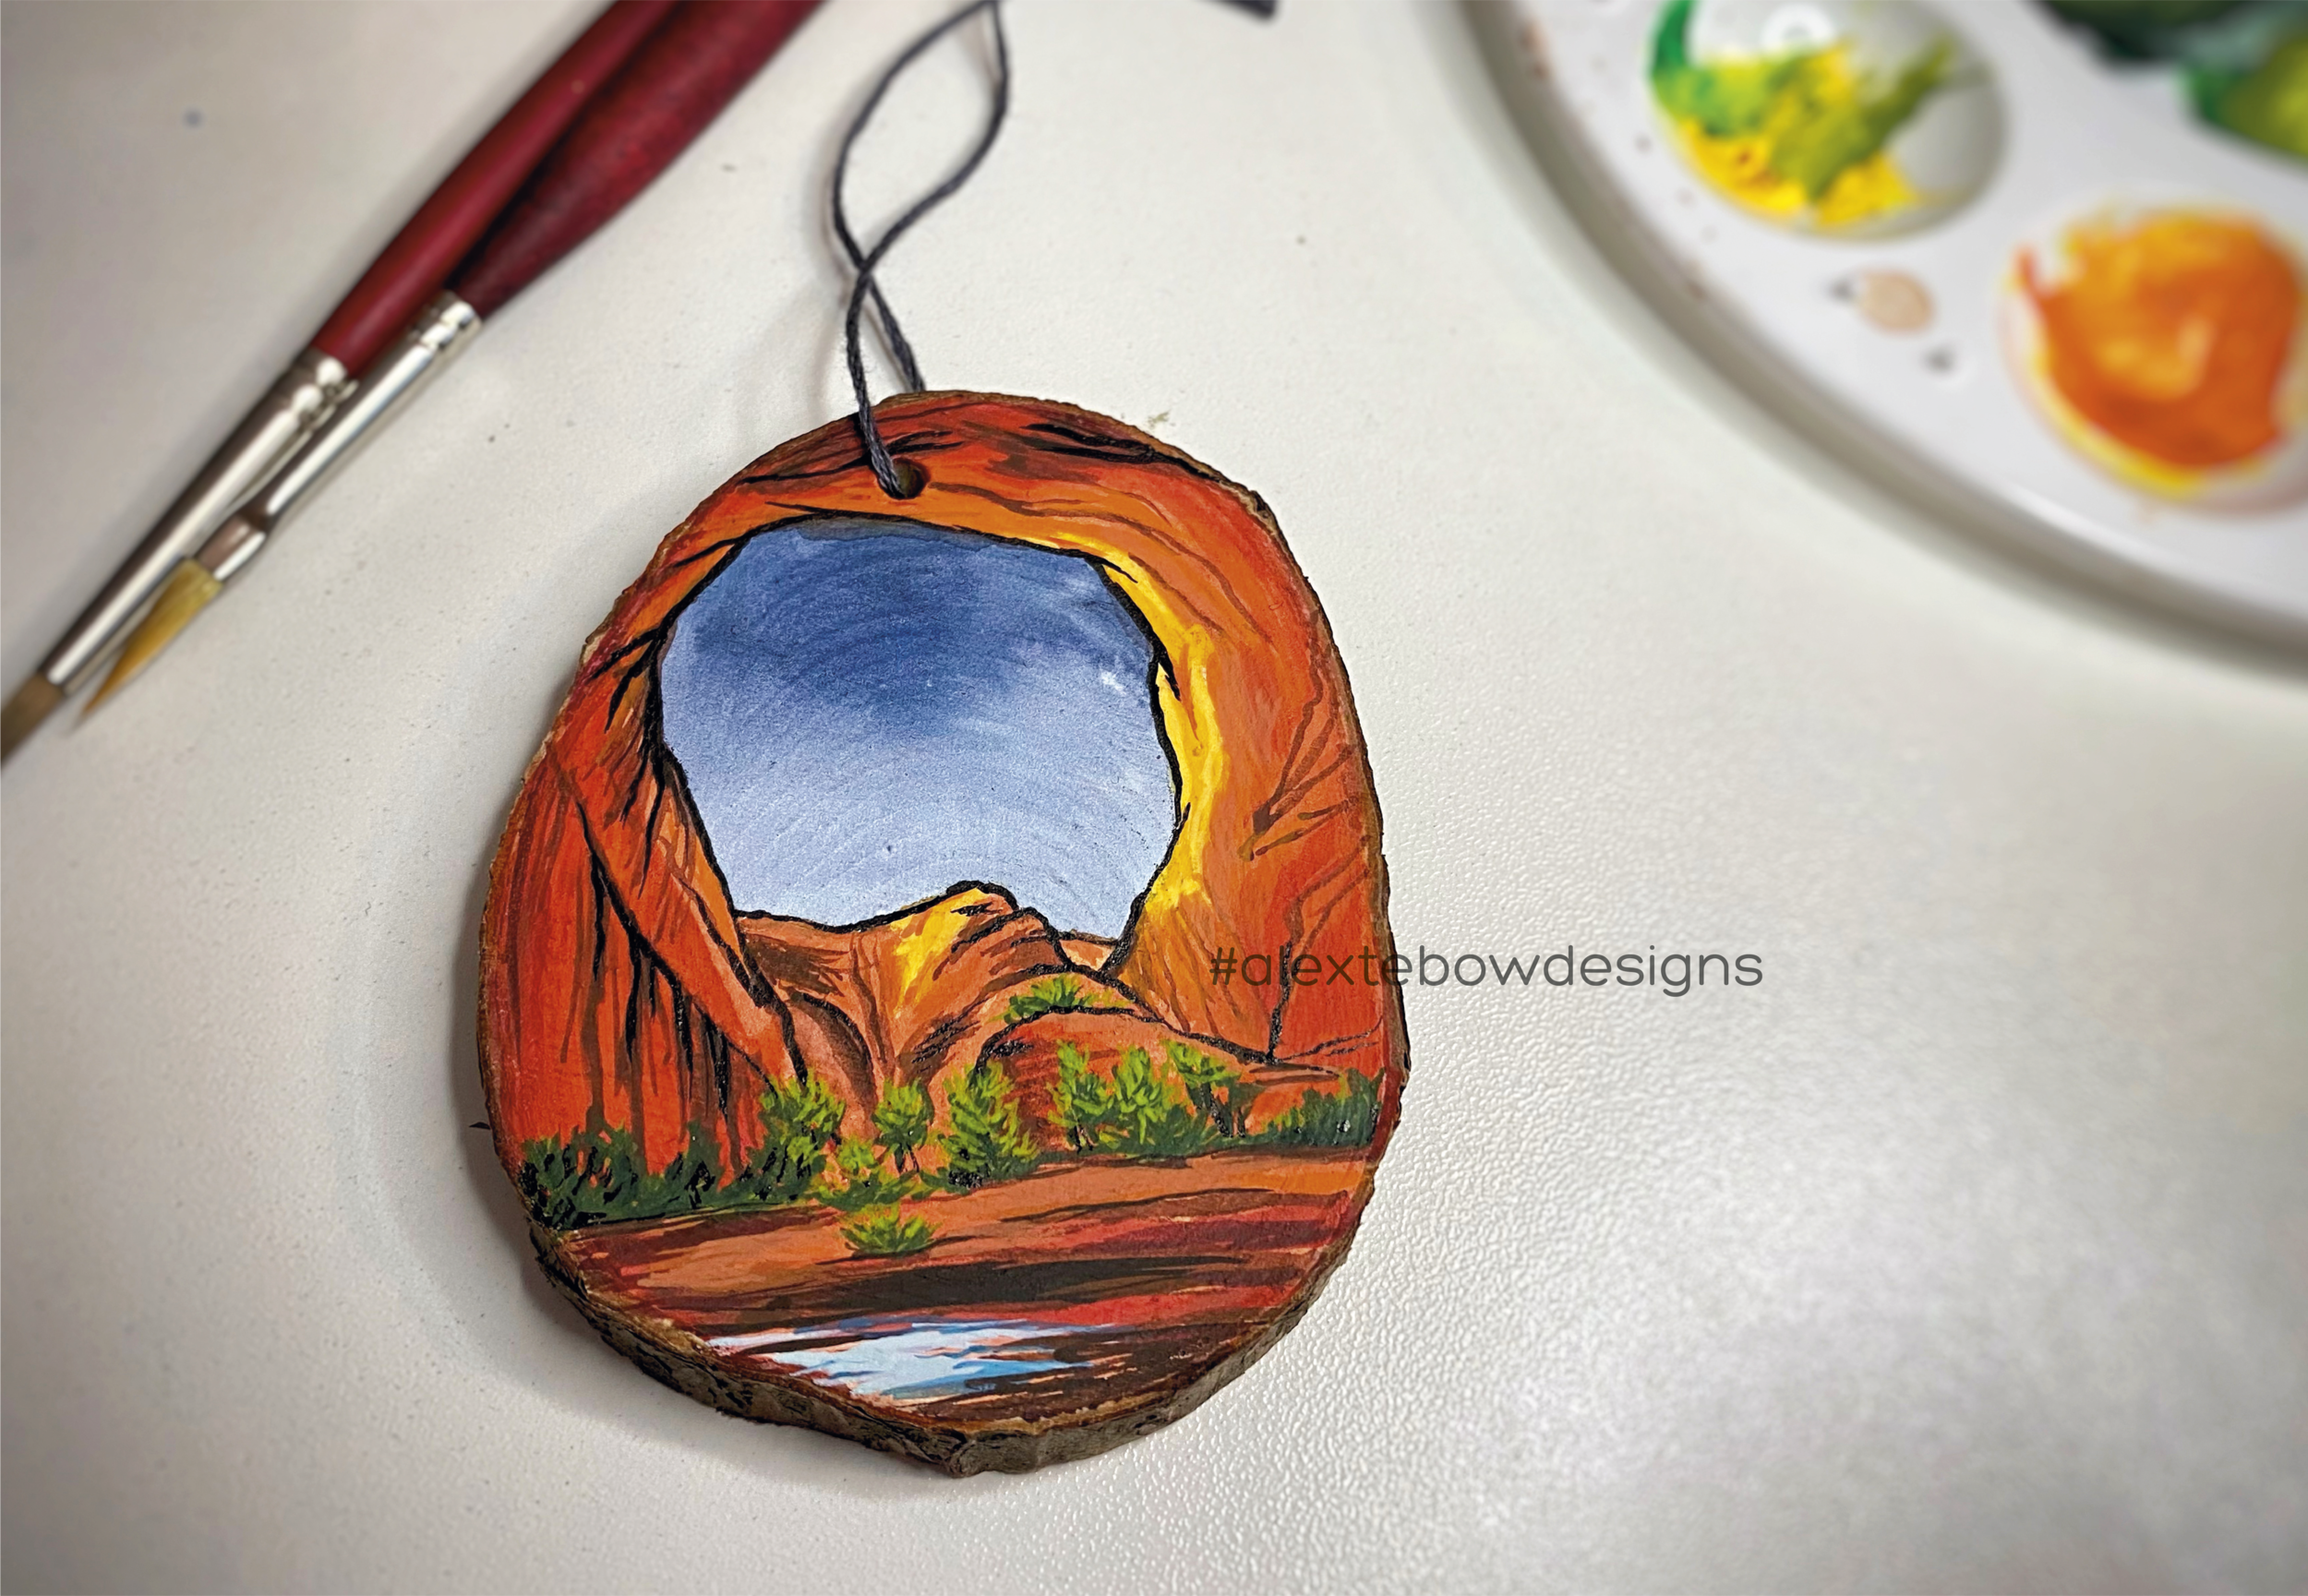
Any requests on art content?? Any techniques you’d like to see?? I do a lot of landscape watercolor and wet-on-wet painting. I am considering diving back into oil painting, so maybe I’ll take some videos there too.

Hike it Baby 30 - April 2021

Hike it Baby 30 is here! What is this, you ask? It’s a challenge to get outside with your family every day for 30 days during the month of April. Hike it Baby is a nationwide nonprofit that aims to support families with young children to get outside and explore; no matter what that outdoor exploration looks like. Every April and September, they host a 30-day challenge and fundraiser that encourages and supports families getting outside every day for 30 days. Families who join and make a donation get to join a Facebook group where everyone shares their adventures and supports one another. They are also entered into drawings to win prizes from sponsors and everyone who joins the challenge gets a sticker that is unique to that challenge. Adventures can be in your neighborhood, backyard, local park, beach, lake, paved trail, or in the woods or mountains.

It’s been my privilege to get to design the stickers for these fundraisers since late 2017. Last September, I created a sticker that embraced the uniqueness of spring 2020 by showing a city park rather than a remote wilderness. For this April’s challenge, I continued that theme with a city fishing pond. The hammock and fishing pond was where my family spent a lot of our outside time in 2020, so it was special for me to create it in watercolor.

Hike it Baby 30 April Sticker

In addition to the sticker, Hike it Baby had me create a Spring Workbook for participants to use during the challenge. We grabbed some of the activity sheets that I created in the past and added a few new ones along with a spiffy, spring cover. I really love how it turned out.

Hike it Baby 30 Spring Workbook

30 flowers to color for 30 days.

Hike it Baby 30 Spring Workbook

Lastly, we almost always have a t-shirt campaign to go with each HiB30 and this time is no different. I was asked to make our sticker artwork into a t-shirt design that coordinated with previous t-shirt designs and there is a campaign with Bonfire for t-shirts, tote bags, and mugs. Check it out!

I cannot wait to see what we can create for the next Hike it Baby 30 challenge this coming September.