daniel smith watercolor

Lone Peak in Watercolor

I have wanted to do a larger painting of Lone Peak for quite a while. It’s the biggest and most prominent mountain that I see from the part of the Salt Lake Valley where I live. I periodically post images of my view on Instagram. You can see the vast differences in weather, light, and colors.

I did a little painting of Lone Peak at last year’s Art in the Barn, as it was viewed from the spot at Draper City Park where my booth was. When looking for photos of Lone Peak, there are many that are taken from the cirque; which is the little valley just below the summit on the east side of the mountain. When people are hiking to the summit, that’s the route that’s taken. I haven’t made it to the summit yet, so I didn’t want to post a photo of that view.

Lone Peak in Watercolor

The cross country team my kids run with does weekly trail runs from different trails throughout the south Salt Lake Valley and one park in particular, Steep Mountain Park, has one of my favorite views of Lone Peak. So that’s the view I went with.

I usually have a plan in my head on how I will do any of my paintings… whether it’s a starry sky and what colors it will feature, or a clear day with clouds. With this one, I literally had NO idea what I wanted to do with the sky. I started with a basic blue sky wash and then went in with some toilet paper to lift out some clouds. The AC was on in my house and my wash was drying really fast, so that plan kinda went out the window.

Once I had that first wash done and dry, I decided to come back to it after finishing what I wanted to do with the mountain.

I thoroughly loved playing with the purples and teals in the shadows and figuring out what kind of colors made the sheet granite cliffs that adore the top of Lone Peak. My youngest son watched me for a little while and I was SO PROUD when he noticed the differences in the warmer, yellow-y greens of trees in the sun and the cool, bluer greens of trees in the shade.

When the mountain was all done, I did another wash of my sky blue to make it all darker and then I busted out my Himi gouache paints to figure out some clouds.

My first pass was an attempt to do wispy clouds and I ditched that idea pretty quickly. I don’t have enough experience with gouache to try and make it wispy like I could do with oil paints.

Instead I focused on making them fluffy and tried to give them some dimension and scale. I really like how they turned out.

And then the washi tape I was using to hold the paper down tore off a little bit of the sky!! I was so mad! At least that is easily fixed after I scan the painting and open it in Photoshop.

I am working on a way to have this painting done as a trucker hat for the running club my kids are on and eventually, I will have this available as a giclee print. So stay tuned.

Supplies: (a few are affiliate links)

You can watch a time lapse video of the process here:

4-Day Galaxy Skies Challenge

As part of my effort to light a fire under my butt to paint more often, I decided to participate in a 4-day galaxy skies painting challenge that I saw on SkillShare with artist Swathi Ganesha. Click here if you’d like to try a month of SkillShare for free.

Day 1: Monochrome

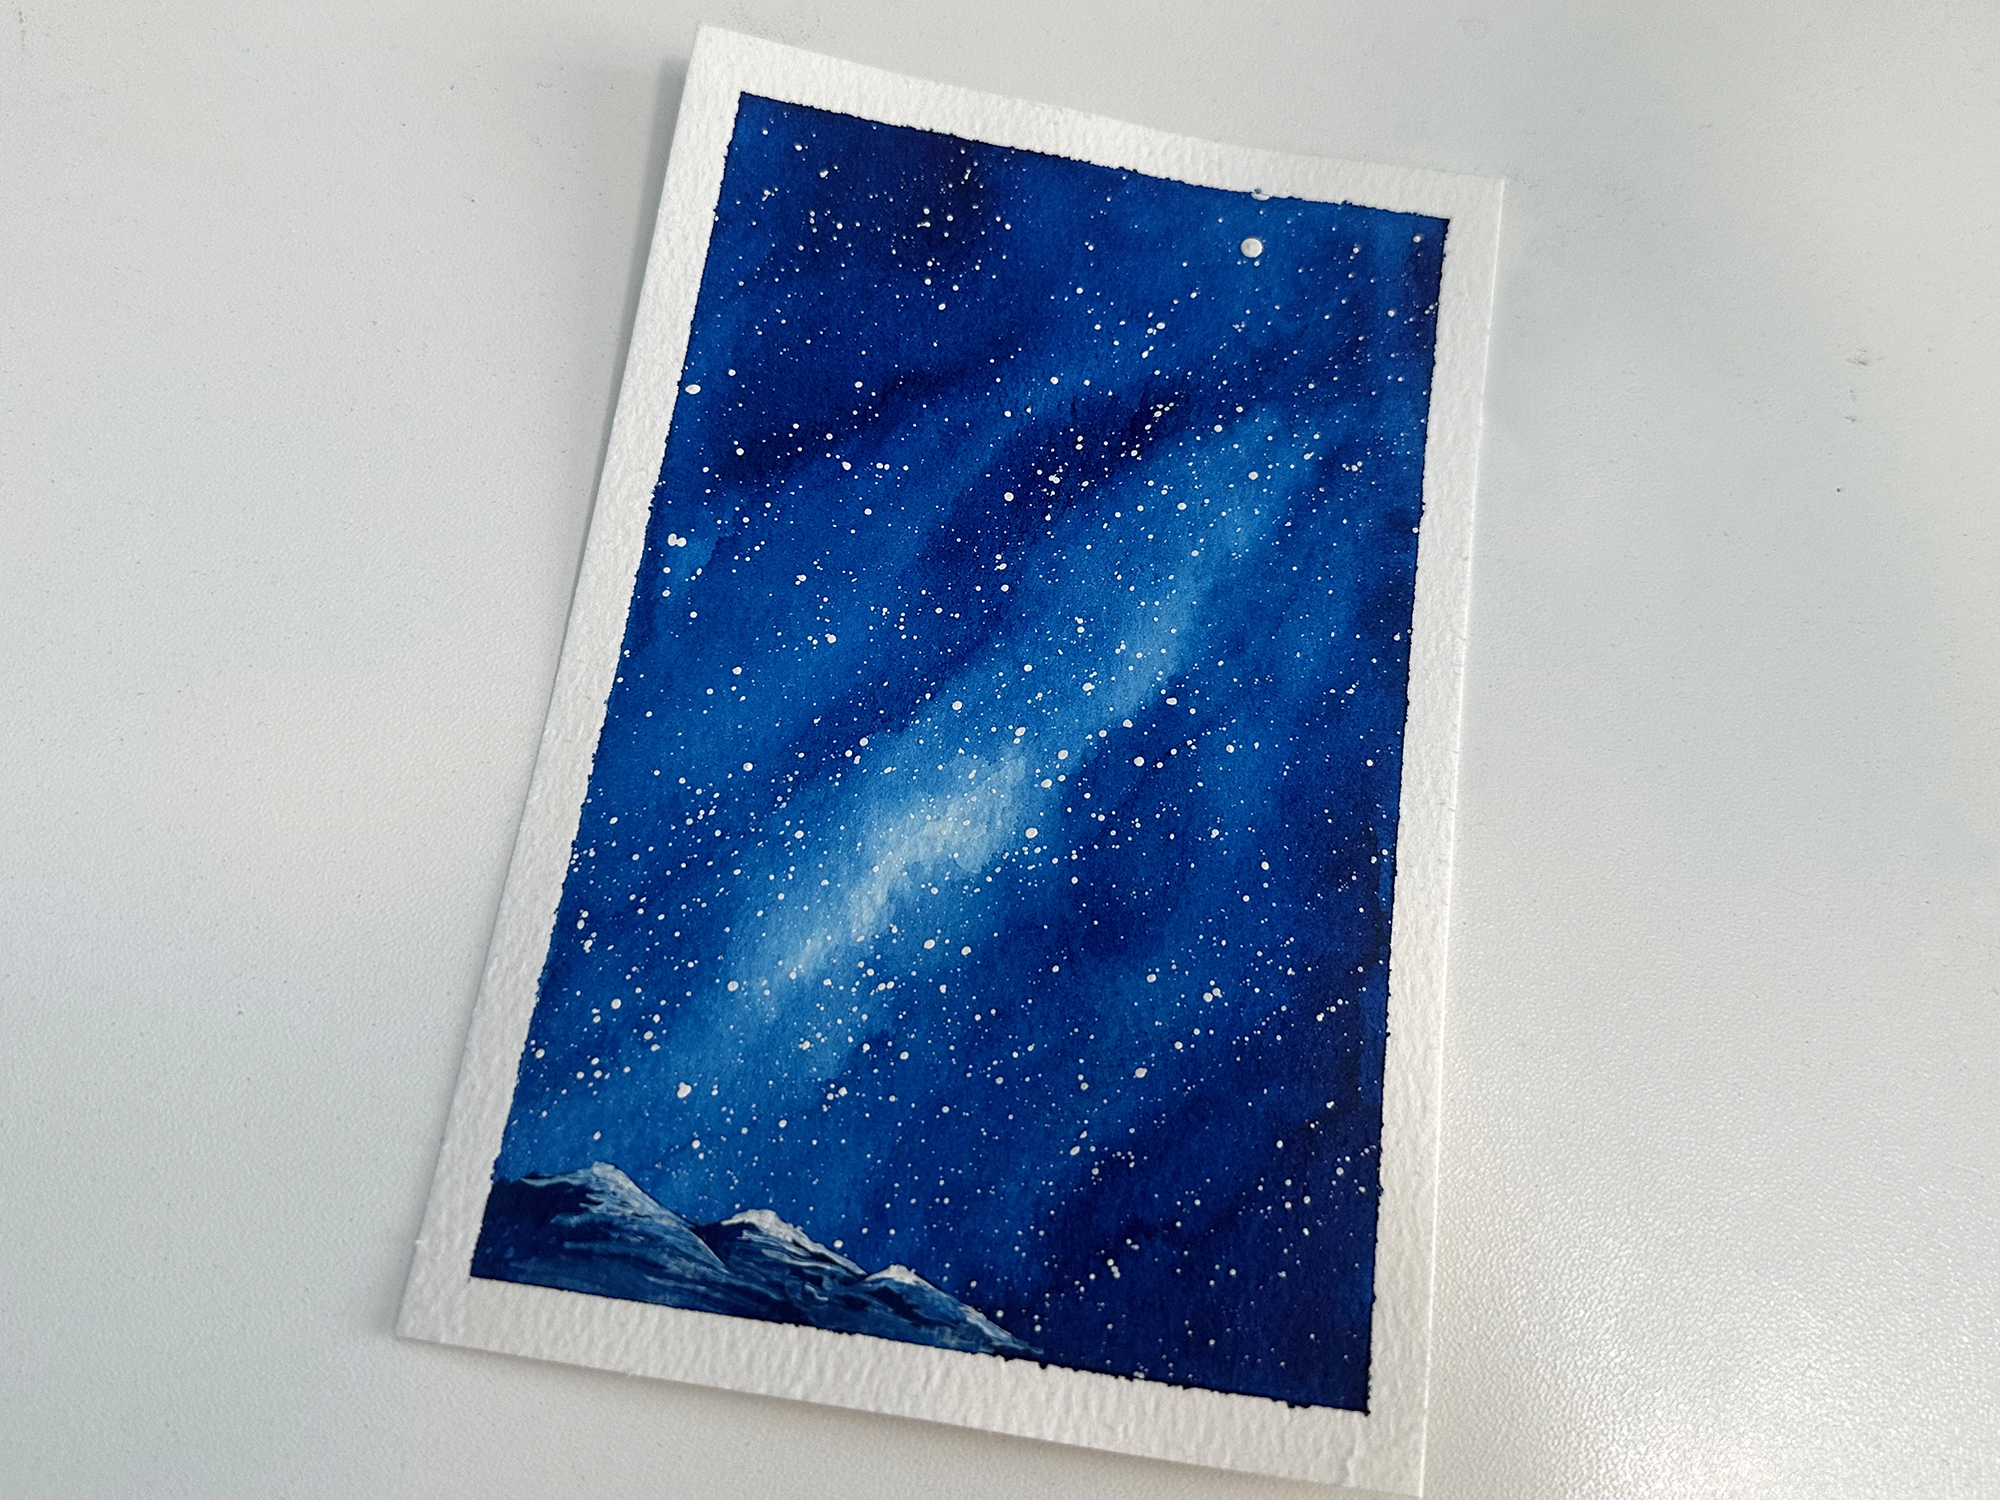
Day One was a monochrome painting, so just one color. I chose Phthalo Blue from Daniel Smith Watercolor and went to town making a basic diagonal edge to the Milky Way. There was something very freeing about doing all I could with just one color. Click here to watch a time lapse of this painting. A couple of tiny mountains at the bottom added some depth to this one.

I painted the stars using white gouache paint and a splatter method where I tap two brushes together. This is a method I used a lot when I was doing galaxy-dyed shoes and baby carriers a few years ago. I would use acrylic paint and it gave the most awesome and varied sizes of stars, but I had very little control over where they landed, and sometimes I’d end up with an odd-shaped glob of paint that wasn’t round. Also, paint ended up everywhere! Those reasons are why I originally used masking fluid and white pens to make stars for my watercolor paintings, but after using this splatter method again, and with gouache this time, I think it’s going to help me level-up on my galaxy stars.

I have an awesome set of gouache paints from Himi that my sister gave me for Christmas.

Day 2: Duo Chrome

Day Two was Duo Chrome, so two colors. I opted for Phthalo Blue again and added Quinacridone Rose. I haven’t been using very high quality paper for these; just a 4x6 pad that I got from Michael’s. Today the paper bowed down the middle when it was saturated and the paint was pooling along the bottom. I managed to dab the puddle with a tissue in an attempt to salvage it, but I almost tore it up and threw it away. Once I added stars, the painting redeemed itself.

I added a few happy trees and I was happy with how it ended up. Click here to watch the time lapse of this one.

Day 3: Three-Color Seascape

Day three; a three-color seascape, proved to be the most challenging. I have a palette of watercolor from Culture Hustle that I tried to use for all three colors. The lavender and turquoise just weren’t pigmented enough. So attempt one went into the trash. With attempt number two, I tried to use Phthalo Green straight for the aqua shade along the bottom, but it was way too green and I scrapped that one too.

For attempt number three, I premixed that aqua color using Phthalo Green and Cobalt Blue. Then I used Imperial Purple and the bright pink called Runaway from the Culture Hustle Watercolour Palette. I absolutely hated how the colors were coming together when they were wet. But once it dried and I added stars, it was worth saving. After adding some more definition in the ocean at the bottom, it avoided the recycling bin.

Click here to watch a time lapse of this painting.

Day 4: Dreamy Landscape

Day four was fun because I could use pretty much anything I wanted. I chose to limit myself to only four colors: Indigo, Moonglow (that purple shade), Phthalo Green, and Cobalt Blue. These colors are more muted than the ones I used before, but I still love how they turned out. This time the paper was cooperative and I was happy with how the paint behaved. I tried to be more patient and waited longer after applying paint to see how it spread and I think it paid off.

I opted for a few more happy trees and I love how it turned out. Click here to watch the time lapse of this one being painted.

I had such a fun time with this challenge, maybe I’ll do it again next week but with all different colors. Maybe if I can paint enough of these little paintings, I can have them for sale.

Product of the Month - February 2021 - Daniel Smith Watercolors

I get to use a wide variety or products with my work, and I wanted to share what I use and love. This month I’m featuring my favorite watercolor paints: Daniel Smith Watercolor Paint.

There are affiliate links in this post. Shopping though these links means Amazon gives me a little percentage and it helps support my small business.

I’ve used a big variety of brands of paint, whether it’s been watercolor, oils, acrylic, or gouache. Watercolor is my favorite right now for it’s ease when traveling and I don’t have to worry about wasting any paint when it dries. When I was a poor, college student, I only ever bought the cheapest, student-grade paints; it didn’t matter the brand. It was hard to justify spending more on the higher quality brands when money was tight and I had no idea where my degree was going to take me. Instructors taught us why the more-expensive brands were better, but that didn’t really get through to my 24yo brain and wallet.

It wasn’t until I was much older and able to justify spending more on paint that I finally got it. These paints are sooooooo nice and they have so much more pigment in them than any of the student-grade brands I used in the past. I feel like I end up using less paint overall with each painting simply because there is more pigment and the quality is better.

I see a similar correlation when I look at inexpensive eye shadows from drugstores and compare them to the higher-end brands like Benefit, Smashbox, and Urban Decay. There is so much more pigment in the nicer brands and you end up using a lot less of the product overall because there are less fillers.

Daniel Smith has been my favorite in quality and variety of colors. I started out with a starter set and it’s been all downhill from there when it comes to brand loyalty. I KNOW there are other brands out there, but the old lady in my just knows I’ll be happy with one brand.

I’m considering getting back into oils and will look at stepping away from the student-grade paints, but I’m not quite there yet… unsure if I will stick with them. Maybe when it’s warm enough to open my windows?

I’m in love with the quality of these paints, but if you have a favorite brand I should try, leave me a comment.