Earlier this year, I decided to start featuring favorite tools that I use in my work or even just in my adventures. I have featured art supplies and backpacks and tools. This month’s featured product is a pillow. Yup, you read that right; I’m sharing about a pillow. There are affiliate links in this post, in case you want to buy one of these products and Amazon will send me a few cents in appreciation.
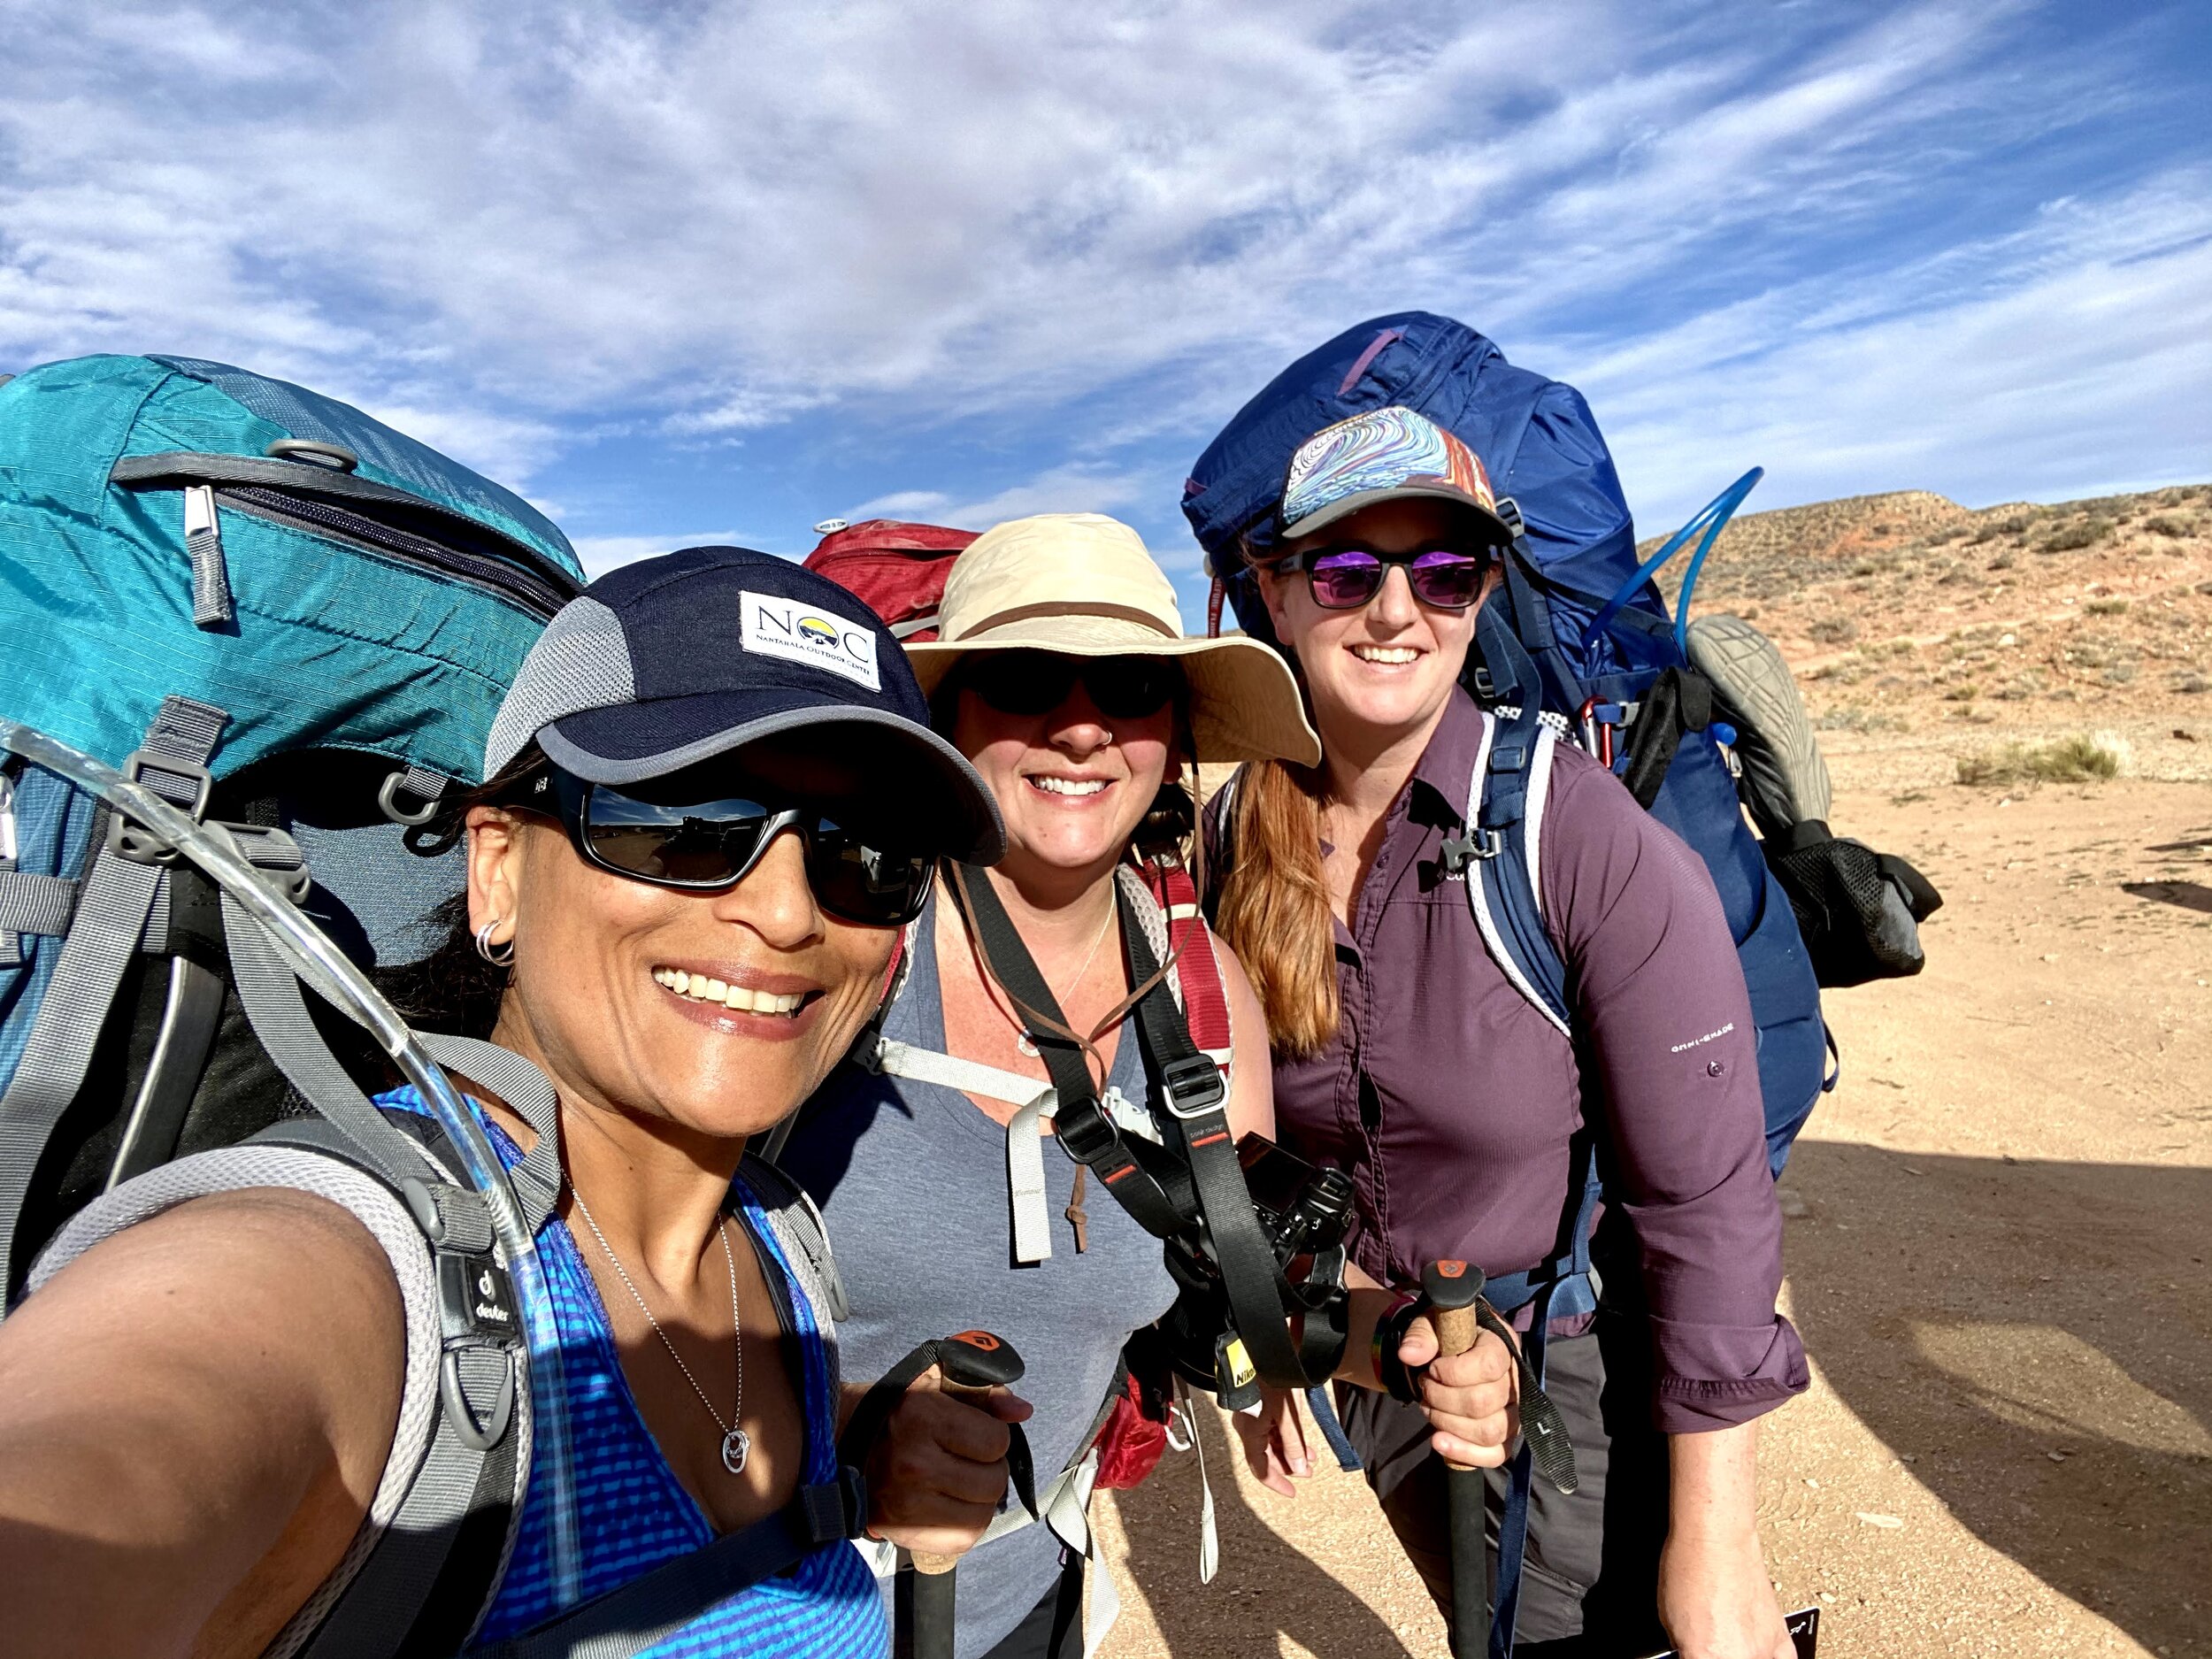
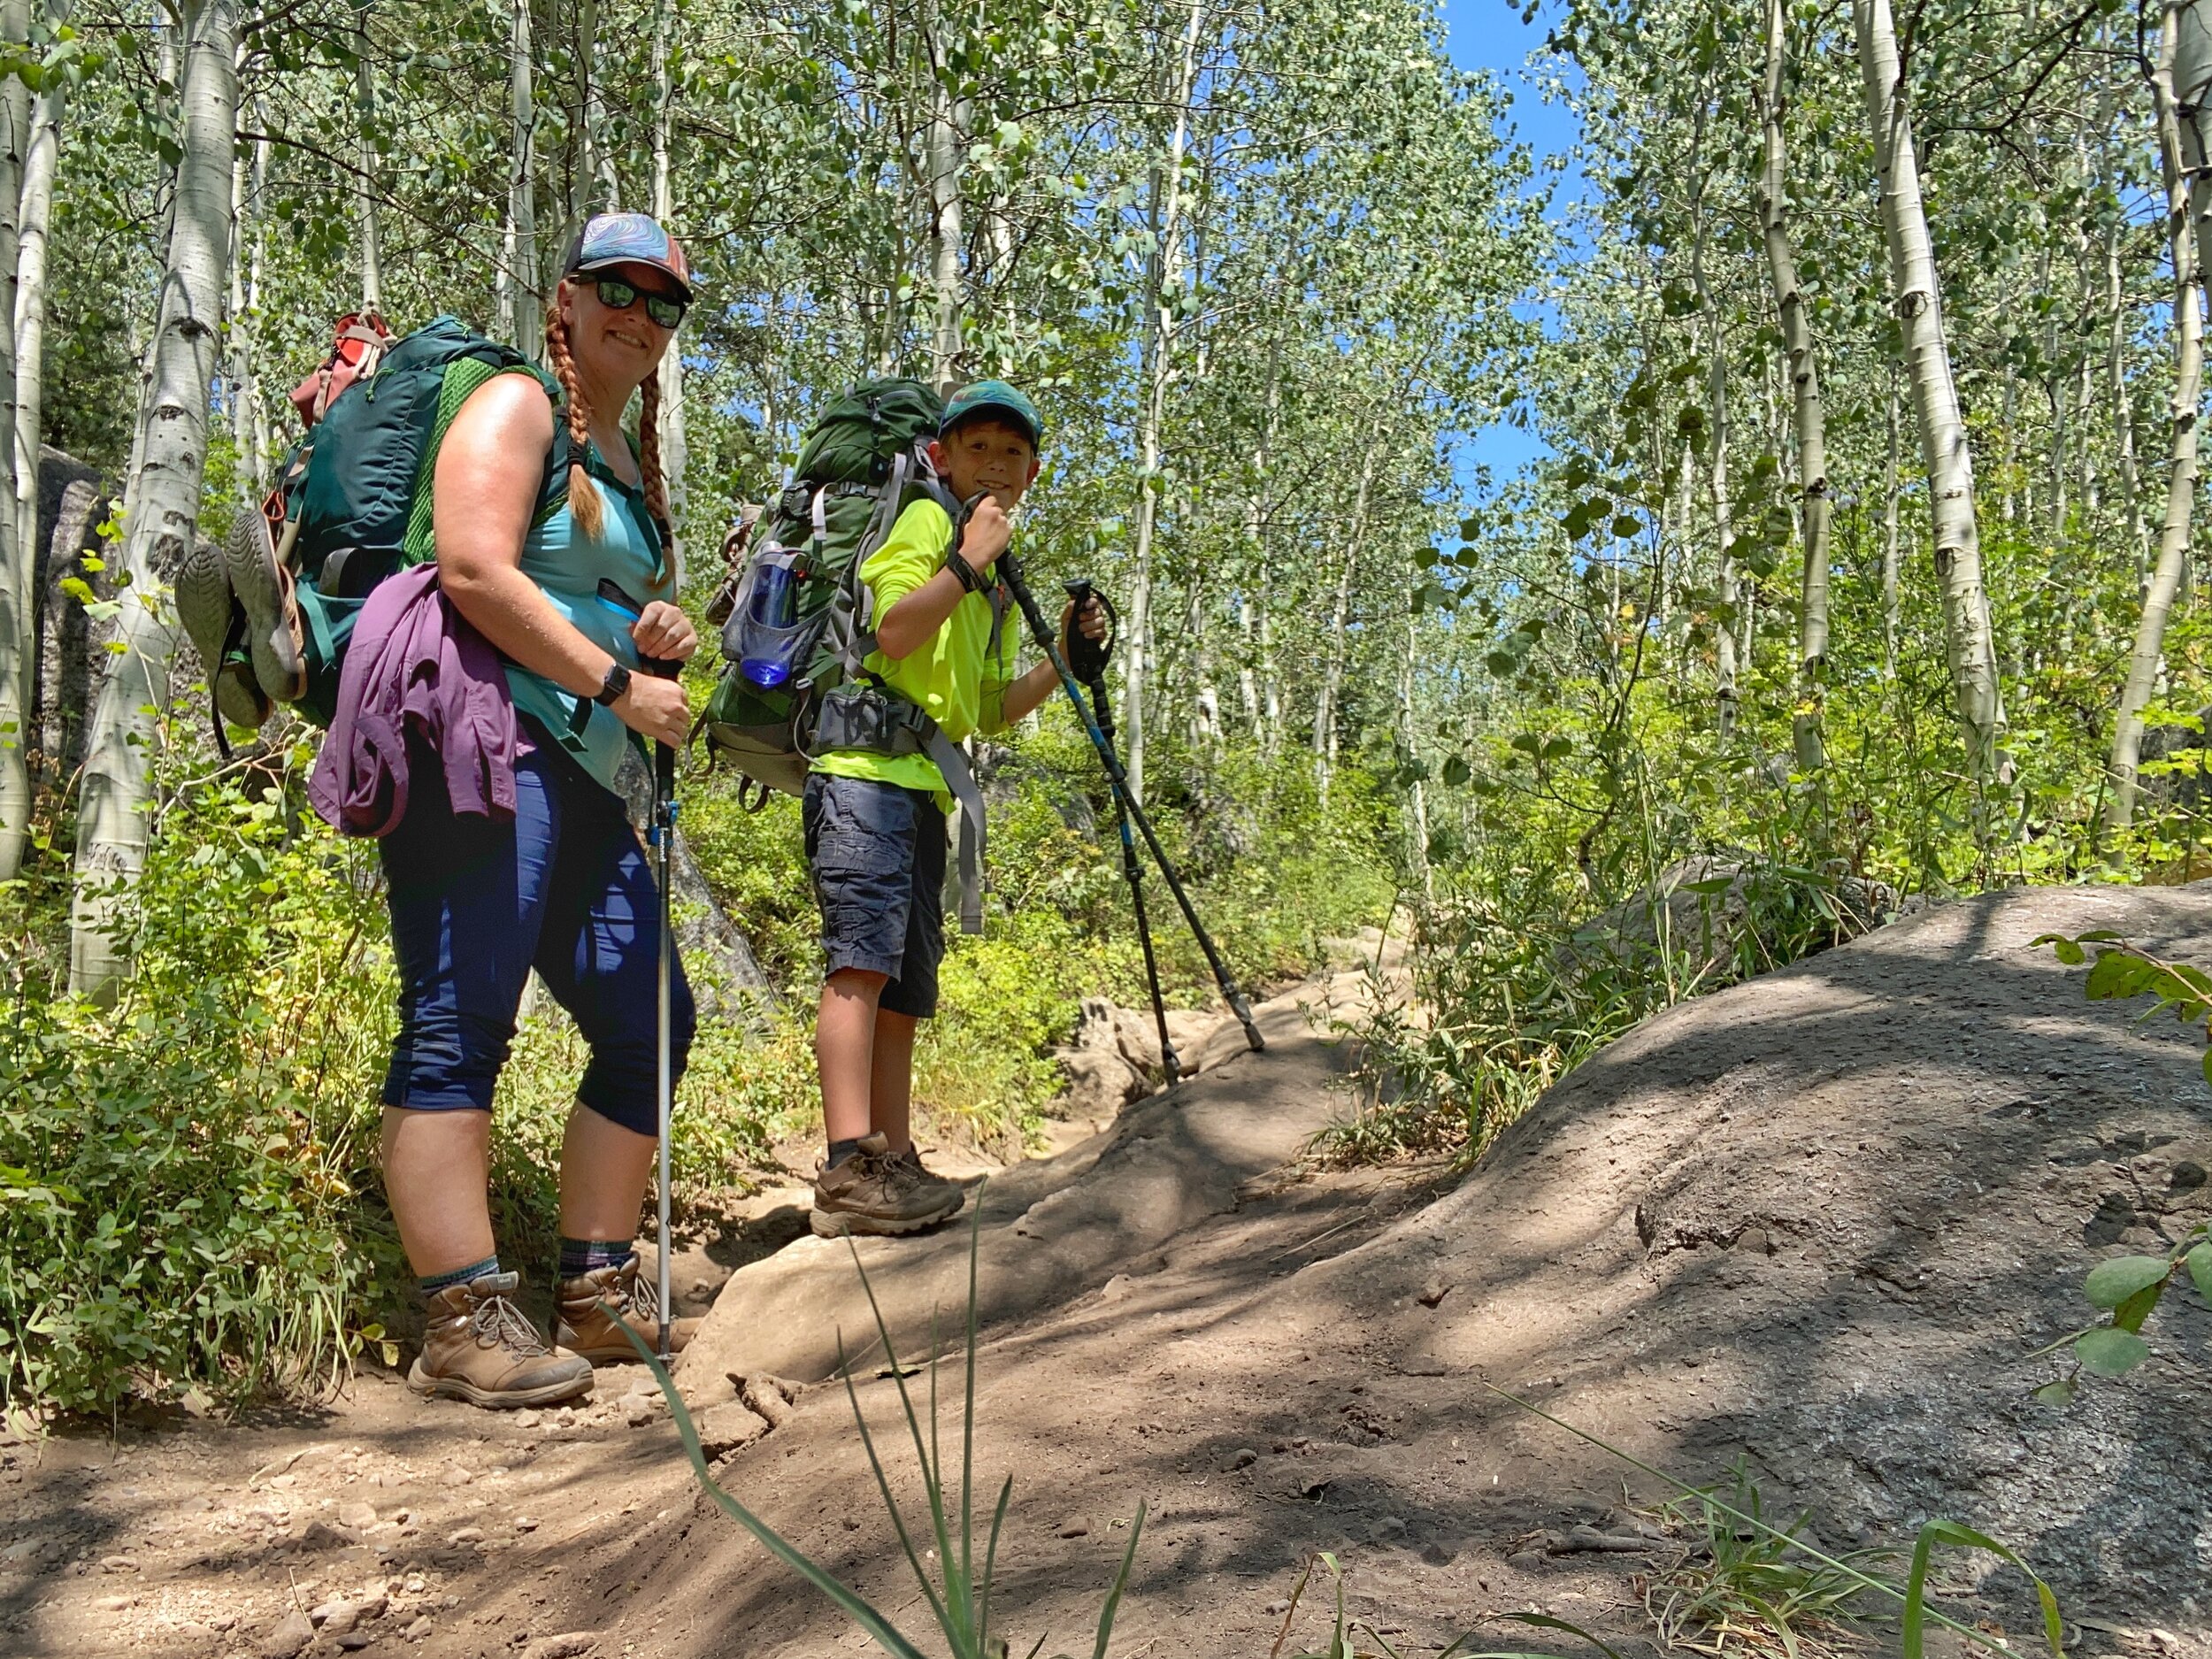
Last summer, my son wanted to get into backpacking. Not wanting to drop $1000 on backpacking gear only to have us quit after just one short trip, I research the crap out of our options; especially on items that could make sleeping more comfortable for my 40-something-year-old body that hadn’t backpacked in more than 20 years.
There are lots of inflatable pillows out there that weigh next-to-nothing, but that very first trip taught me that I don’t like sleeping on an inflatable pillow. I need something more substantial than that.
Enter the Thermarest Compressible Travel Pillow. It comes in sizes from Small (12x16 in) to X-Large (16.5x27 in) and they weigh less than a pound. It’s a pillow filled with chunks of memory foam that can be rolled up and compressed down to a little less than half of its size. It definitely takes up more space in my pack than the cheap inflatable pillow that I got before, but this one is SO much more comfortable. It feels like I’m sleeping on a regular pillow.
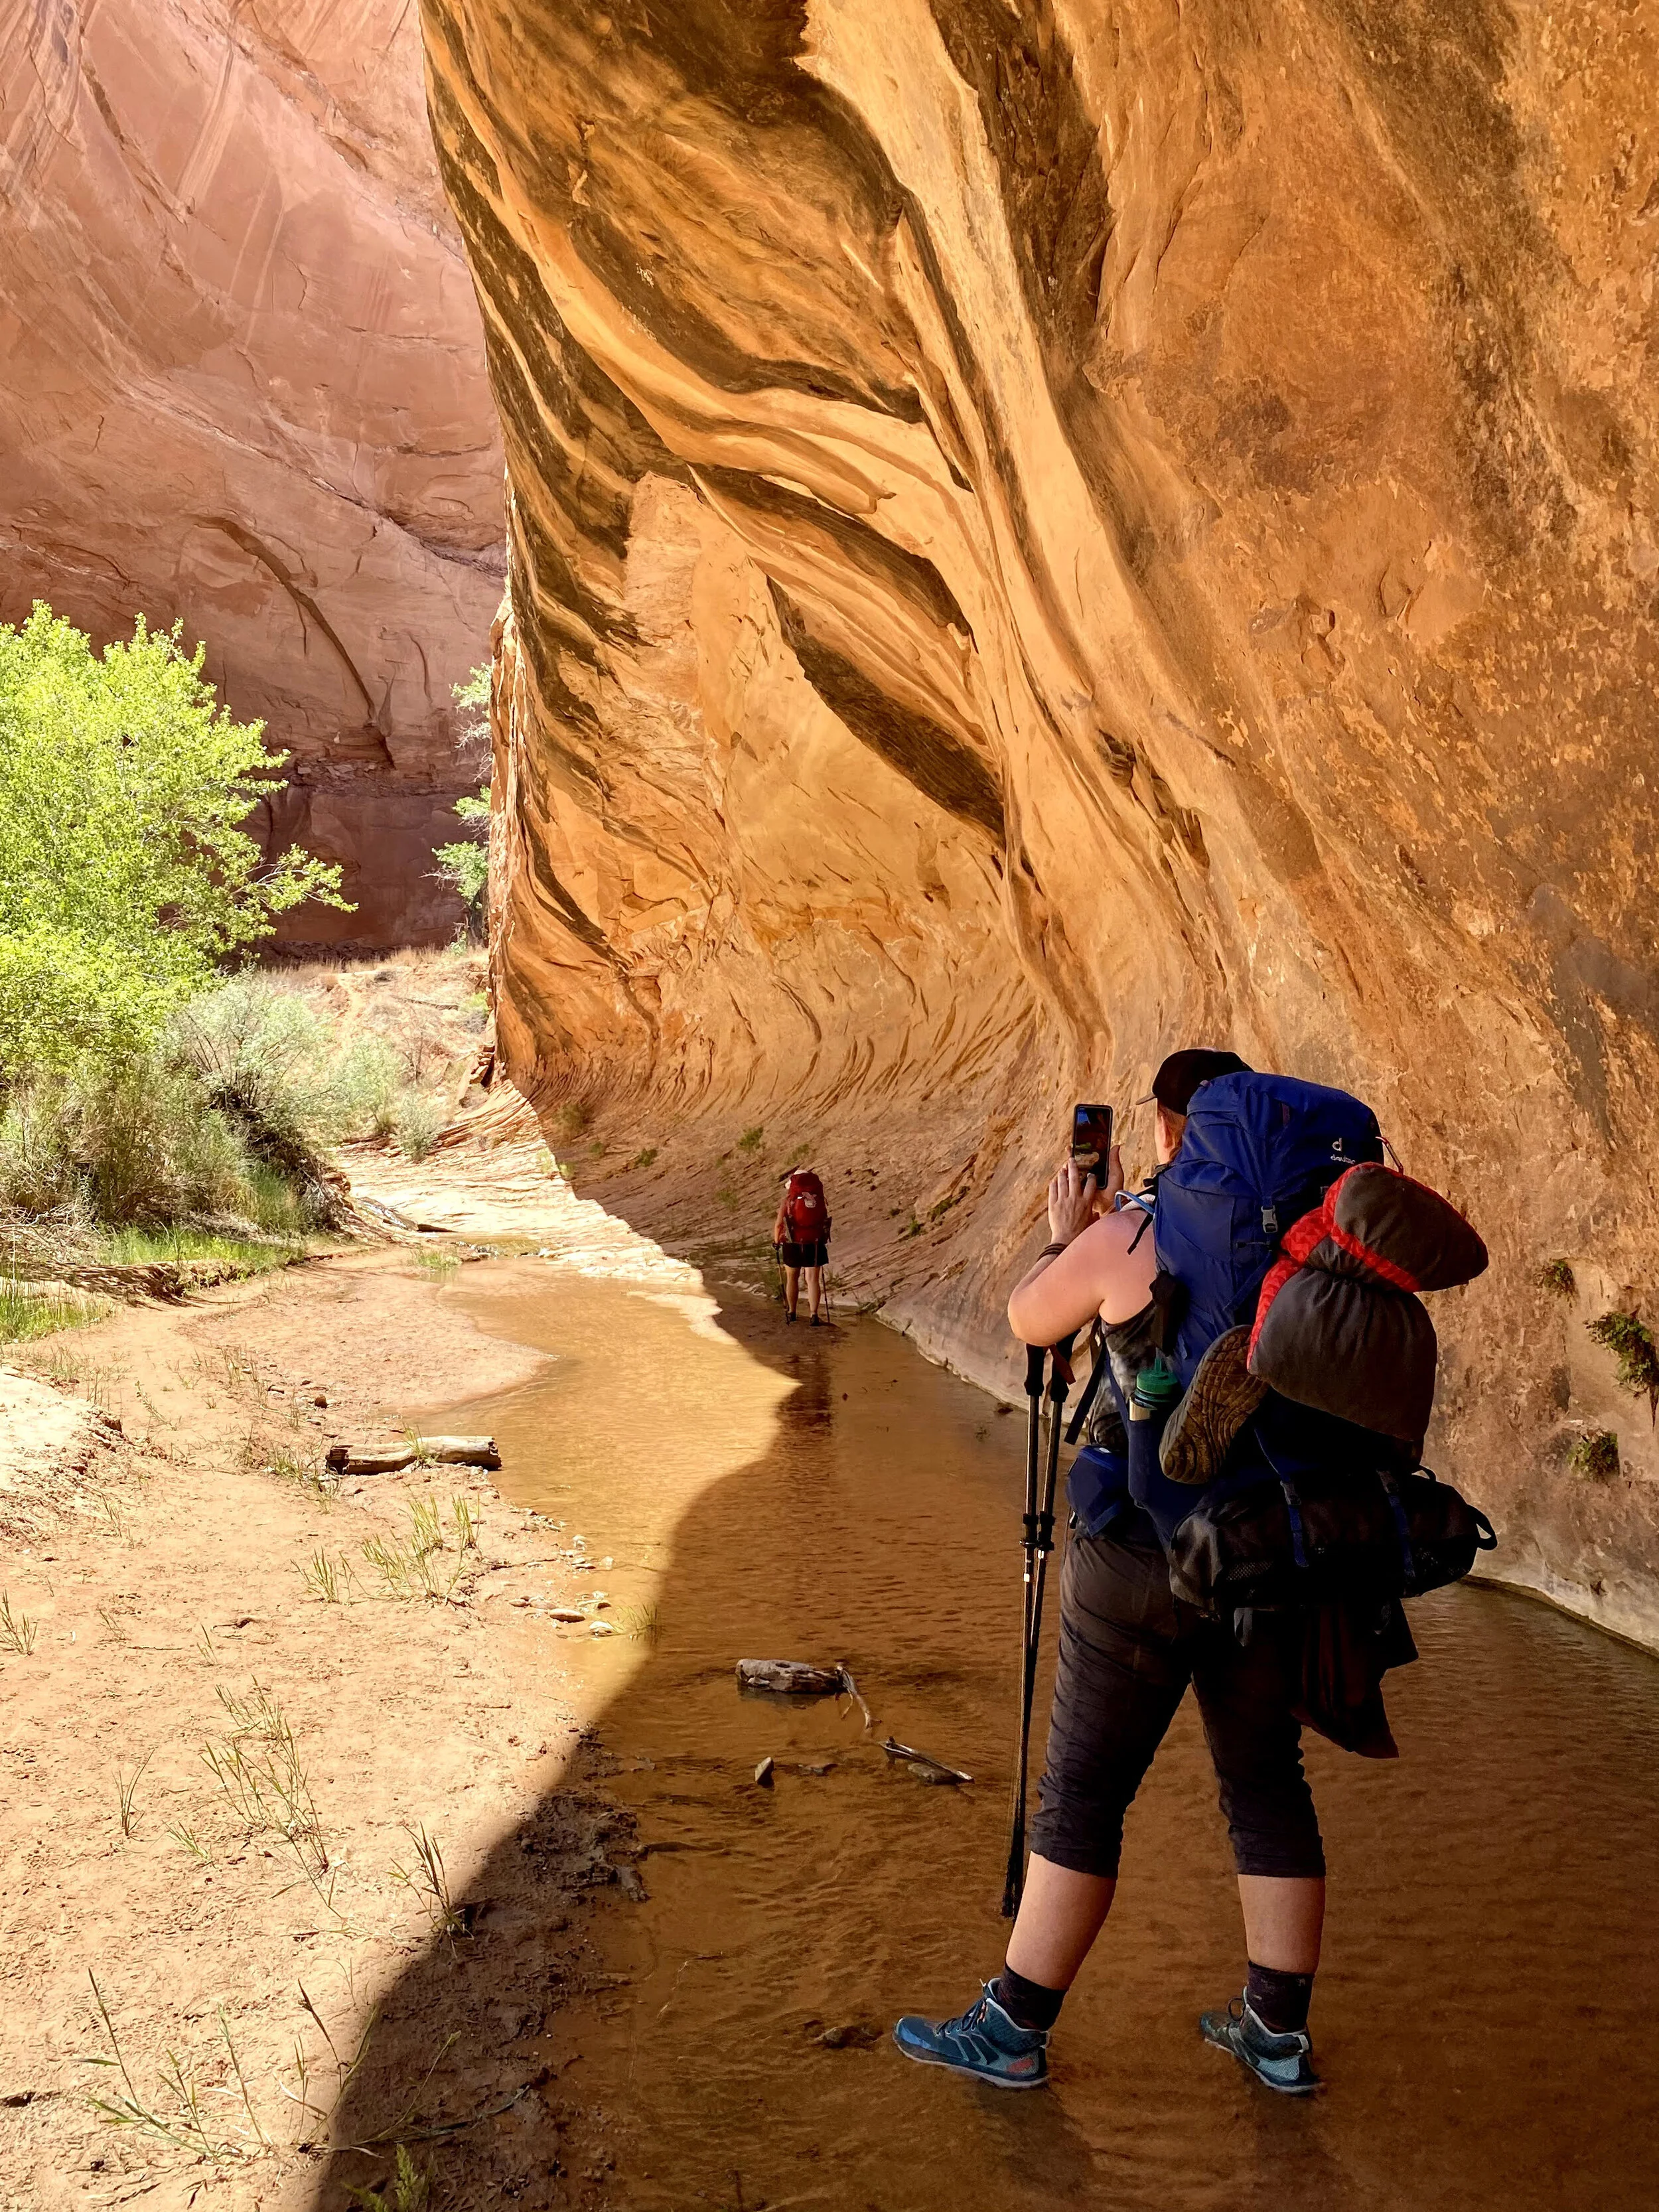
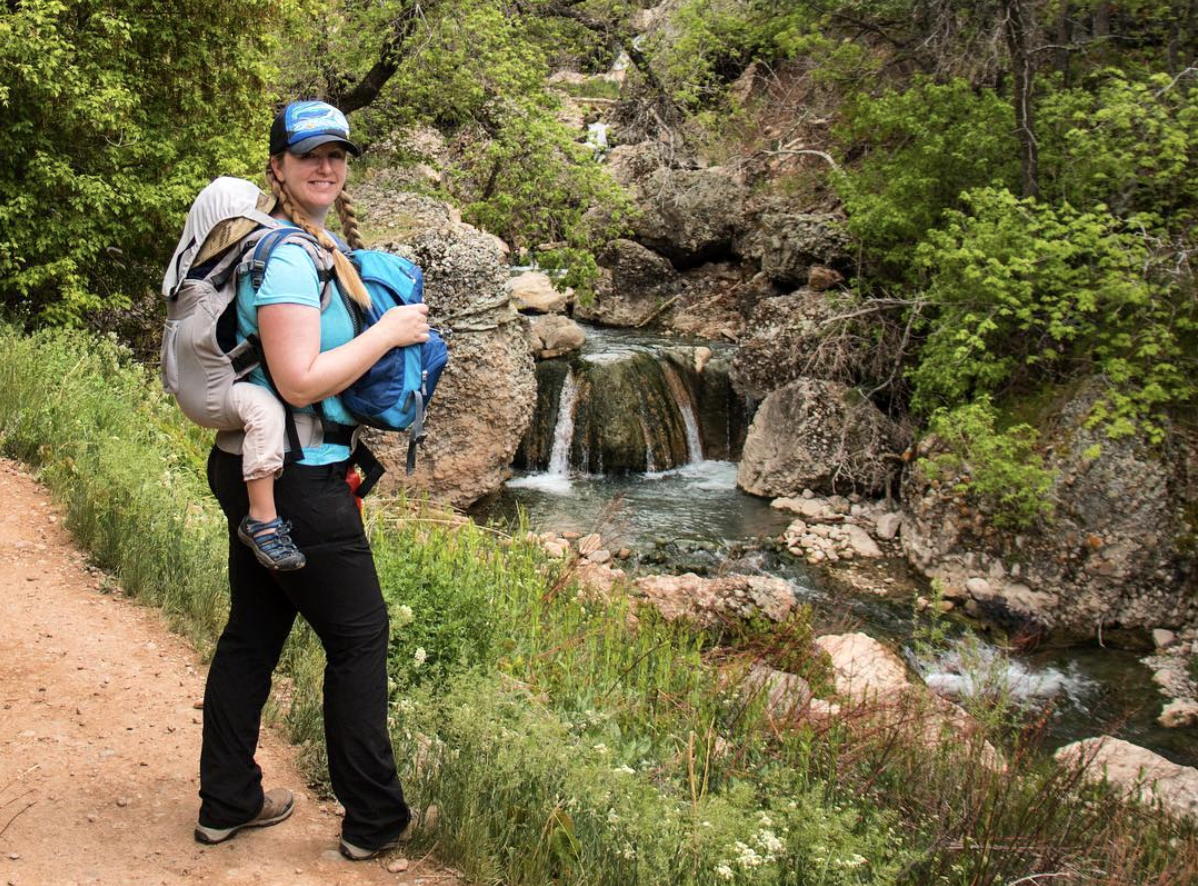
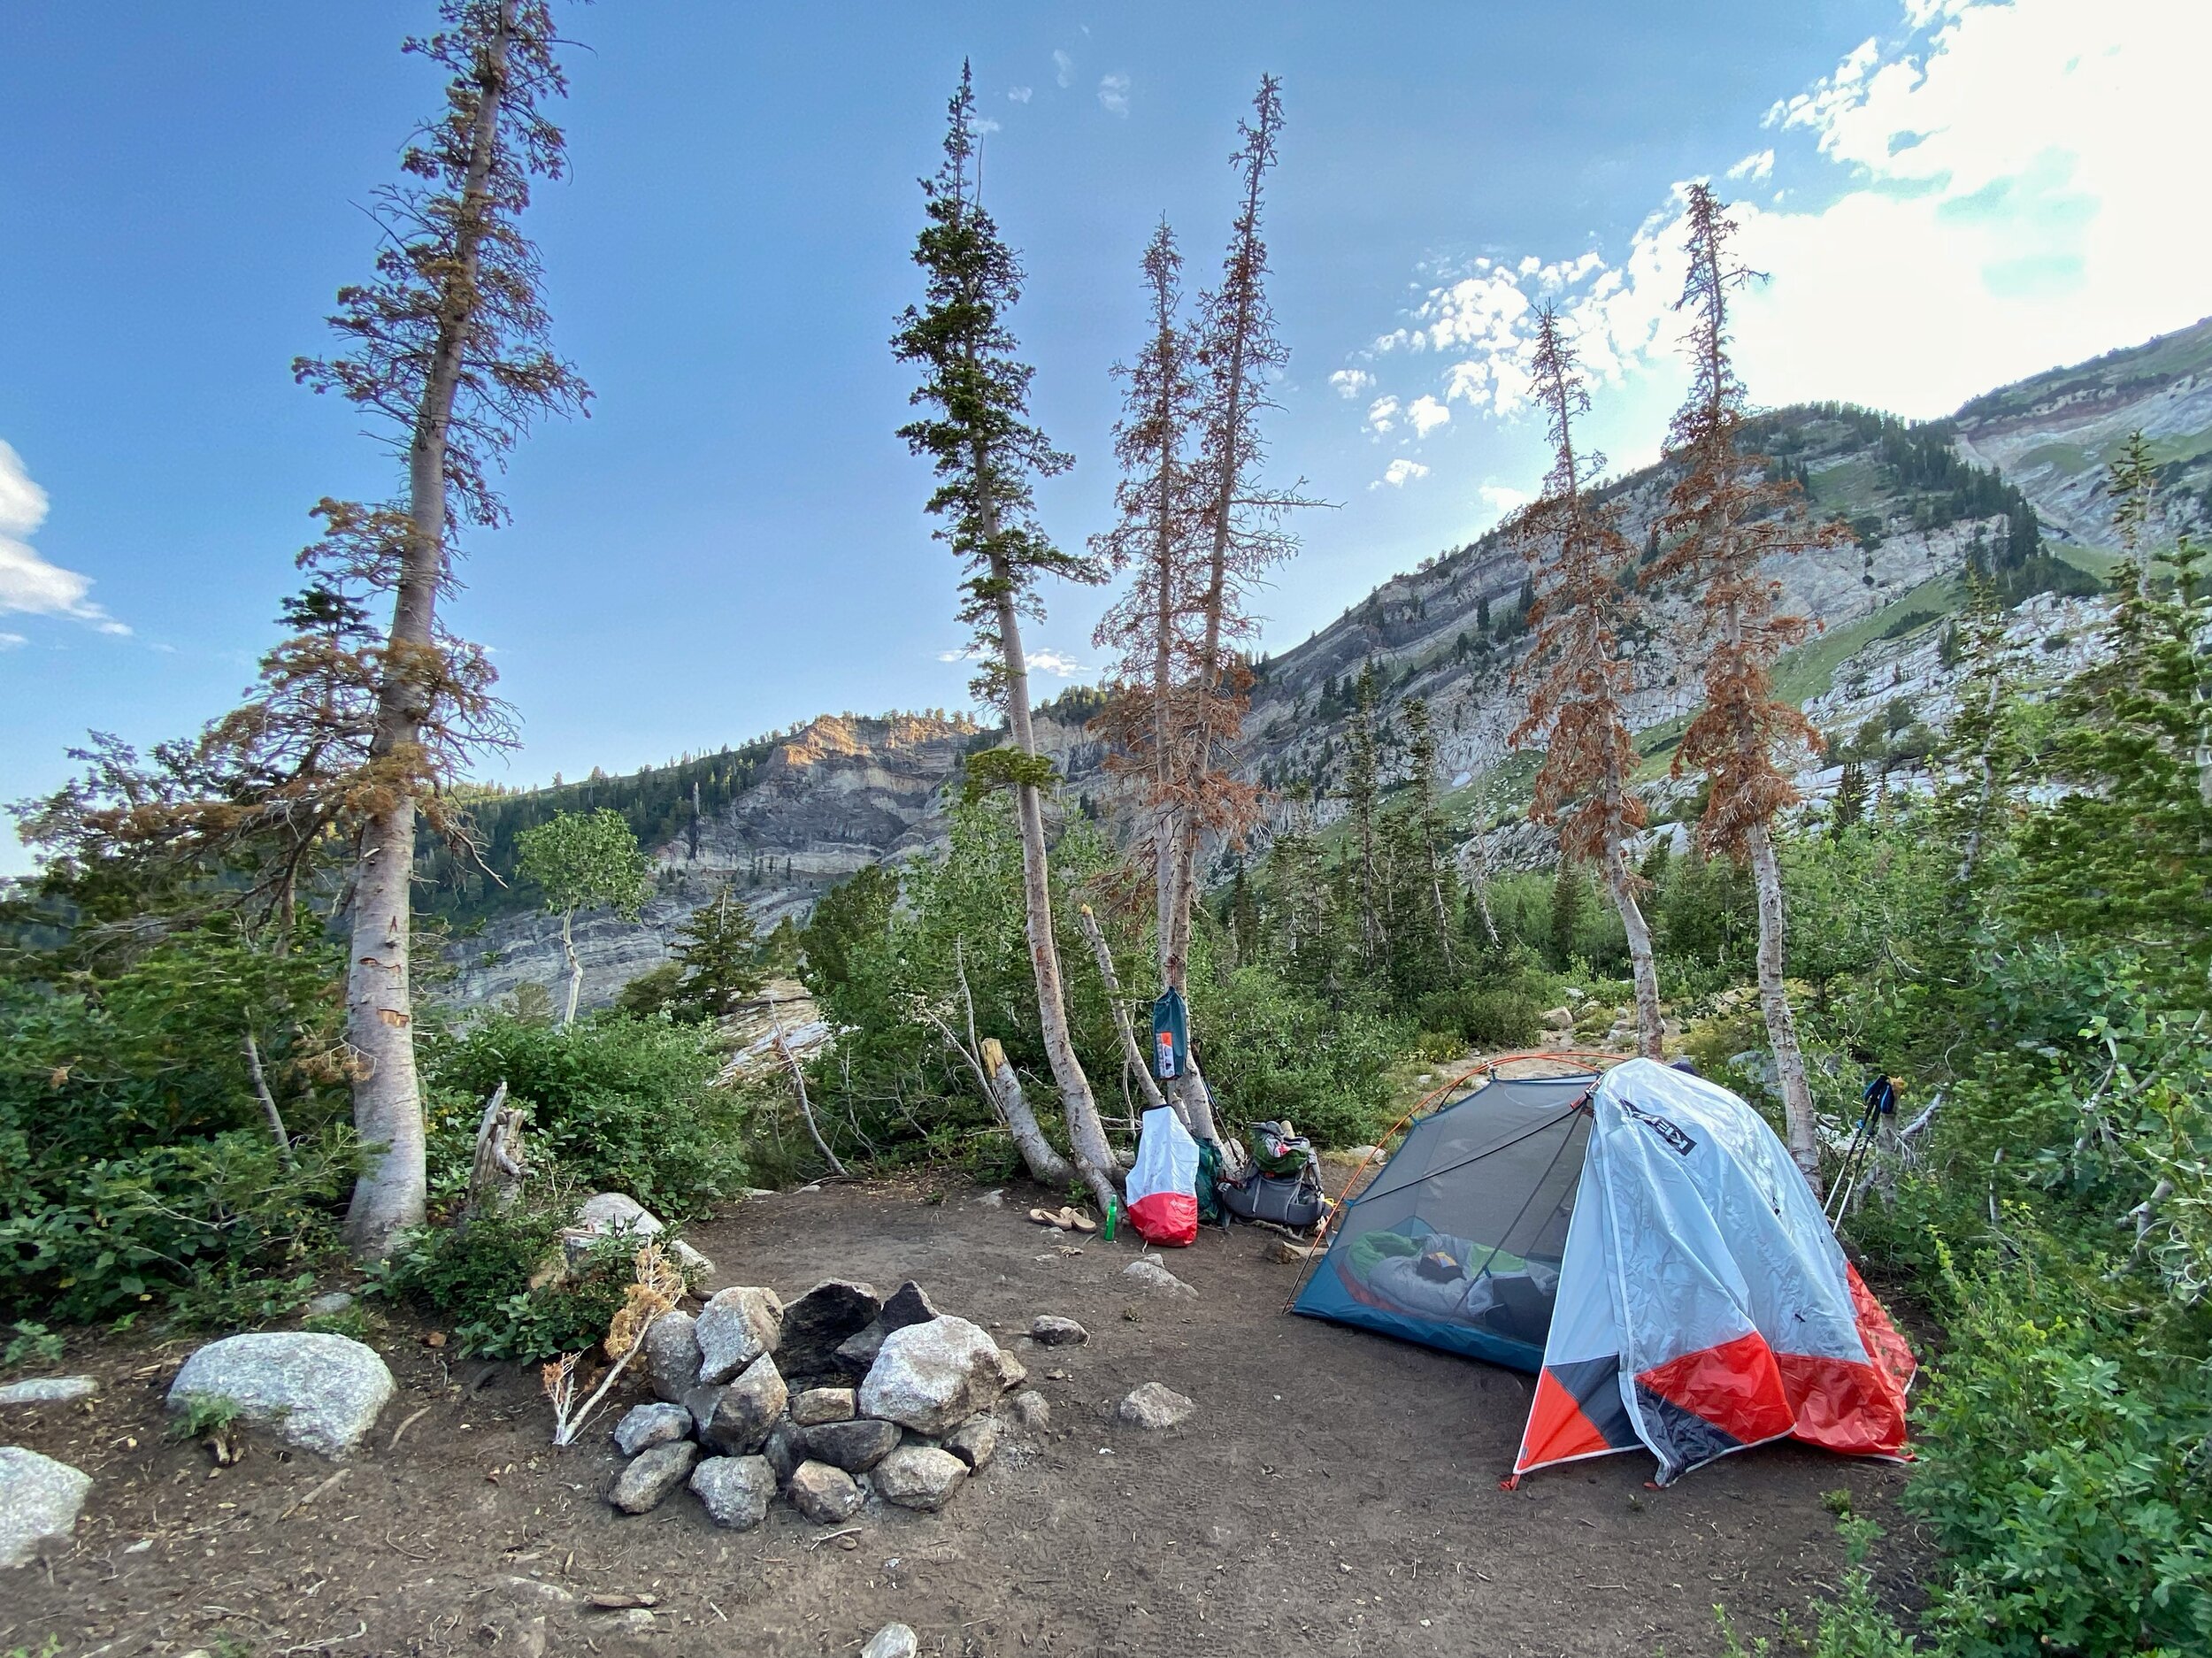
My Thermarest Pillow strapped to my pack with a bungee kept it fluffy for my 3-night trip.
I ended up finding a size Small pillow on Sierra.com for $14.99 and then I bought a Large one from my local Scheels at full price. I just liked it that much.
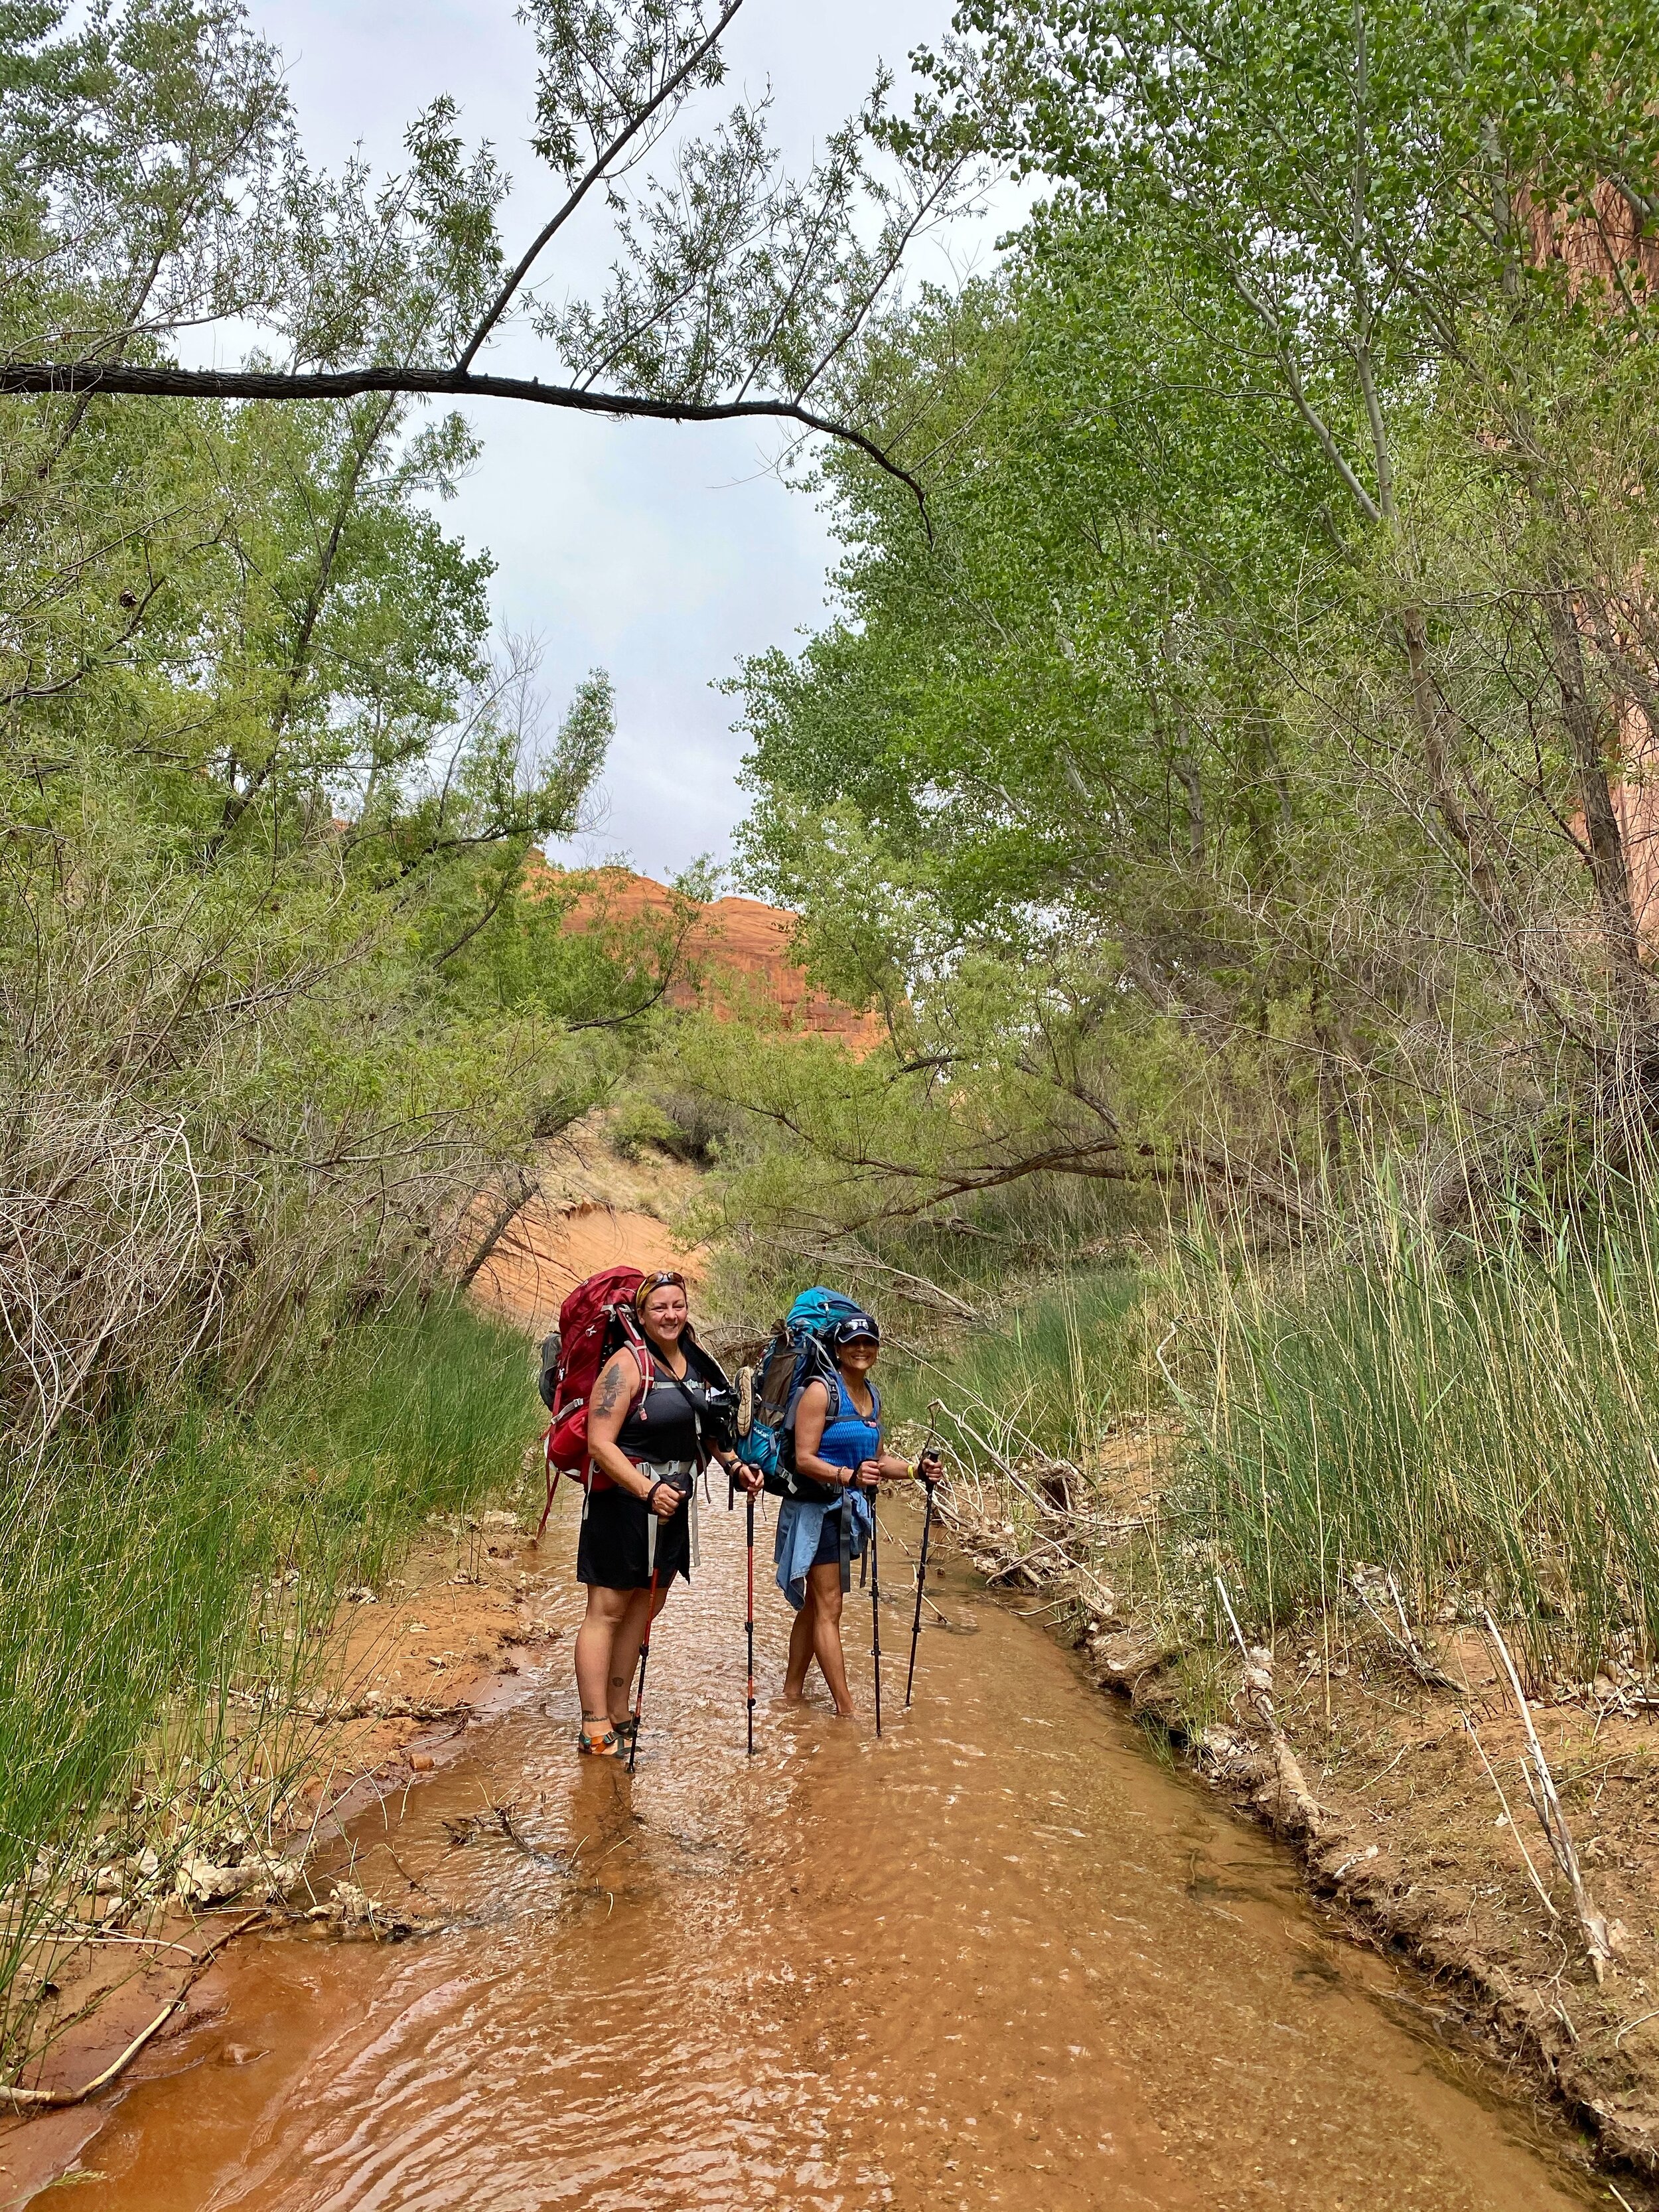
When they’ve been compressed and rolled up, they do take a little time to puff up again. Depending on how long they were stored rolled up, it may take quite a while. When I went backpacking back in May, rather than roll up my pillow each night, I just strapped it to the outside of my pack so it would stay as fluffed as possible.
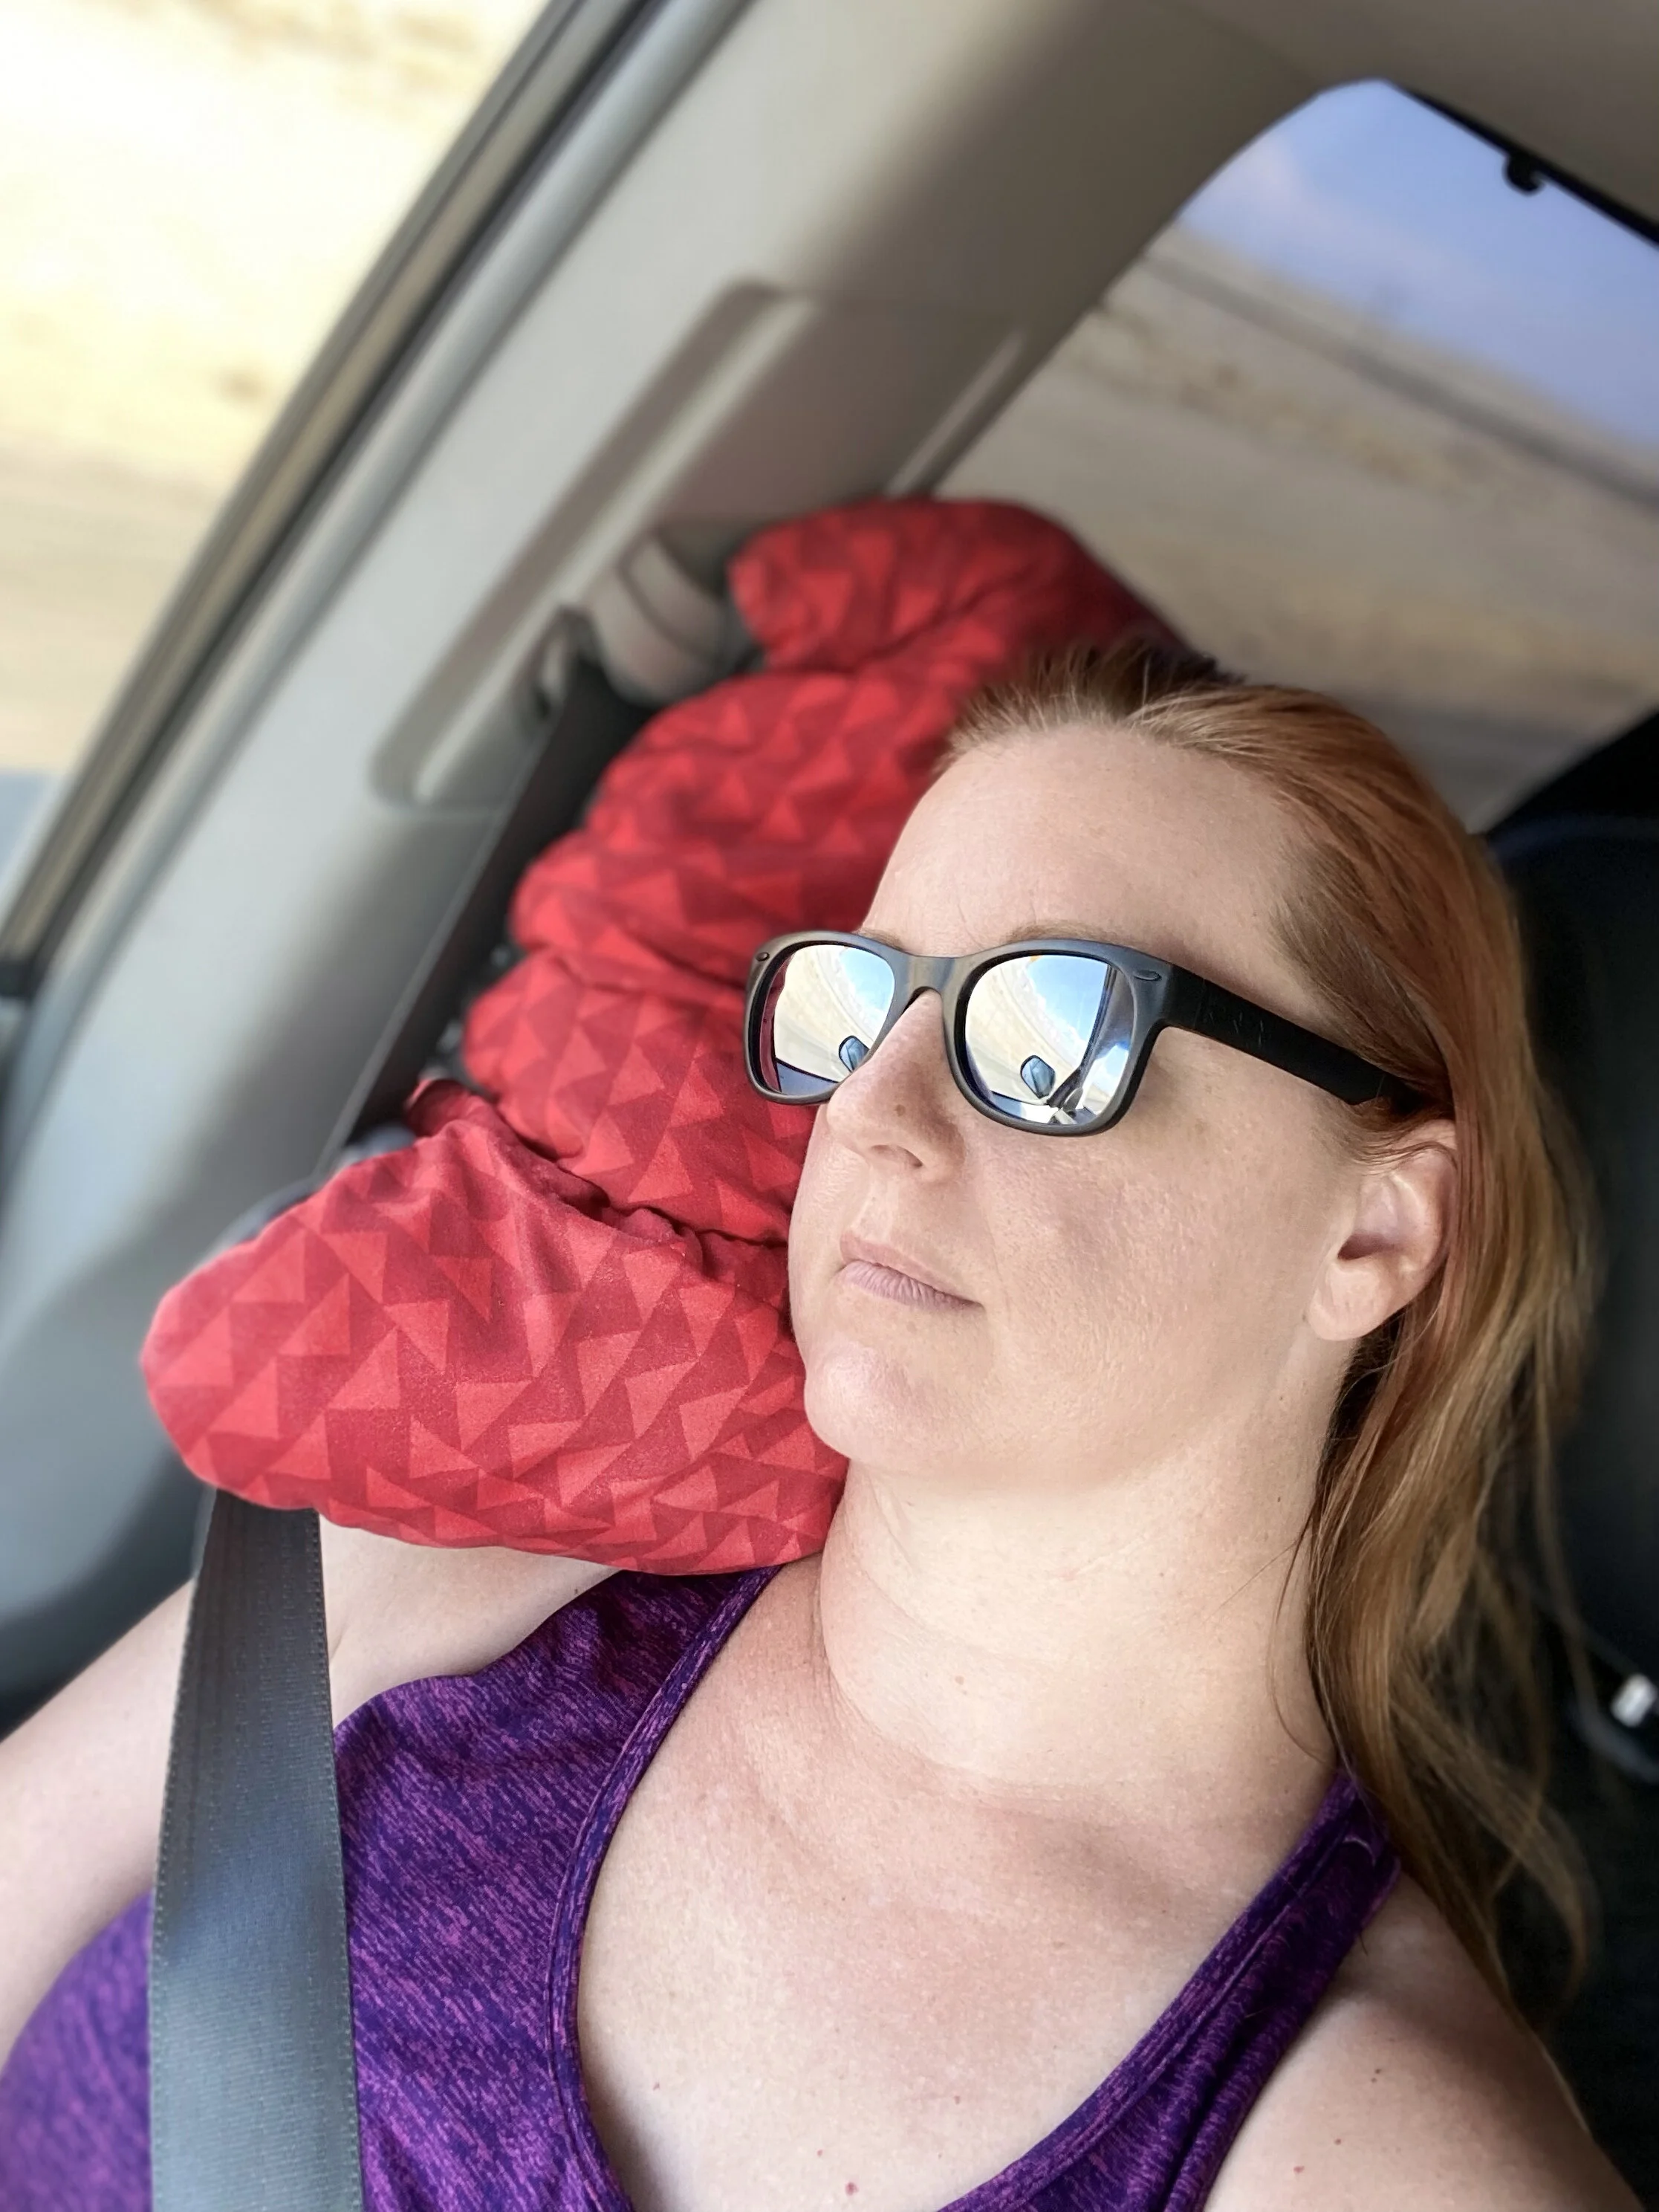
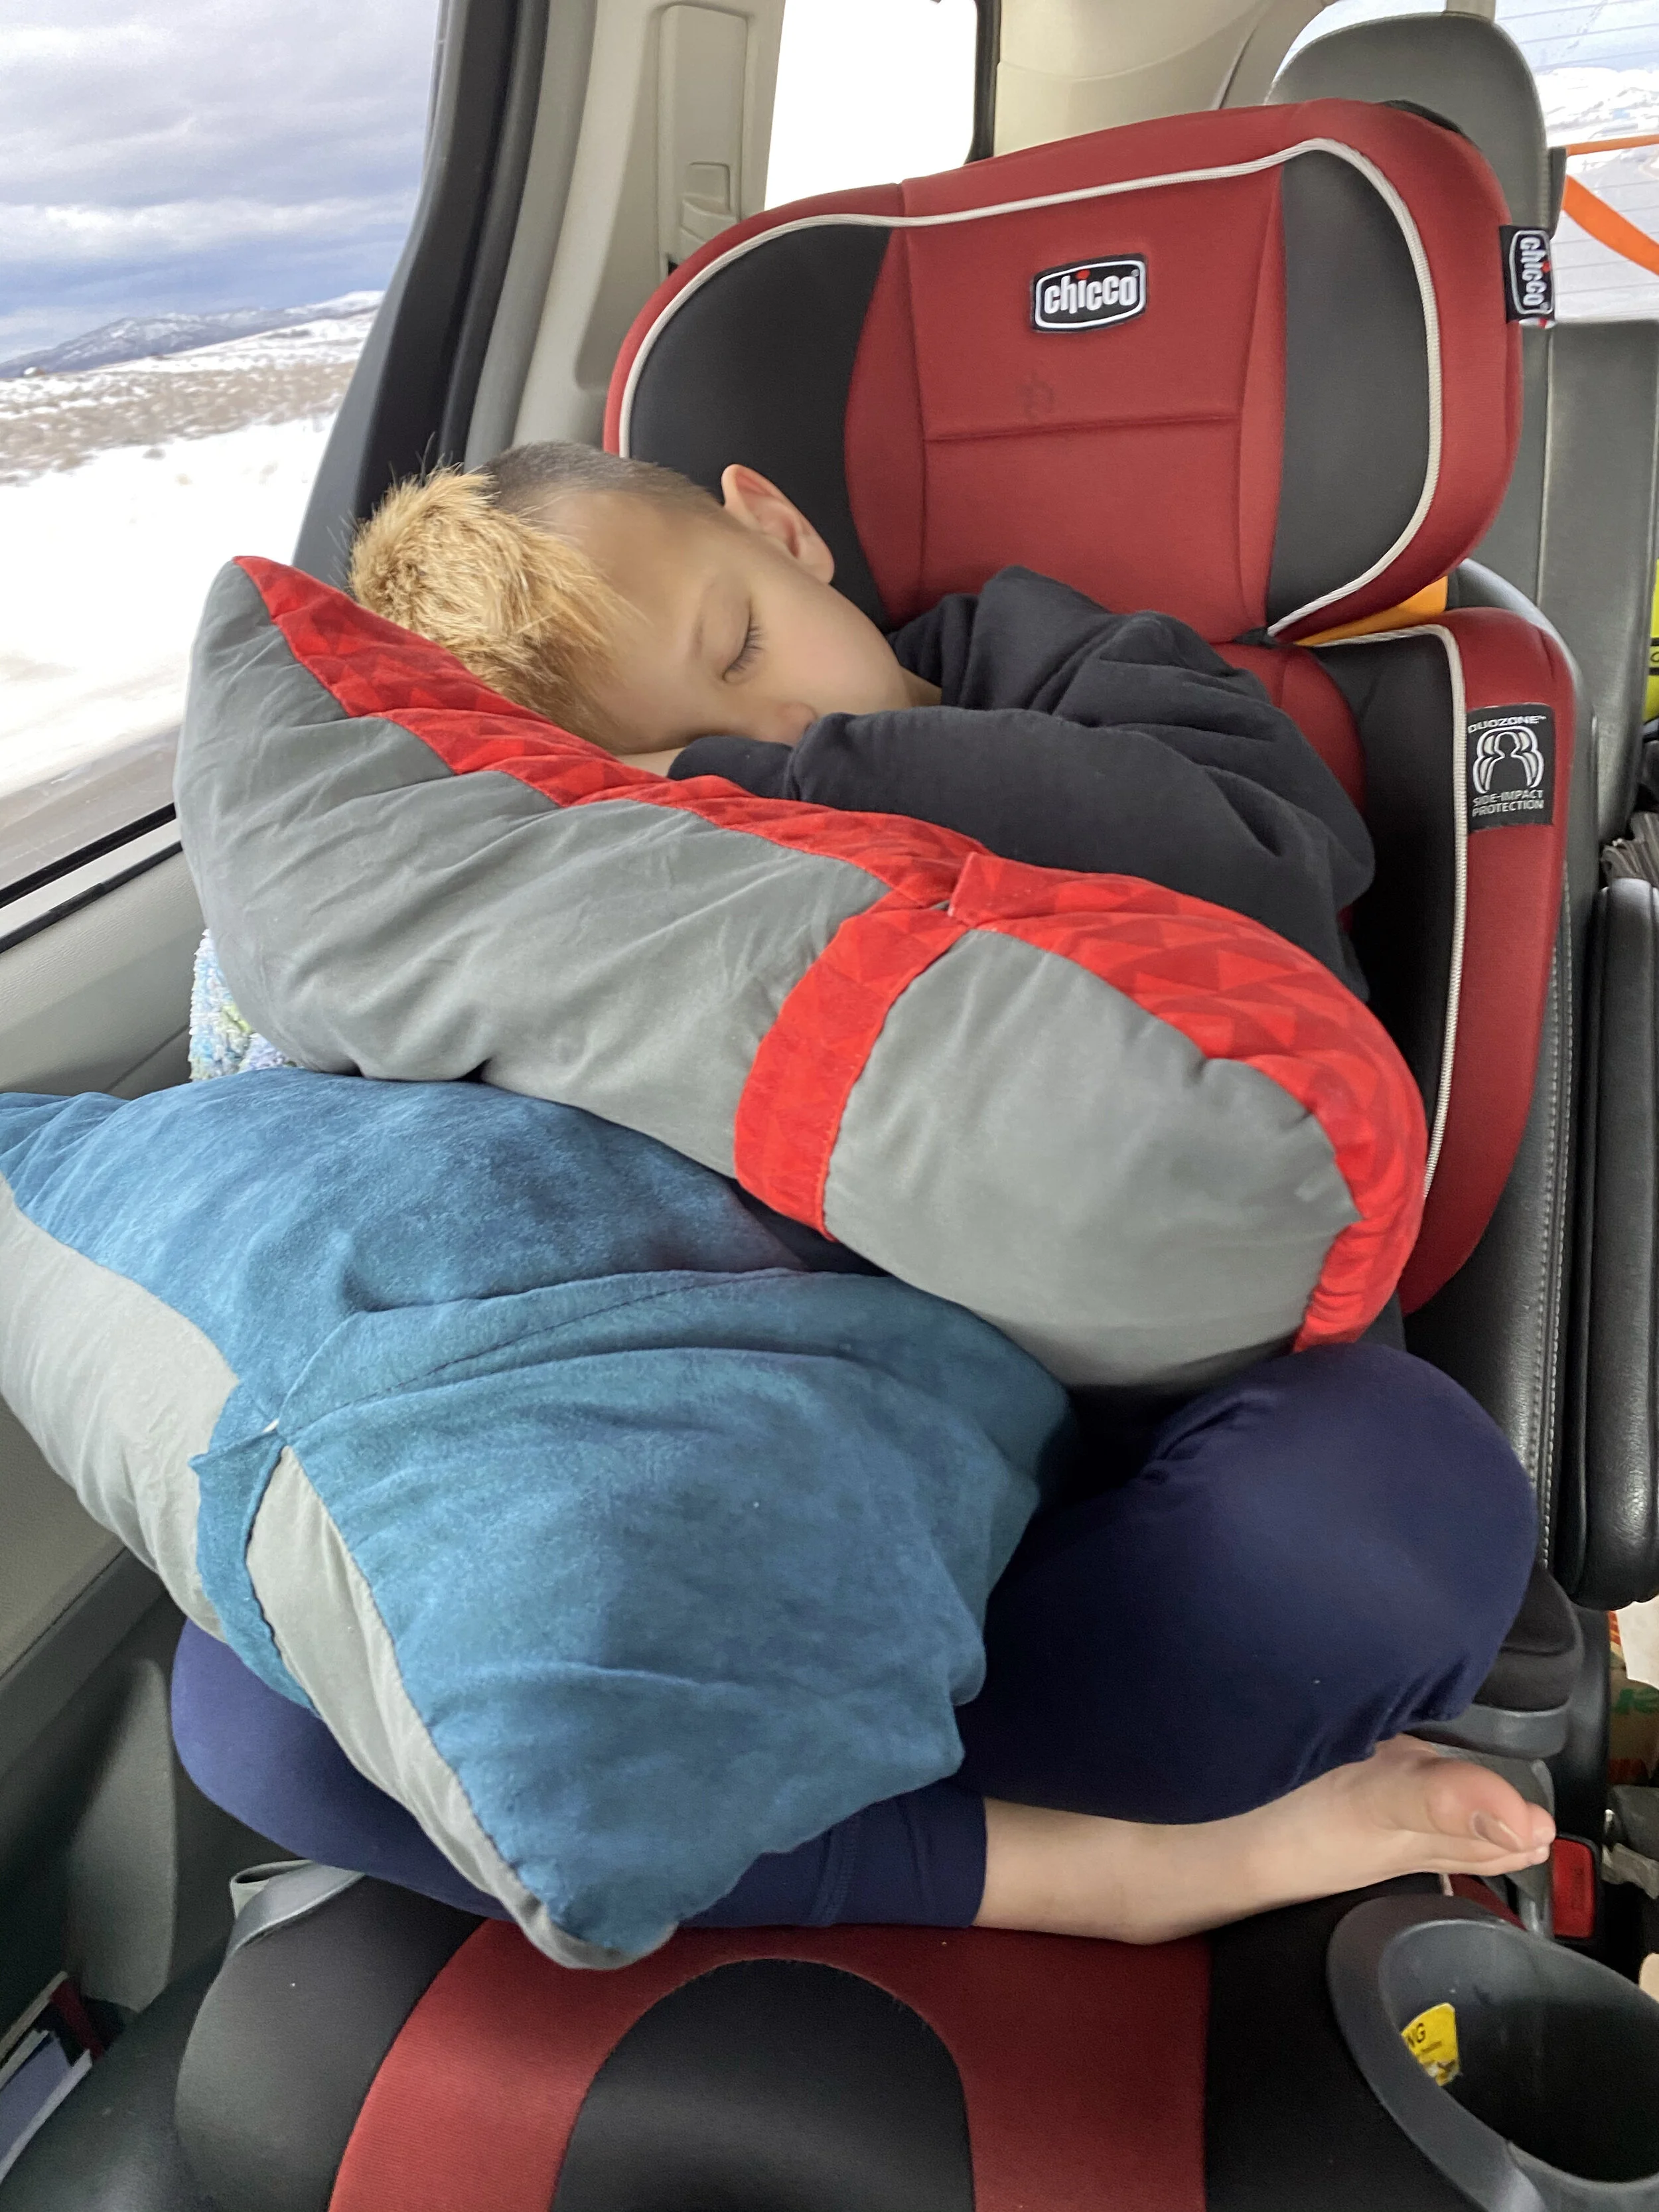
Little did I know that these two pillows would turn out to be wonderful and incredibly useful for much more than just backpacking. We take them with us camping and they are fantastic to have in the car on road trips. I’m a side sleeper and I like to sleep with a pillow hugged to my chest. When I’m camping, I can easily use the Small pillow and still fit in my sleeping bag. I have been trying to justify getting one or two more pillows for future trips.
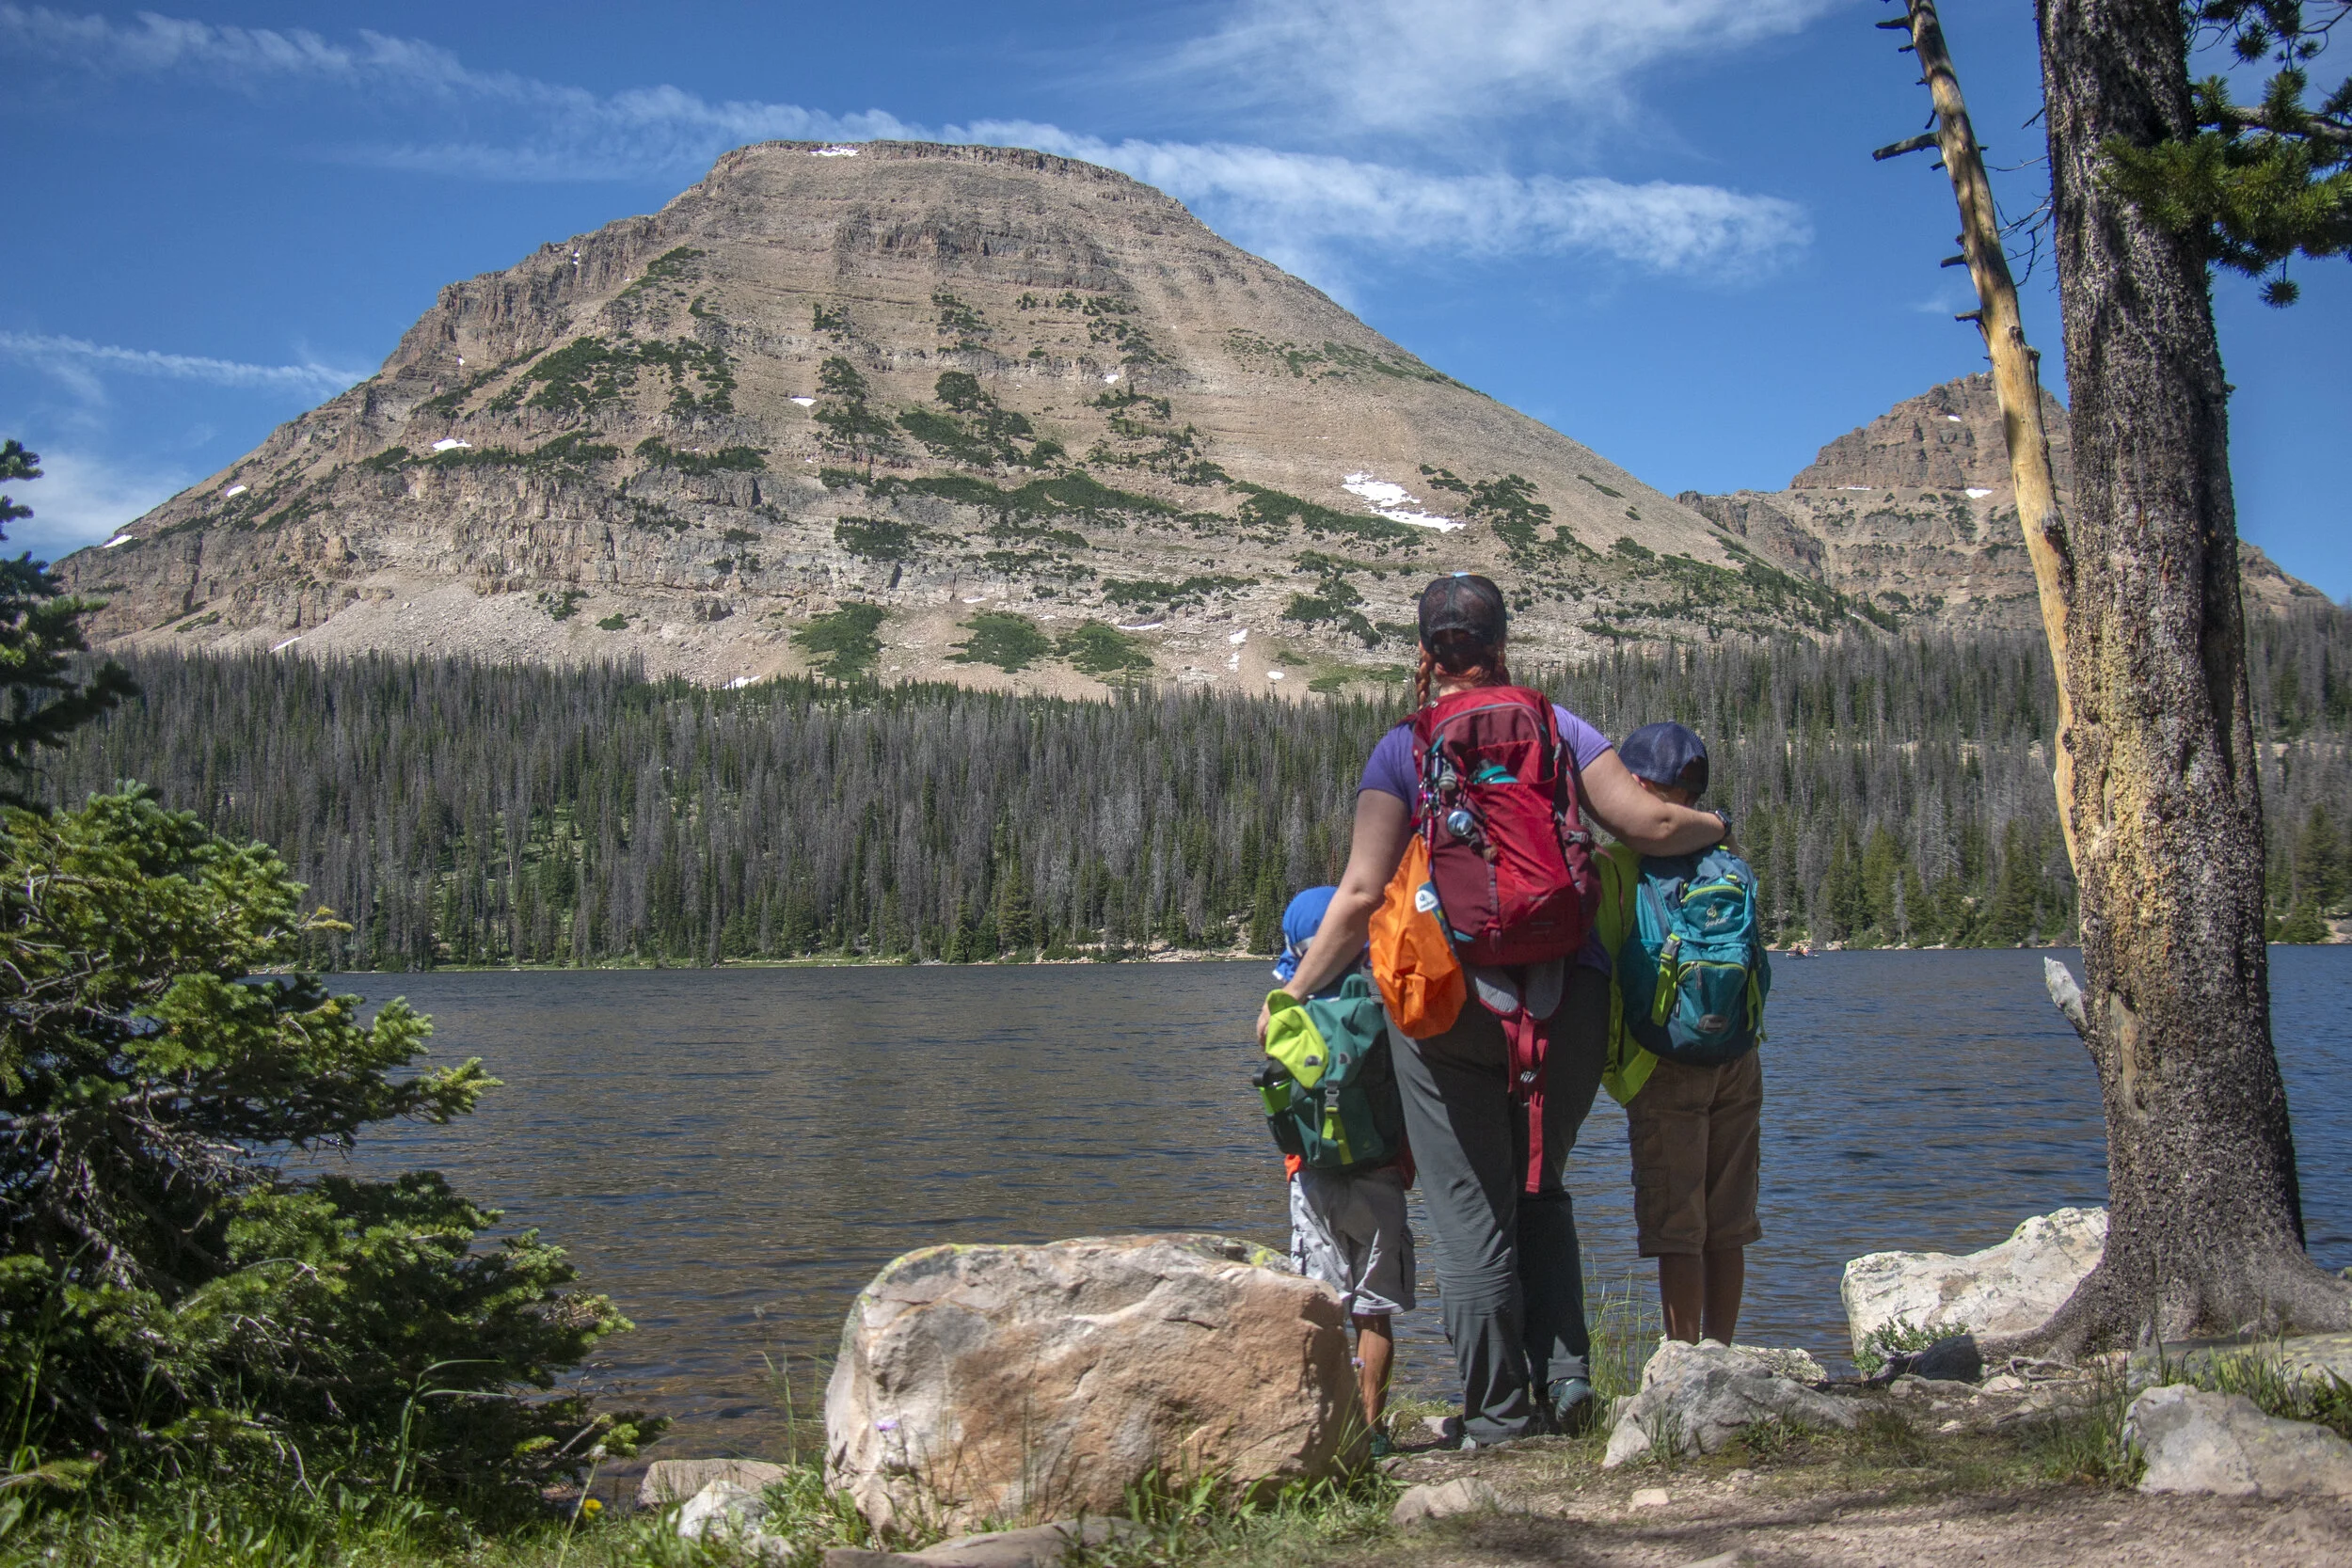
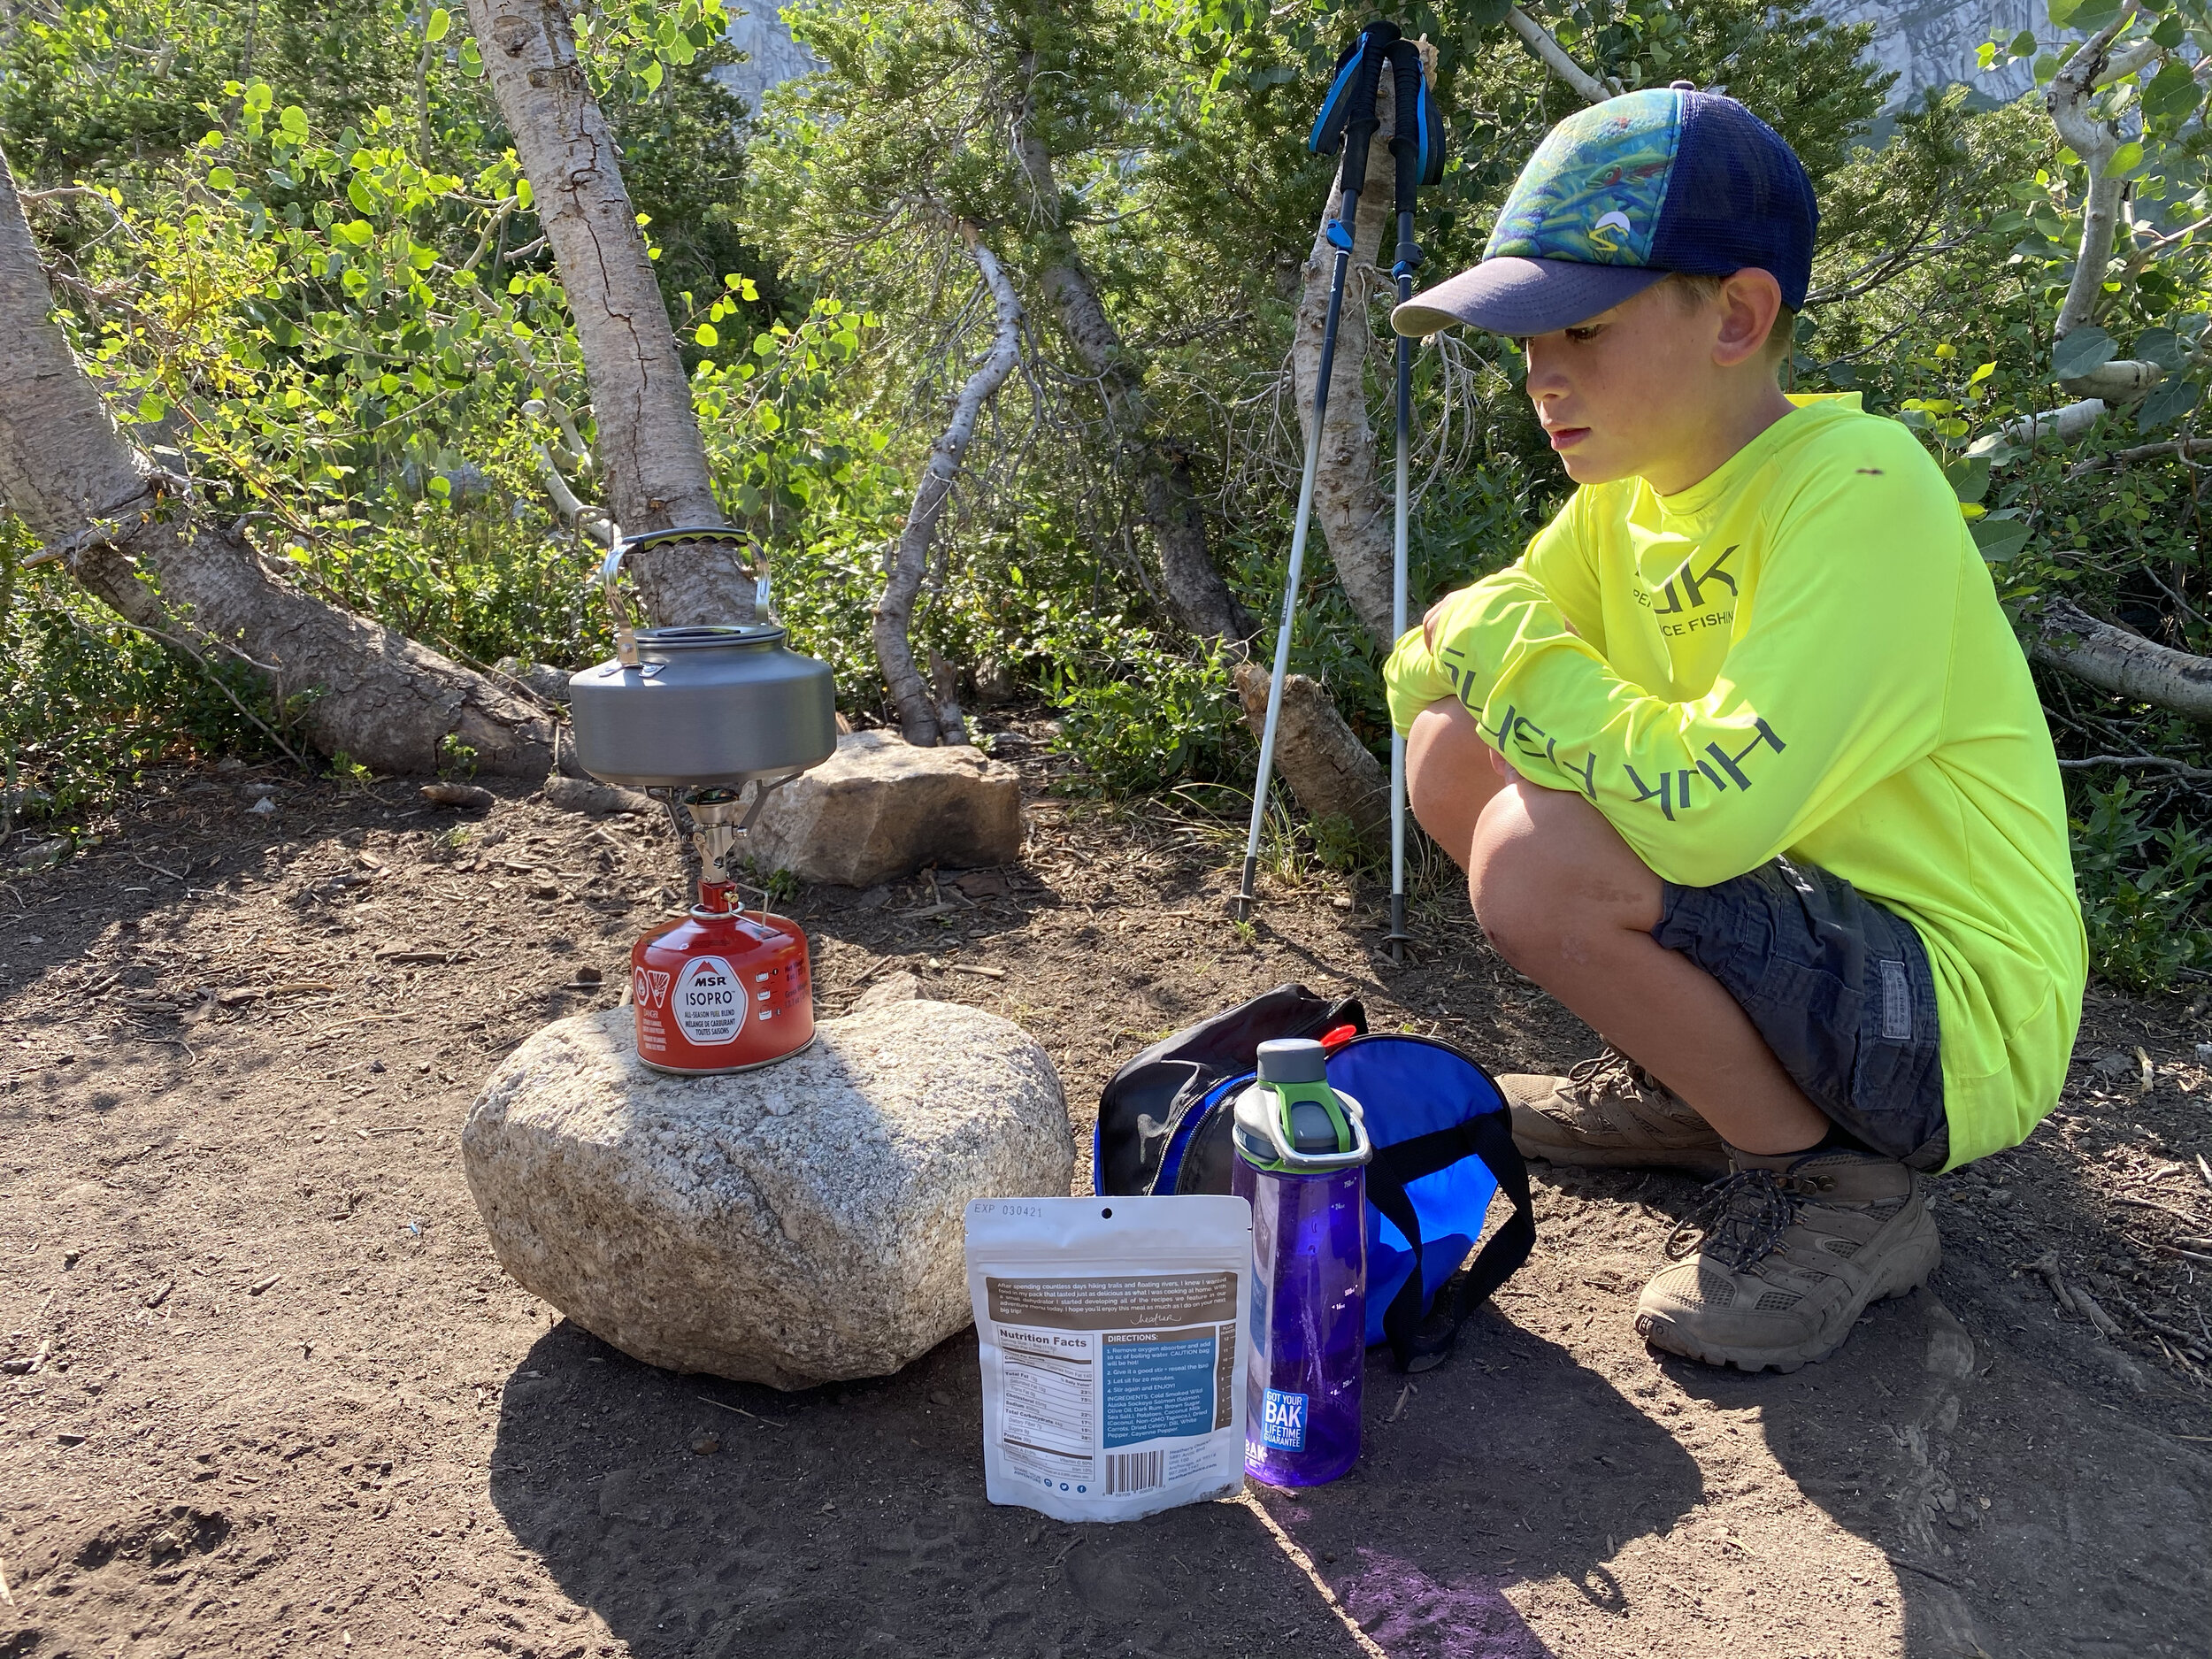
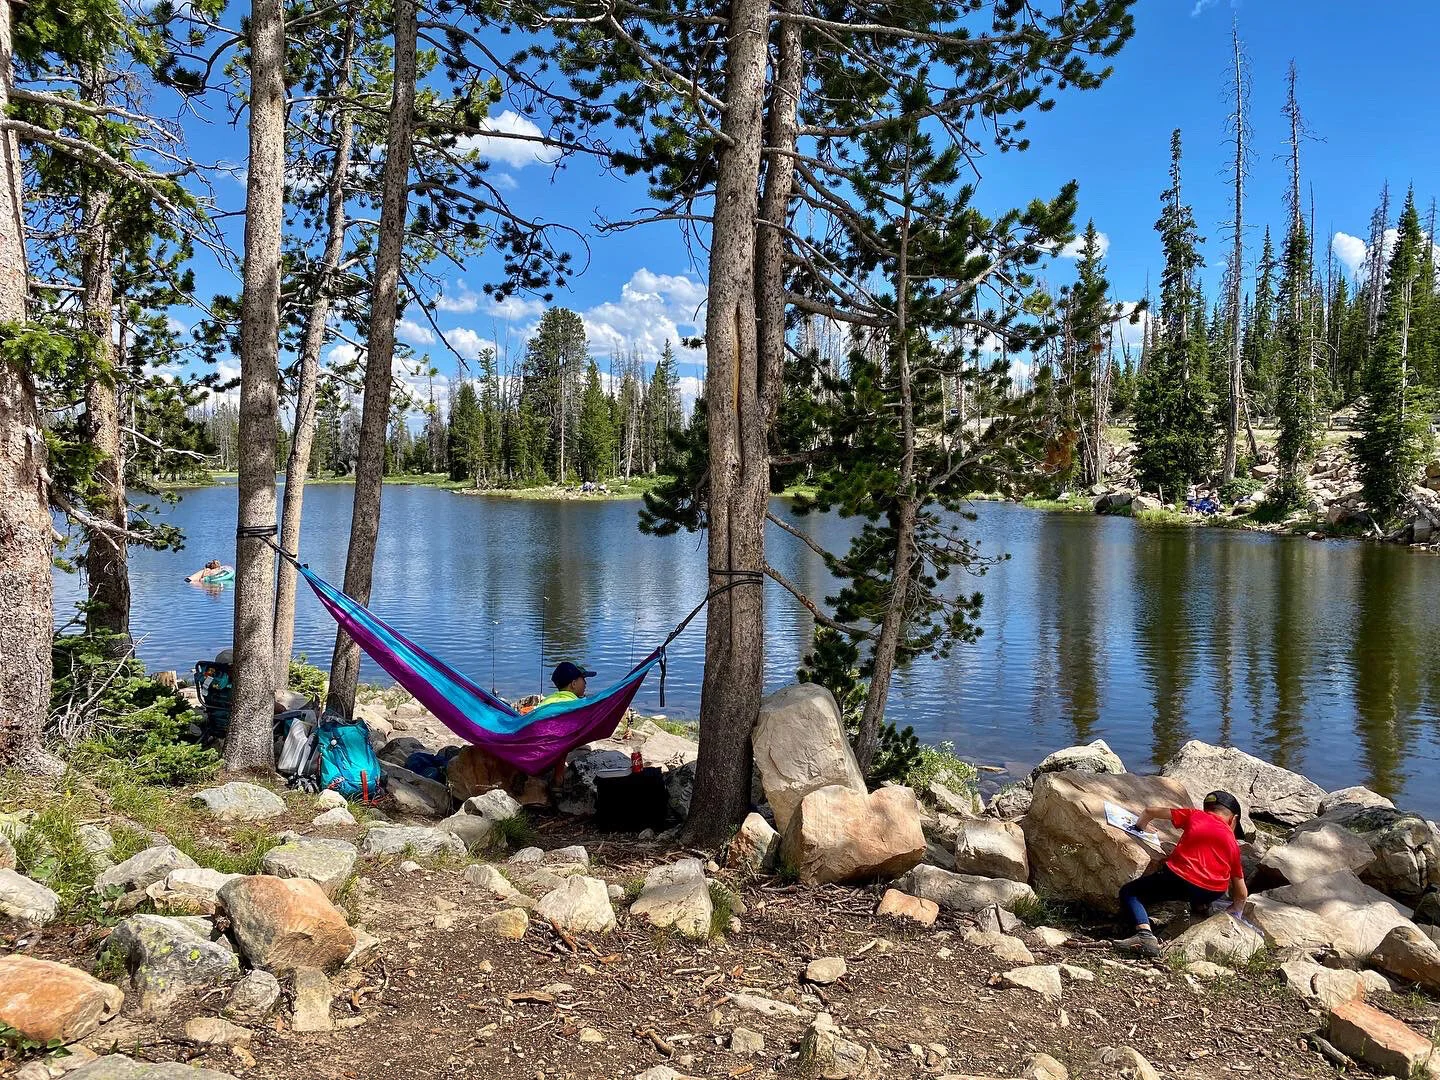
I also take the small pillow for when we spend a whole day out at a lake. My husband and my kids will spend the day fishing and I paint, read a book, or take a nap in my hammock and the pillow is super comfortable to sleep on and easy to pack into my backpack or even just a tote bag.
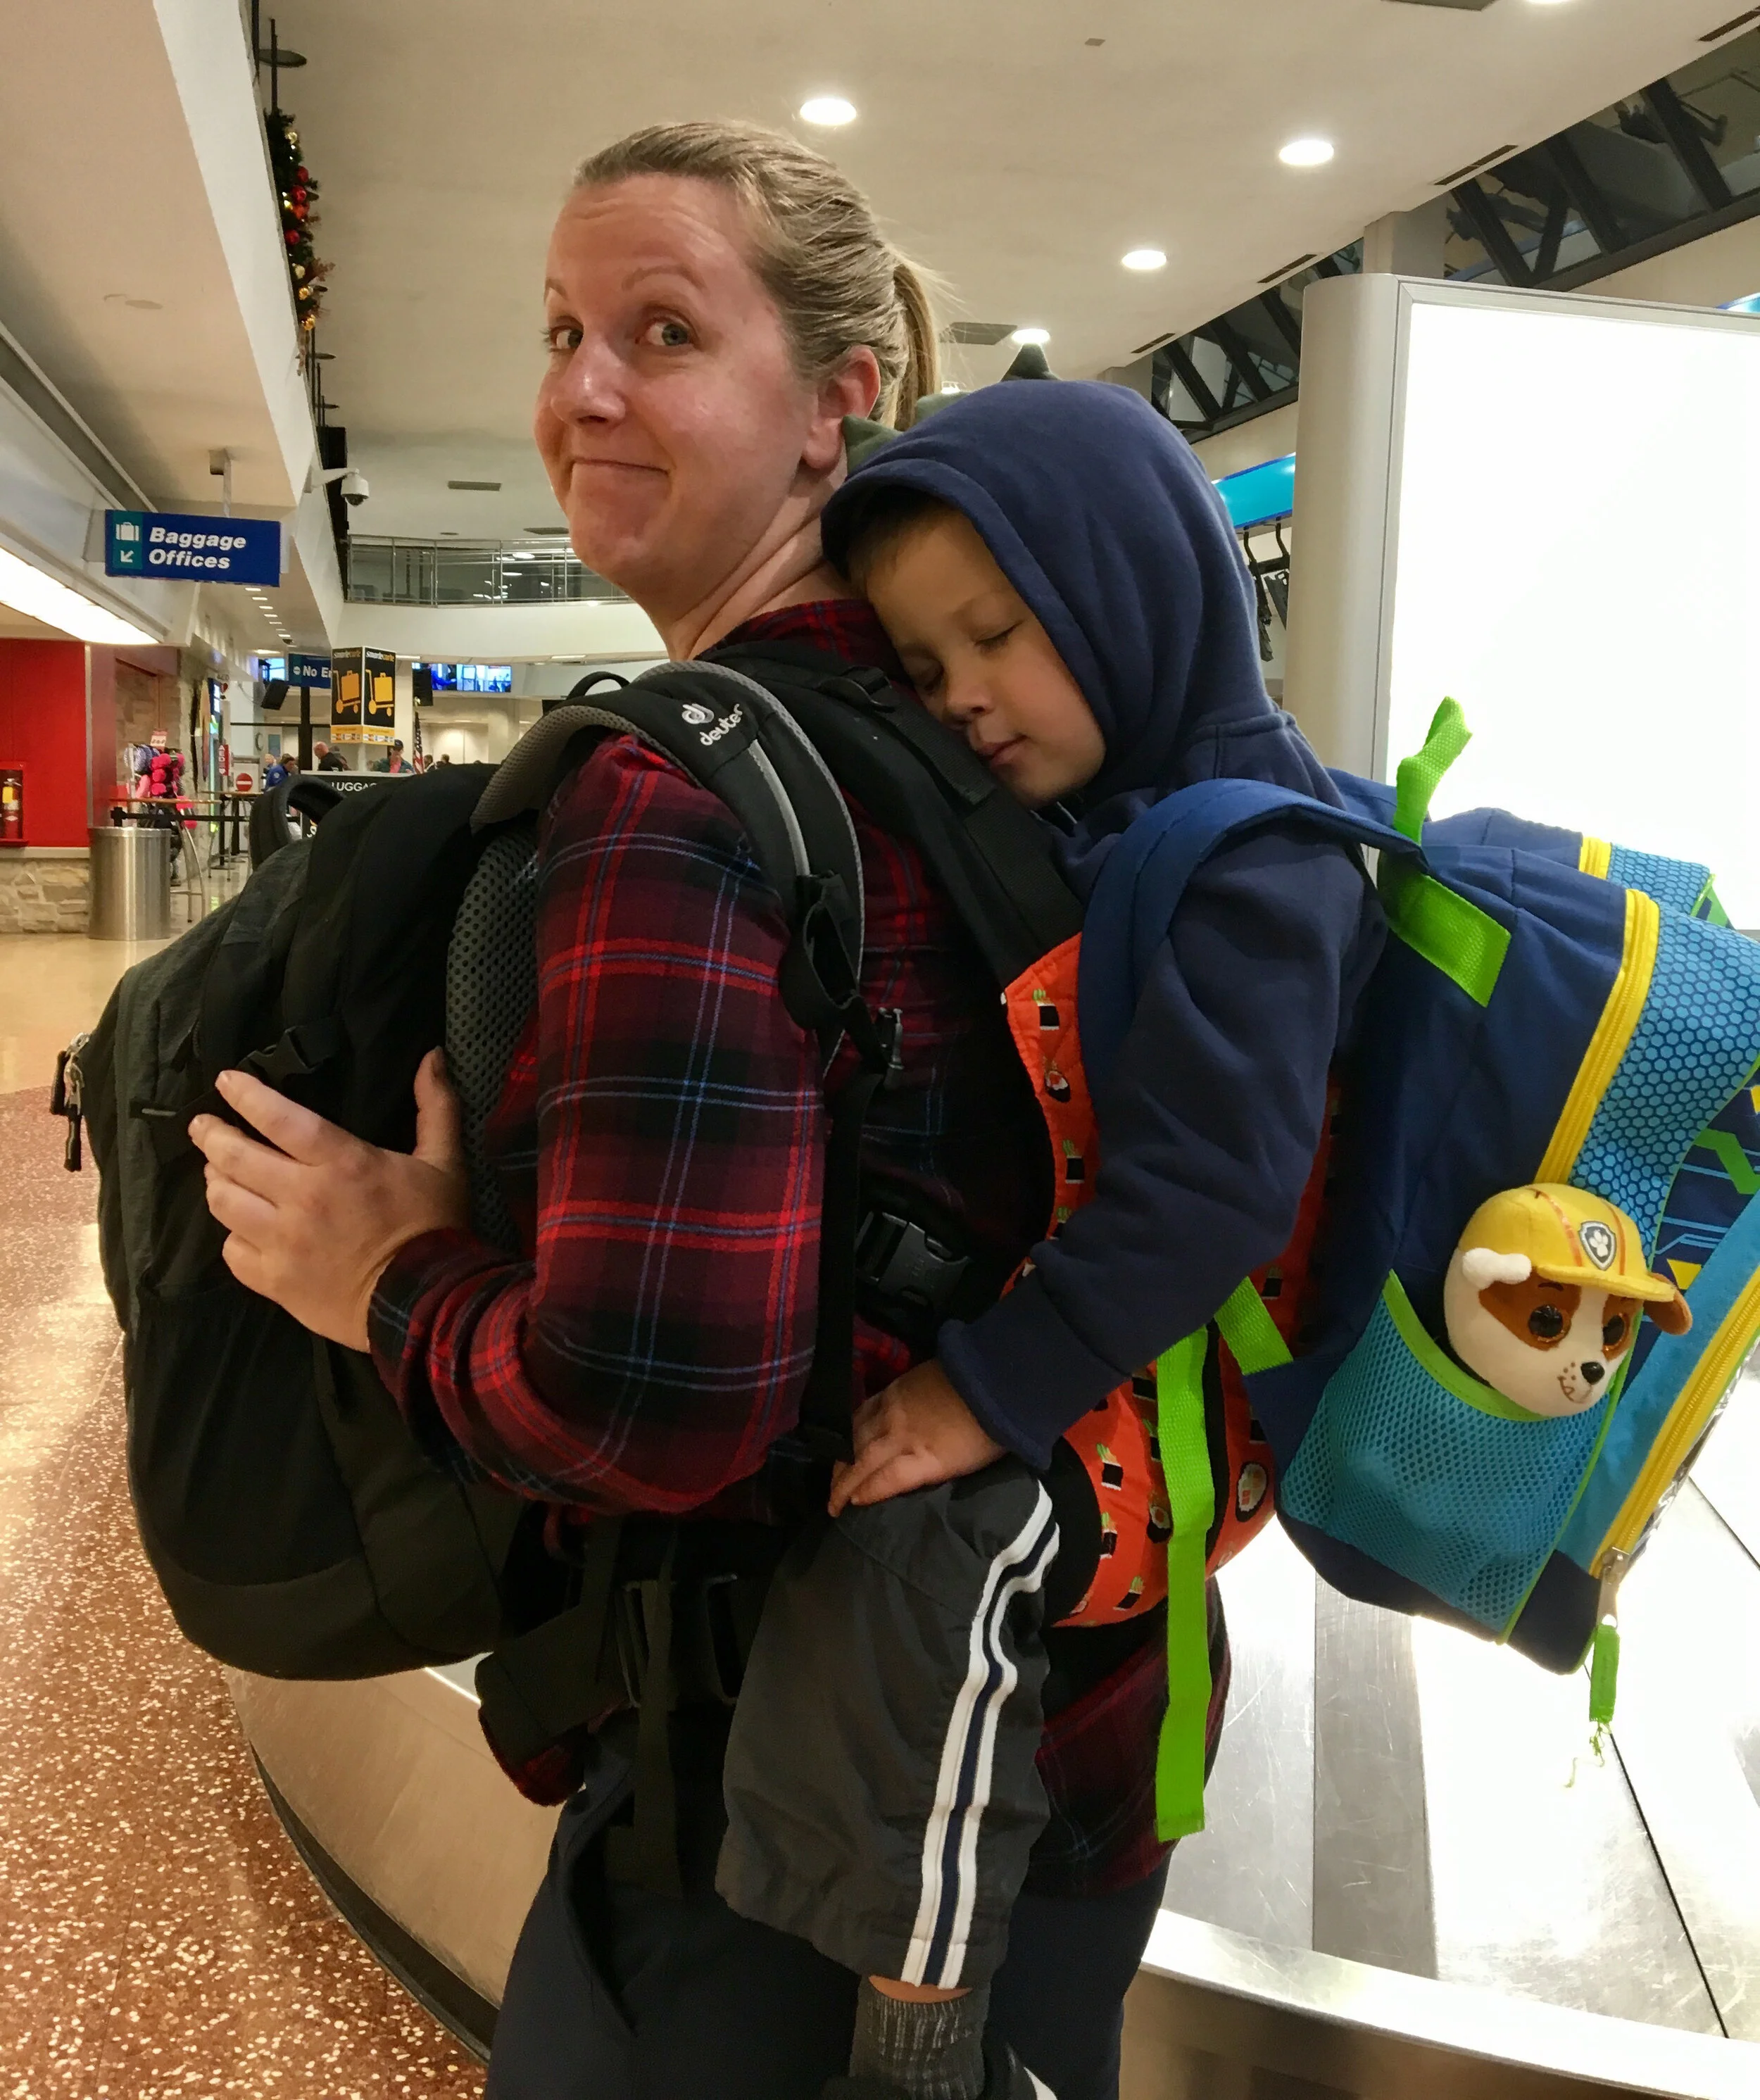
Since we had that pesky pandemic last year, I haven’t tried these pillows on an airplane yet, but I’m willing to bet they would work wonderfully to help my kids or me get a little sleep on the flight; whether it’s leaned against a bulkhead or a loved one’s shoulder.
Once my pillows get out of the dryer, I’ll add side by side images of them open and fluffed and then rolled up next to a standard Nalgene bottle so the sizing can be compared.
The BEST part of all: these pillows are machine washable and go in the dryer. Nothing fluffs up the pillow more than throwing it in the dryer. Obviously that’s not helpful when I’m backpacking, but knowing these can get dusty, dirty, or fall into a lake (I know that from experience!) or…. you know… drooled on… and then they can easily be washed when I get home gives me so much peace of mind. Huzzah!!