painting

Samy and Leo Painting

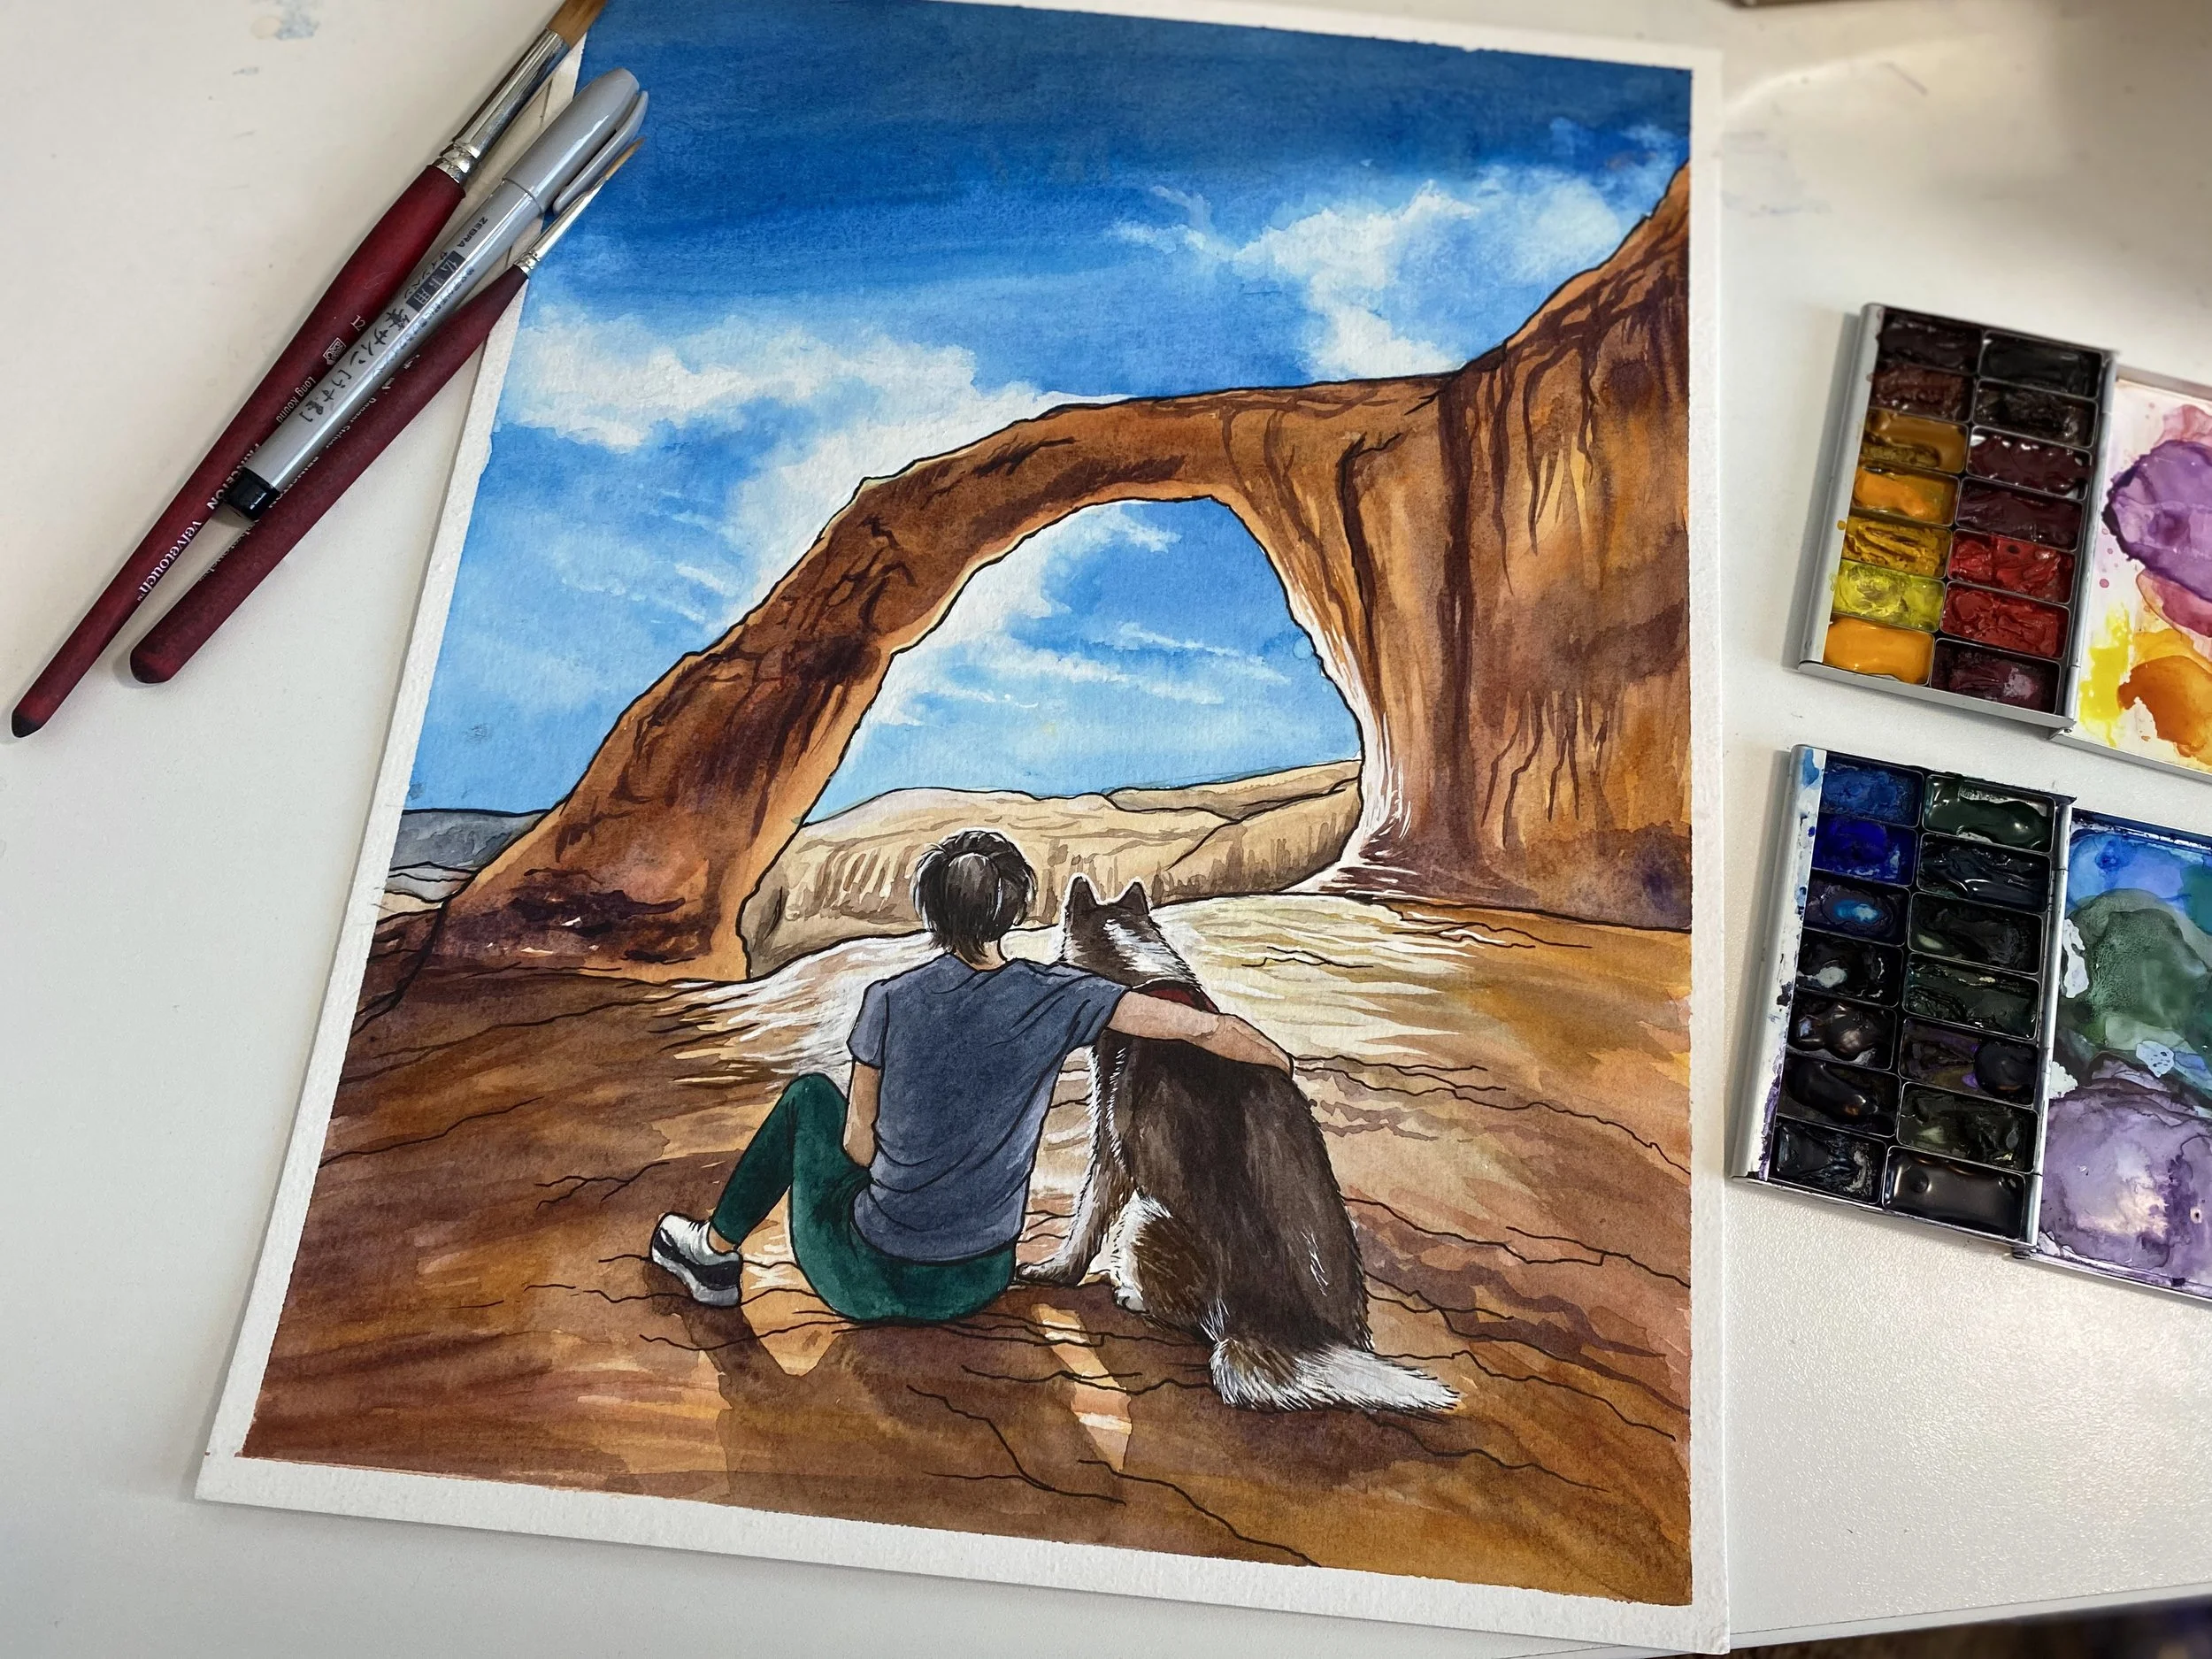
My friend and taekwondo master Samery asked me if I’d recreate this photo of her with her husky, Leo in watercolor and I was more than thrilled to do it for her. Corona Arch is one of my favorite hikes in the Moab, UT area as is apparent with how many times I’ve painted it.

This photo proved to be an interesting challenge with the position of the sun and shadows. Samy and Leo are sitting in the shadow of the arch with the sun behind the arch itself, but the shadows have been brightened up considerably. I chose to scoot them forward a little so I could give them a nice cast shadow. This grounded them to the rock better than when I tried to put them in the shade on an early sketch.

Of course, then I was left with what to do with the arch itself with the sun right behind it. The arch should be much darker than it really is and the sun causing a flare on either side. Rather than figure out how to do this in watercolor, I just gave everything a rim light; the arch, Samy, and Leo.

There’s just something cool about a rim light and a cast shadow.

Watercolor painting of Corona Arch with a woman & a husky

What do you think?

I still go back and forth on whether these were wise decisions and I have debated brightening up the sky in that space where the sun is supposed to be, but the end result is still something I’m happy with. I’ll cut a custom mat for it before giving it to Samy.

Watercolor painting of Corona Arch with a woman & a husky

Below you can view a TikTok video of the process in time lapse. I did continue to make a few changes after I stopped filming, but it’s pretty close.

10 Fun Facts About Me

Happy New Year!! I have lots of fun things planned for 2022 in my little world of painting and drawing, and I cannot wait to see how they evolve in the coming months.

My oldest son is 12 and he has aspirations to be a YouTube content creator someday… like many kids his age. He occasionally watches videos that give advice on social media marketing and asked me if I’d ever written a “Fun Facts” post. I haven’t, but figured I’d start the new year with a blog post and see how many I could come up with.

So here goes…

Headshot for Black Belt Testing

1. My son and I both tested for a Kukkiwon 1st degree black belt in taekwondo in October of 2021 and we both PASSED! It was really, really hard; both physically and mentally, but I’m so proud of both of us. I wrote much longer posts about my taekwondo journey and the test itself that you can read if you’re interested. We’ll get our black belts and certificates some time in early 2022 since they come from Korea.

2. I never developed a taste for coffee; not even coffee ice cream, and it took me until my 40s before I could enjoy a Frappuccino without cringing at the coffee flavor that most don’t even notice. I do enjoy a Frappuccino now and then and actually like the tiny coffee flavor now, so I wonder if I will eventually like coffee?

3. I hate roller coasters. They are not fun or exhilarating for me and I hate the feeling of falling or being dizzy. I will never skydive or bungee jump willingly. I even get a little anxiety when I fly if there’s any turbulence, but I love to travel, so I don’t let it stop me from exploring when I can.

4. I took the class to become a soccer referee when I was 15 in an effort to earn a little money and maybe give me an edge as a player. I ended up being pretty good at it and the year I turned 17, I earned the title of Region IV Youth Referee of the Year; one of the top 4 female referees in the US under age 24. I got to travel to some big tournaments as a result; including the US Youth Soccer National Championships as a guest. I got to referee games with FIFA referees Brian Hall and Kari Seitz. Two years later, my brother earned the same honor and went a step further being chosen as National Youth Referee of the Year.

Collage of Old Soccer Referee Photos

5. I spent 30+ years hating avocados; gross texture and flavor. It wasn't until I was pregnant with my youngest in 2014 that I started to like them and now I love them. Weird!

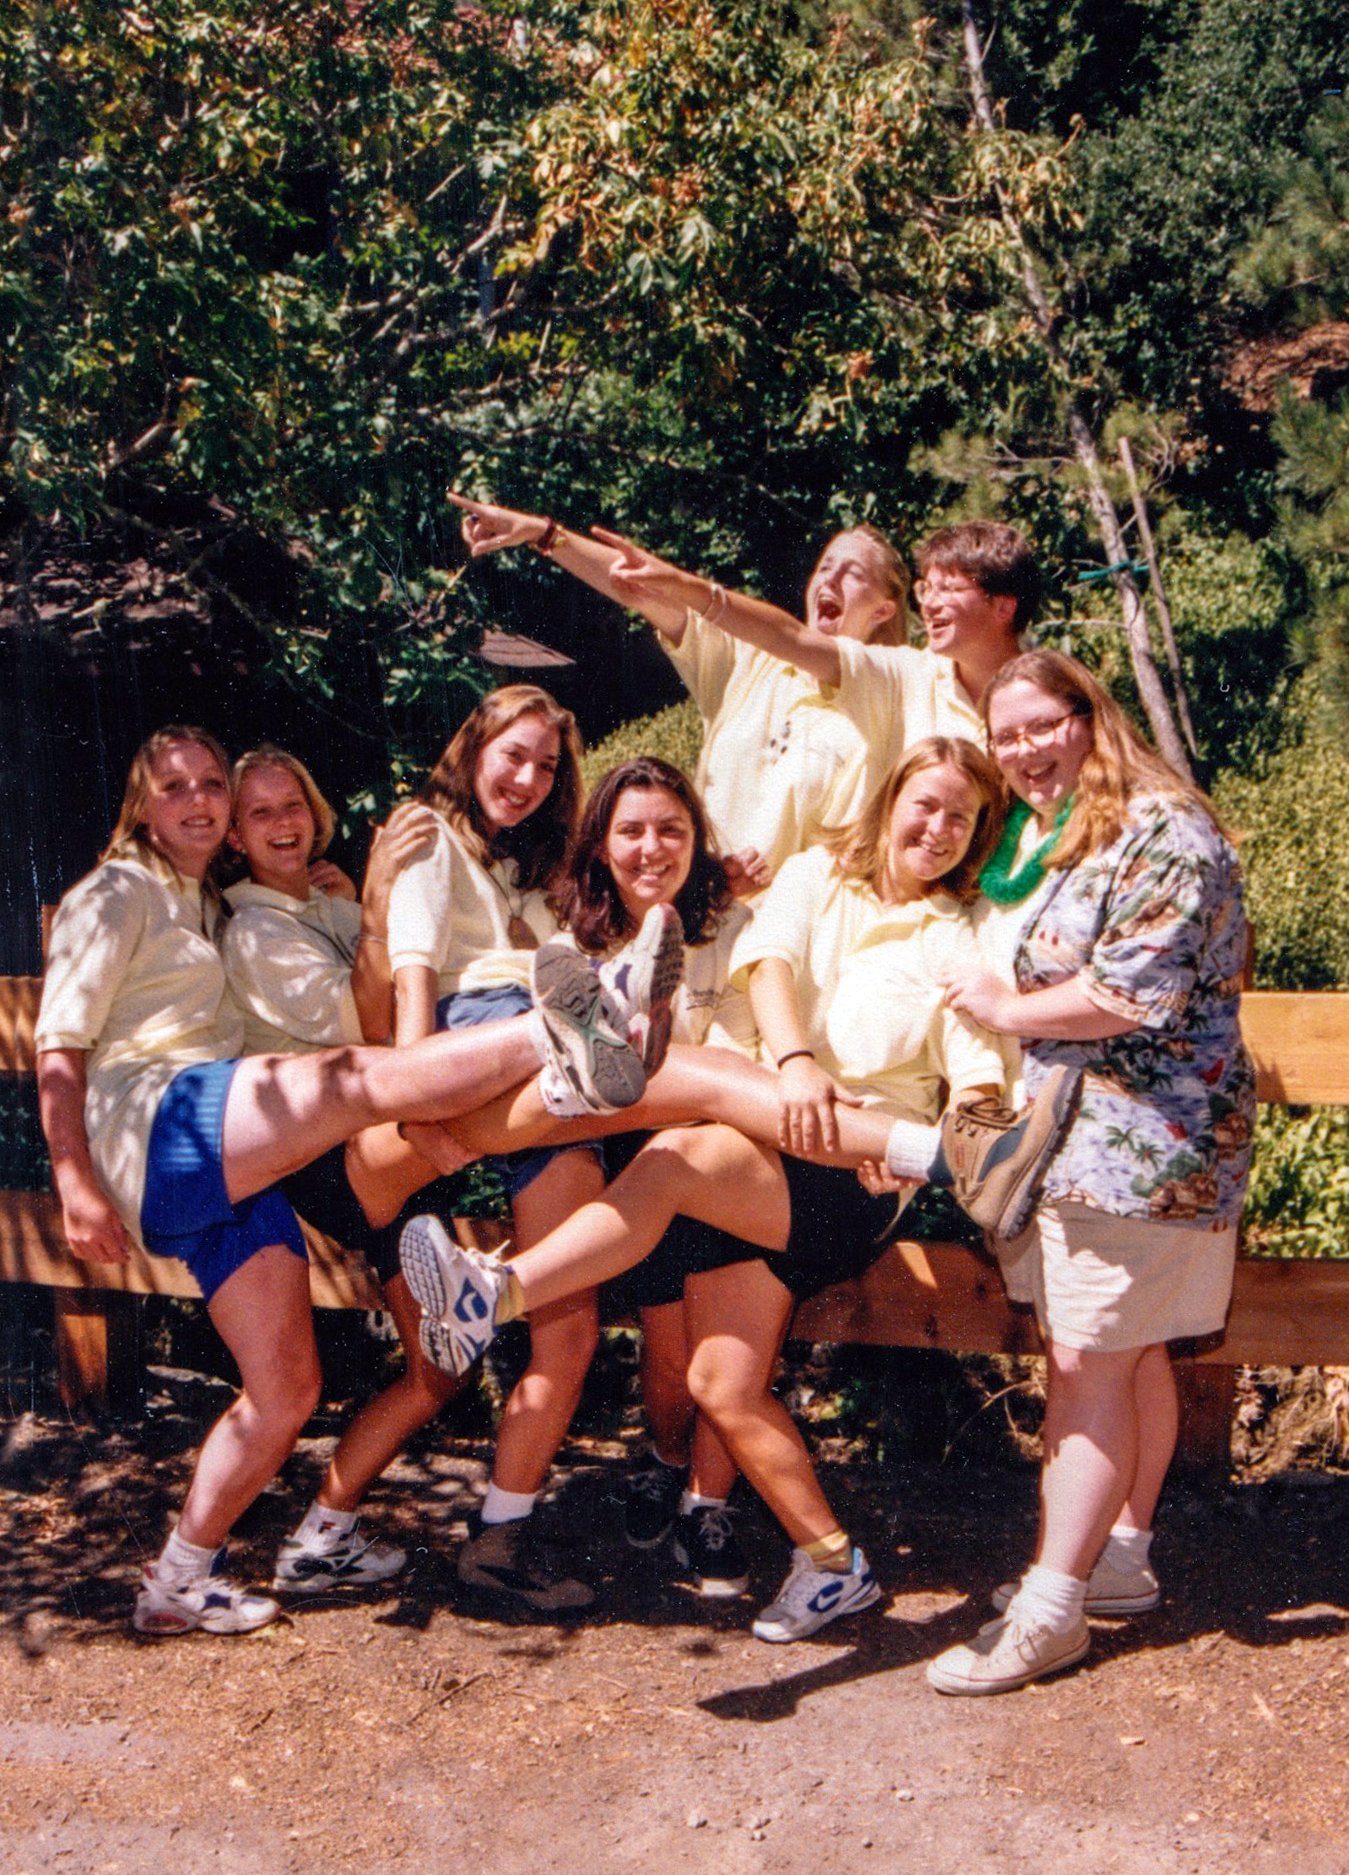
Goofy Girl Scout camp counselors

Goofy camp counselors. Made some amazing friends.

6. When I was 18, I had a job at a Girl Scout camp where I lived there all summer curating the arts & crafts program. My camp name was Batty; named after the cartoon bat from the movie Fern Gully. I have no recollection why I chose that name. I do remembering thinking bats were cool (still do) and maybe I couldn’t think of any other camp name, so it stuck. I had so much fun at that job that I dream of getting to do it again someday.... even though I would be 15-25 years older than ALL of the other staff members and the pay is pretty terrible. I even remember the words to most of the Girl Scout songs I learned growing up.

7. My maiden name is Tebow and my family is supposedly, distantly, related to the NFL player with the same last name. Not sure how we’re related, but his fame helped the rest of the country learn how to say Tebow correctly.

8. My husband and I dated for almost 10 years before we got married and it was mostly due to economics. When we both were in college, rent was already getting crazy in the San Francisco Bay Area, so we both stayed living at home well into our 20s. Neither of us wanted to spend a bunch on rent and have it keep us from being able to buy a house. Also, in 2001 we had 6 weddings to either attend or be part of, so we were OVER weddings for a long time. We finally got married in the fall of 2007.

Selfie with my boyfriend at Lake Tahoe

Selfie in Lake Tahoe BEFORE there was even a word for a selfie… with a regular camera too!!

9. I am mostly left-handed, but ambidextrous with my feet; which comes in handy when playing soccer and in martial arts. I write, draw, paint, and eat with my left hand, but I brush my teeth and use scissors with only my right hand. I use tools like a screwdriver or hammer with both hands. I have never met anyone who has similar ambidextrous quirks.

10. I am a recipient of the Girl Scout Gold Award; the highest award someone can get in Girl Scouting as a youth. It’s the equivalent of the Eagle in Boy Scouting. My Gold Award Project involved painting a few murals in the hallways of my high school and polling the student body on whether they thought it could prevent vandalism and graffiti. I am also a Lifetime Member. These photos here show two of the first small wall paintings I did in the hallways of my high school. On the left I painted my friend Jamila and just across that hallway, she painted me. Then I did a version of Picasso’s Three Musicians. For my Gold Award Project I painted a really large piece of masonite (maybe 4x6 feet? I can’t remember) that ended up being hung in the main office. It had an earth in the middle and a bunch of faces of teenagers of different ethnicities around it. I'm kinda bummed I don’t have a photo of it finished… but also not that sad, because I’ve always been a better landscape painter, ha!

If you know me, were any of these new info to you??

15 Gift Ideas for Young Artists

Do you have a child in your life who is interested in art? A kid who always wants to draw or color, the kid whose eyes light up when there’s a craft project to work on, or the kid who proudly displays their artwork on the fridge? I was totally that kid growing up and nothing made me happier around my birthday than to receive new art supplies. I’ve compiled a list of items I would have loved to receive when I was a budding young artist.

Real quick…

One thing I would AVOID is probably kind of frustrating because it’s an easy gift: those big art sets that have a little bit of everything… colored pencils, watercolor, oil pastels, acrylic or oil paints, markers, and more. They are essentially a “try everything” set for new artists. I remember receiving a these sets when I was a kid and determining that I hated oil pastels or watercolor or colored pencils. I didn’t actually hate those mediums, but the quality of them in those sets was really low. They are some of the cheapest quality materials out there and when you’re learning how a medium works, they are really frustrating to create with.

Instead, find out what medium they are playing with at the moment and buy some higher quality versions; depending on your budget of course. If you can only spend $20 or $30, get a smaller set of high quality markers like Copic or Tombow. Get some fine line pens from Zebra Fude or Faber Castell. Consider some quality watercolor pencils and a brush or a dabbler set of paints from a known and easily available brand like Grumbacher, Daniel Smith, Holbein, or Winsor & Newton. You can usually buy these at Michael’s or JoAnn or shop online at Blick Art Materials. Blick even has a couple of brick & mortar stores in the US.

Still not sure what to get? Reach out to an artist and ask. I’m always happy to make recommendations!

Lots of affiliate links in this post. If you shop from them, please accept a wholehearted thank you!

Gift Ideas for Young Artists

Sketchbooks - Sketchbooks come in a seemingly infinite number of sizes and styles from pocket-sized to oversized with just as many varying types of paper. If your budding artist likes to do both painting and drawing, consider a sketchbook filled with mixed media paper or watercolor paper. If they are only into drawing, charcoal, and/or markers, then a drawing pad or sketchbook would be great. I’d stay away from newsprint because the paper is very low quality; think of the quality of newspaper. You can even level up on your gifting game and head to Etsy for a personalized sketchbook with the artist’s name on it.

Drawing Set - Different from low-quality art sets! It wasn’t until I was in middle school that I learned about the different hardness and softness of pencils and what I could do with them… and why I always smeared everything I drew with a No. 2 pencil with the palm of my left hand. My son was impressed when I explained why I didn’t want to use his No. 2 pencil to sketch out a watercolor painting because it would leave me with smeared graphite that I would have to erase. A drawing set along with a year subscription to Skillshare or another online learning platform would make for a wonderful gift.

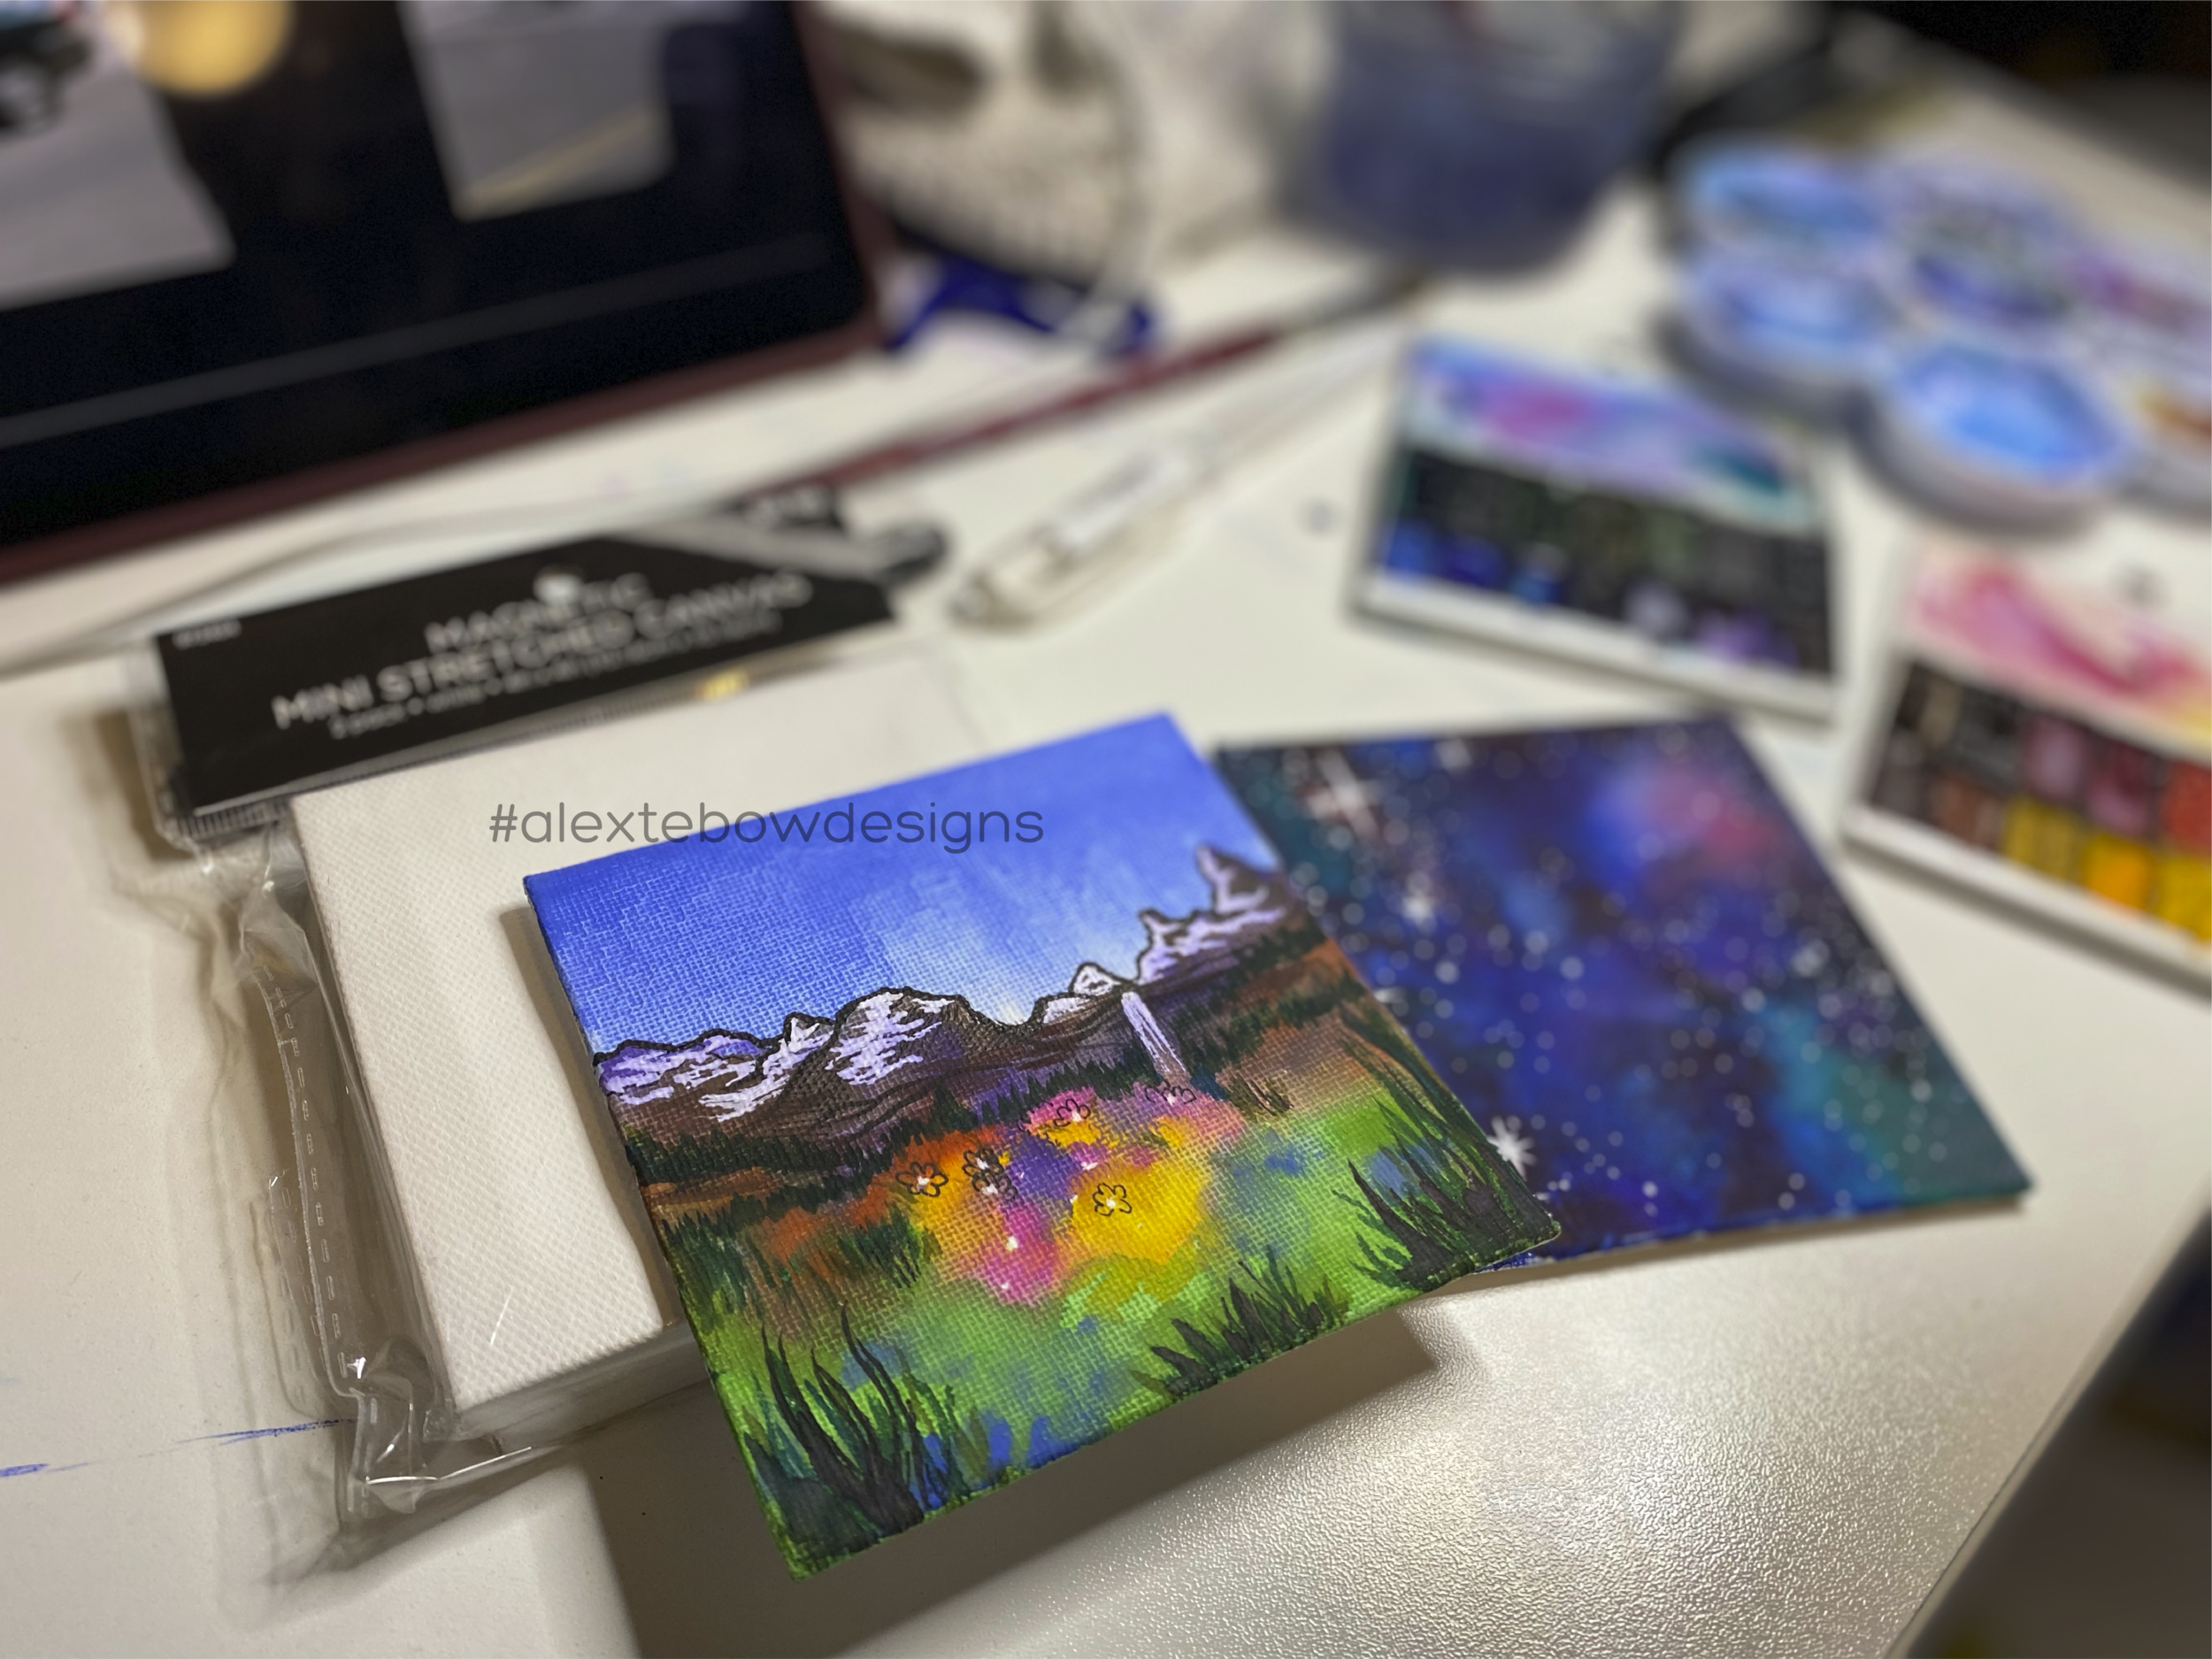
Mini Canvases - My kids and I love to paint on little canvases. We have some 4x4 inch canvases right now, but I have seen as small as 3x3. And some of these little canvas kits come with a tiny easel to display the canvas. They are seriously so cute and can make for fun, custom ornaments if you can add a string or hook to the top.

Gift Ideas for Young Artists

Calligraphy/Lettering Book - A lot of creative kids these days are interested in learning calligraphy and stylized lettering. How about getting them a book that is geared to learn just that? This book is designed to help teens learn how to write in cursive too, since many schools aren’t teaching it anymore.

Brush Tip Markers - If you’re gifting a book on lettering or calligraphy, how about some awesome markers to go with it? Pricing can vary from brand to brand, but the ones I’ve used and love are Tombow, Prismacolor, and Copic. I have often seen Tombow and Prismacolor markers on sale at Michael’s. For black, waterproof markers I use Zebra Fude and Faber Castell Pitt. If I’m doing an ink drawing that my son is going to paint on top of, having waterproof ink is essential.

Gift Ideas for Young Artists

Tie-Dye Kit - How about teaching your child how to tie dye? First off, try to avoid using pre-mixed liquid dyes from Rit. Their dyes aren’t colorfast, which means they will bleed onto everything in the wash and fade little by little with every wash. Tulip makes wonderful kits that use a powdered dye that is meant to last longer after washing and the dye won’t bleed onto other fabrics when the directions are followed. This tie dye kit from Dharma Trading Co only has three colors, but it uses super high-quality dye and includes soda ash; an ingredient that guarantees more vibrant and colorfast results. When I’m doing ice dyeing, I use Procion dyes from Dharma Trading Co.

Window Crayons or Markers - Where were these when I was a kid?! I would have been ALL over these to decorate my bedroom window for every holiday. These are supposedly very washable and super fun to use. I may be getting those markers for myself this Christmas.

Scratch Boards - My my youngest son told me I needed to add this to the list. He loves these black scratch boards to draw on. He’s done a few kits that have a drawings already on there and some where he just draws what he wants and he loves them. Best of all, these are fantastic for travel as they use minimal supplies and are relatively mess-free.

Gift Ideas for Young Artists

Friendship Bracelet Kit - I have so many fond memories of making friendship bracelets when I was young. Most summers I had a bracelet-in-progress in my pocket or safety-pinned to my jeans. My kids recently asked me to make them a bracelet and I was both touched and kind of shocked. You can buy embroidery floss at craft stores inexpensively and put a kit together yourself or you can spend a few bucks more for a kit that includes an instruction book. I would typically opt for the embroidery floss on its own and then head to YouTube for instructional videos. For younger kids who might need help with the fine motor skills needed for friendship bracelets, I’d look at one of the looms out there, like this one.

Paint-by-Number Kits - There are loads of different paint-by-number sets out there with difficulties ranging from preschool to holy-crap-this-is-hard-for-adults. I spent a few months on a rather advanced one that I made for my son and even with my experience with painting, it was a really fun challenge. There are so many out there to choose from, so have fun. They are great for kids who don’t think they are “artistic” or they can’t think of what to paint when given a blank canvas. And this still gets them working on fine motor skills and helps them learn about color theory and using different colors to show depth.

Gift Ideas for Young Artists

Spirograph - I had a Spirograph when I was a kid and I would spend hours playing with it; creating fun designs. It’s a wonderful tool that uses gears to create beautiful tessellations. There are countless ways to create artwork. I remember learning about mandalas and applying them to my Spirograph creations. Drawing with a Spirograph also helps build fine motor skills and I’m sure there’s a math lesson in there too.

Travel Watercolor Kit - Multiple brands make travel-sized kits for travel that would be perfect for kids who are getting into painting. Teaching painting en plein air is a wonderful way to instill a love for painting and travel together and can teach about composition. These kits fit wonderfully in backpacks, fanny packs, and some are even small enough to fit in your pocket.

Gift Ideas for Young Artists

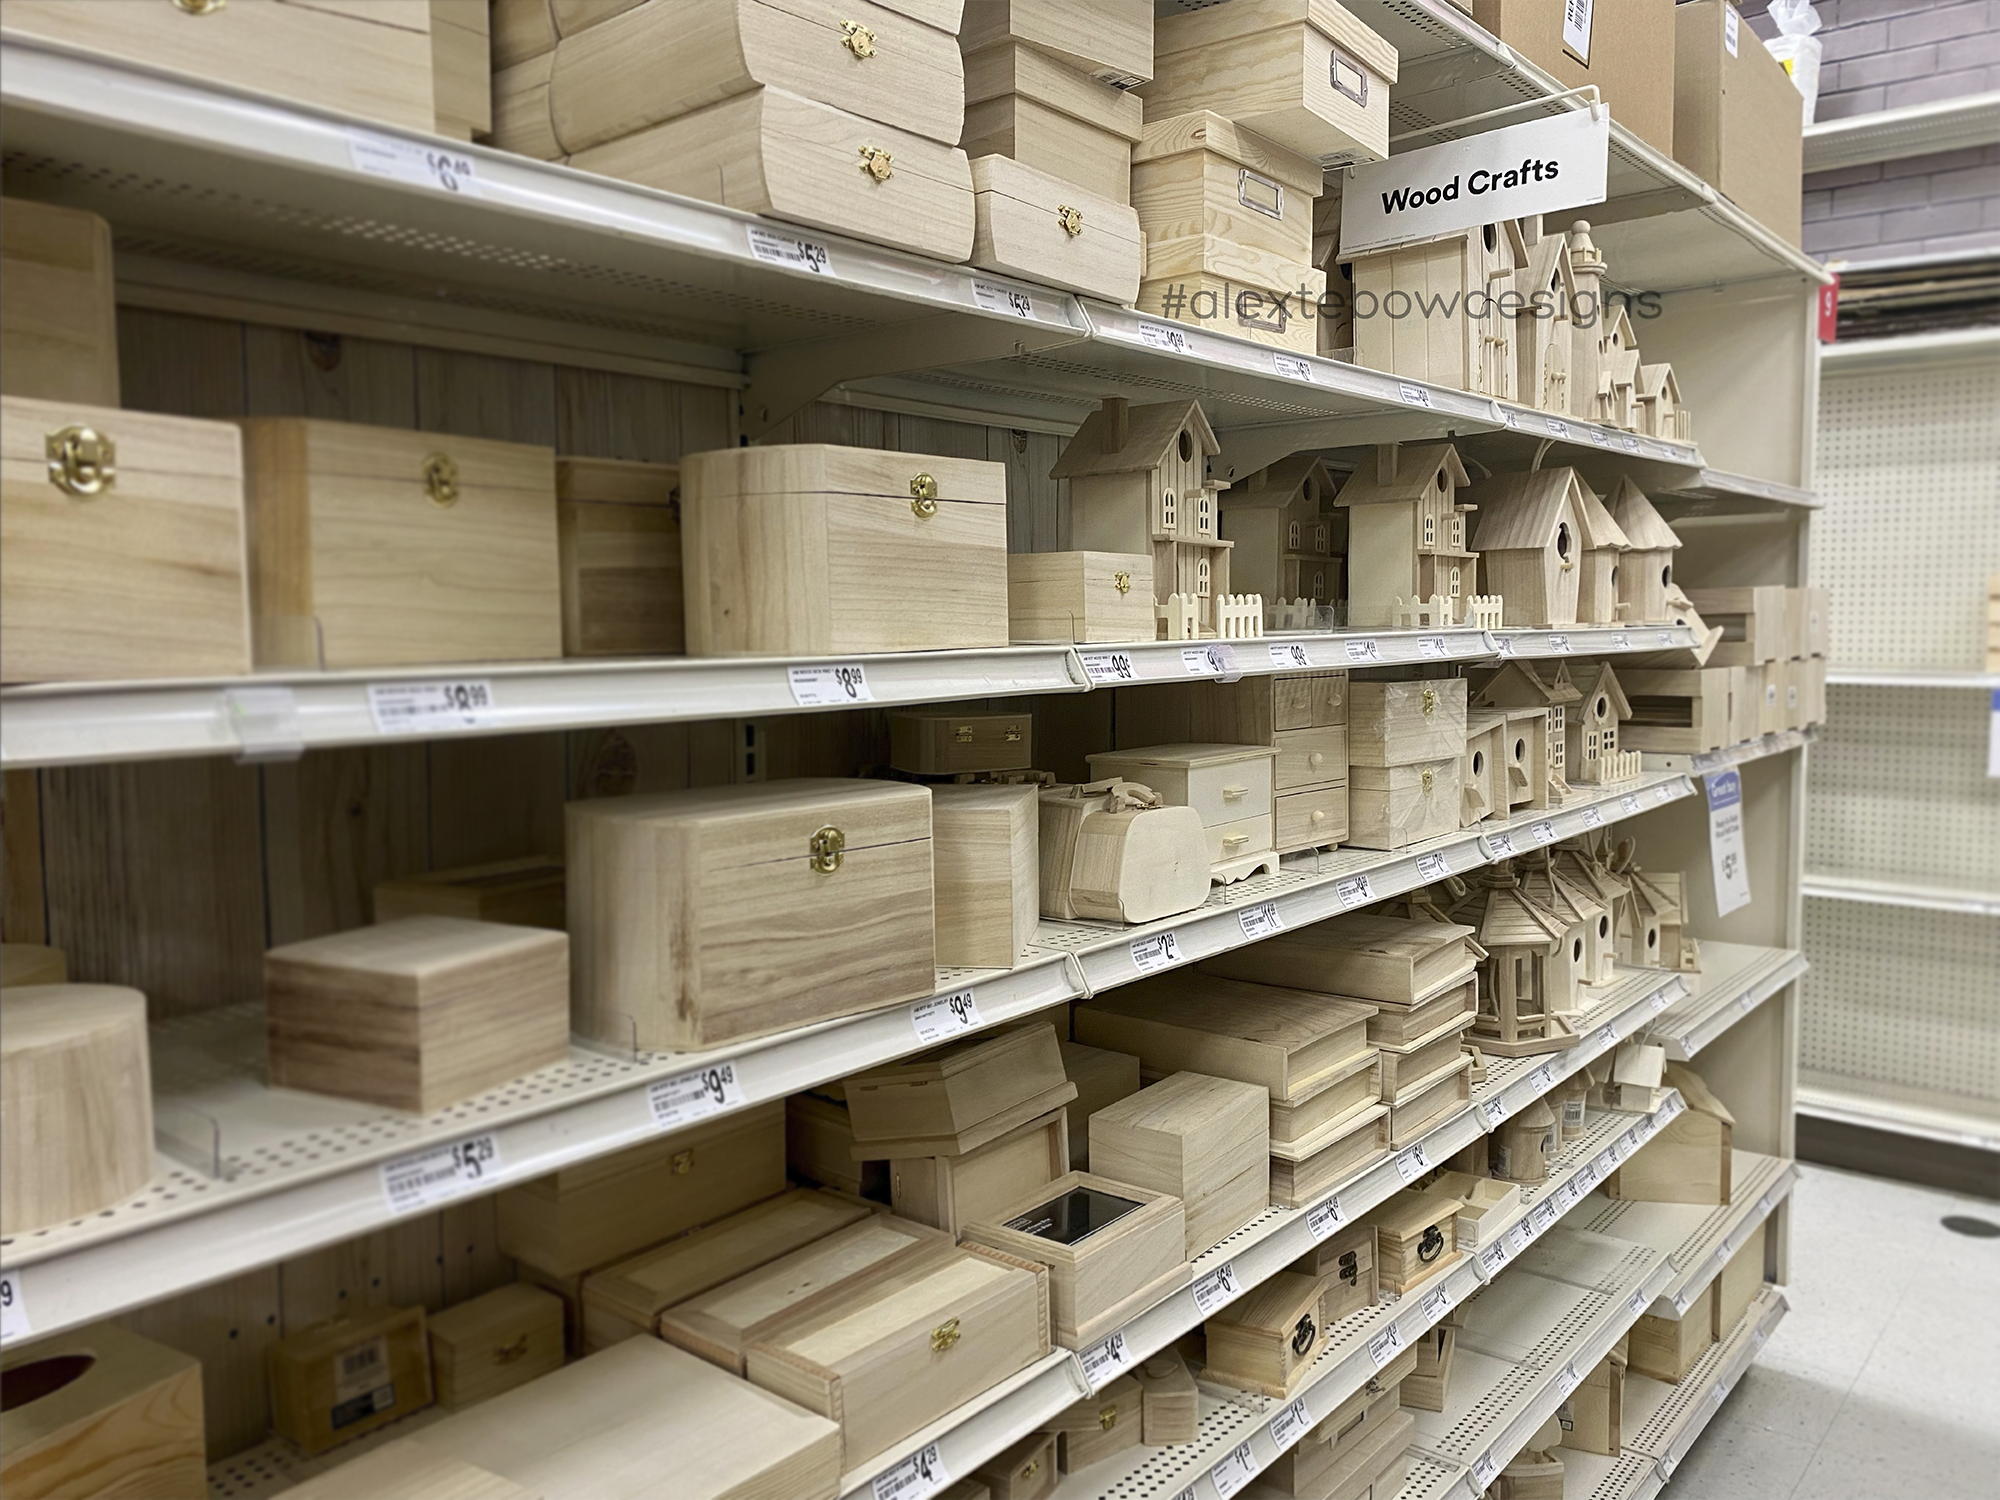
Paint Your Own Wooden Craft - Melissa & Doug makes kits for kids where they can paint their own race car, airplane, or train and the kits come with paints and a brush. There are kits where kids can paint wooden magnets, resin trinket boxes or a resin dinosaur or unicorn bank. How about a garden stepping stone or ceramic turtle? My kids have always loved these sets, but now that they are a little too old for Melissa & Doug kits, we cruise the aisles at our craft stores where they sell wooden treasure boxes, birdhouses, signs, and more. They’ll pick out an item along with a set of inexpensive, acrylic paints and a couple of brushes to make their own painting kit. We have also made these kits to give as birthday gifts.

Watercolor Pencils - Watercolor pencils are a wonderful way to introduce a young artist to watercolor painting and color theory. They draw or color with these pencils and then go over their drawing with a wet brush to blur lines or blend colors together. These are great at teaching how different colors blend into each other without having to be aware of what paint is on their brush. My youngest had been frustrated with his lighter colors getting muddy because he would forget to wash the brush when going for a new color. Using these pencils kind of skips that step and he loves getting to see how beautiful the colors blend together. These ones from Faber-Castell have an ergonomic grip to help little hands hold the pencils easier.

Craft Kits - Every craft store like Michael’s and JoAnn’s has a variety of different craft kits designed for kids. There are kits on how to make paracord keychains or bracelets, making jewelry, kits on crocheting, quilting, or knitting. An at-home pottery wheel, a kit for modeling clay, rock painting, and window sun catchers, and I have seen kits that introduce sewing, counted cross stitch, and embroidery too.

Whether your child is in preschool, high school, or in between, receiving a gift that helps fuel a passion for creativity sticks with them for a long time.

Product of the Month - August 2021 - Canvas Lamp

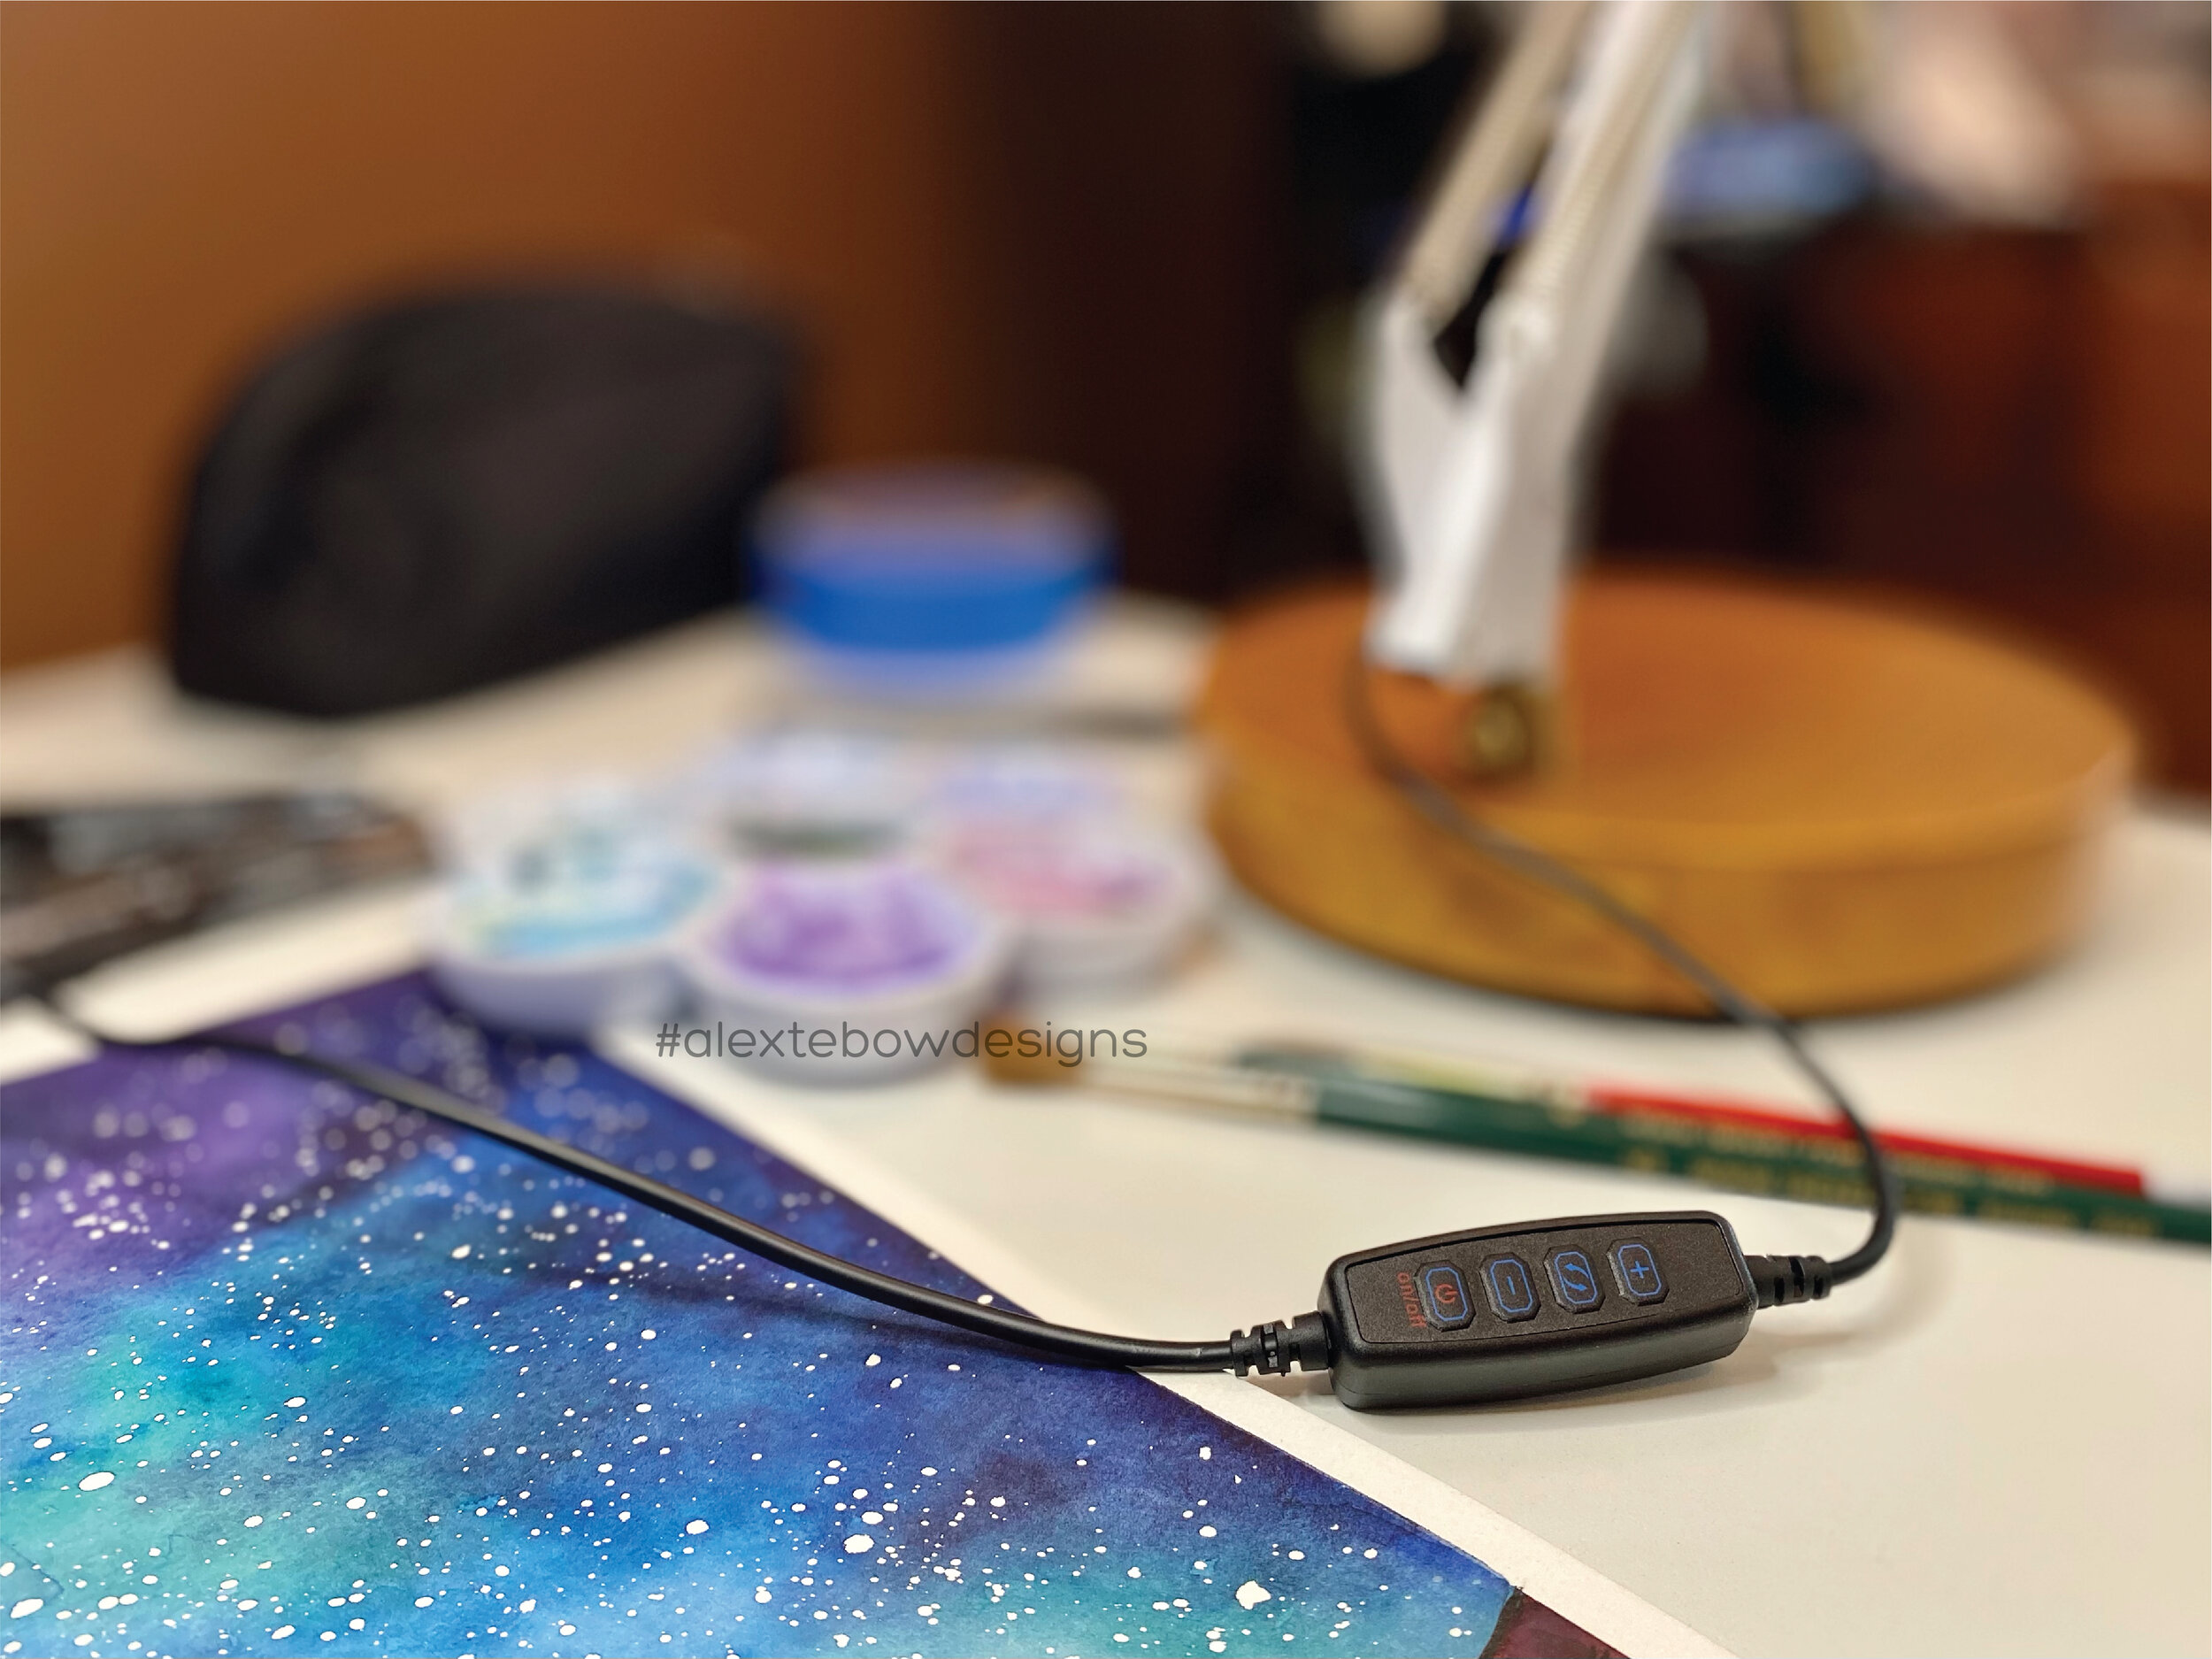
A while back I raved about the little iPhone clip and ring light that I got from Amazon during the pandemic. Well, I’ve upgraded to something that is working better for me. Introducing my Canvas Lamp!

I first saw this awesome lamp through an artist I follow on TikTok. She did a video showcasing the top five products that help her run her small business. This lamp was one of them and she even included a code for 10% off. I was sold!

BTW, I’m on TikTok now, look me up! Alex Tebow

Canvas Lamp - Alex Tebow Designs

This is such a neat tool! The lamp can hold my iPhone 11 easily and it can be adjusted for a variety of smart phones, cameras, and even a GoPro. The base is heavy and sturdy and has no issues holding the weight of the lamp and my phone. I can pivot and adjust the position of the light for direct, overhead painting or I can turn it on an angle like I have been doing with my phone on a little tripod. I can even turn it around and use it in selfie mode if needed.

The Canvas Lamp also came with a clamp to let me attach it to the edge of a table if there isn’t room for the base or if I don’t want to use the base.

Canvas Lamp - Alex Tebow Designs

The ring light itself is awesome and the brightness is adjustable along with the color and tone of the light. It can be warm light, cool light, or somewhere in between.

Canvas Lamp - Alex Tebow Designs

Even if I’m not shooting a video of my painting, the light itself is fantastic just to work with and easily adjusted to where I need it.

Canvas Lamp - Alex Tebow Designs

I cannot wait to share some of the videos I’ve been making with this wonderful tool. Highly recommended!!


Backpacking: Coyote Gulch

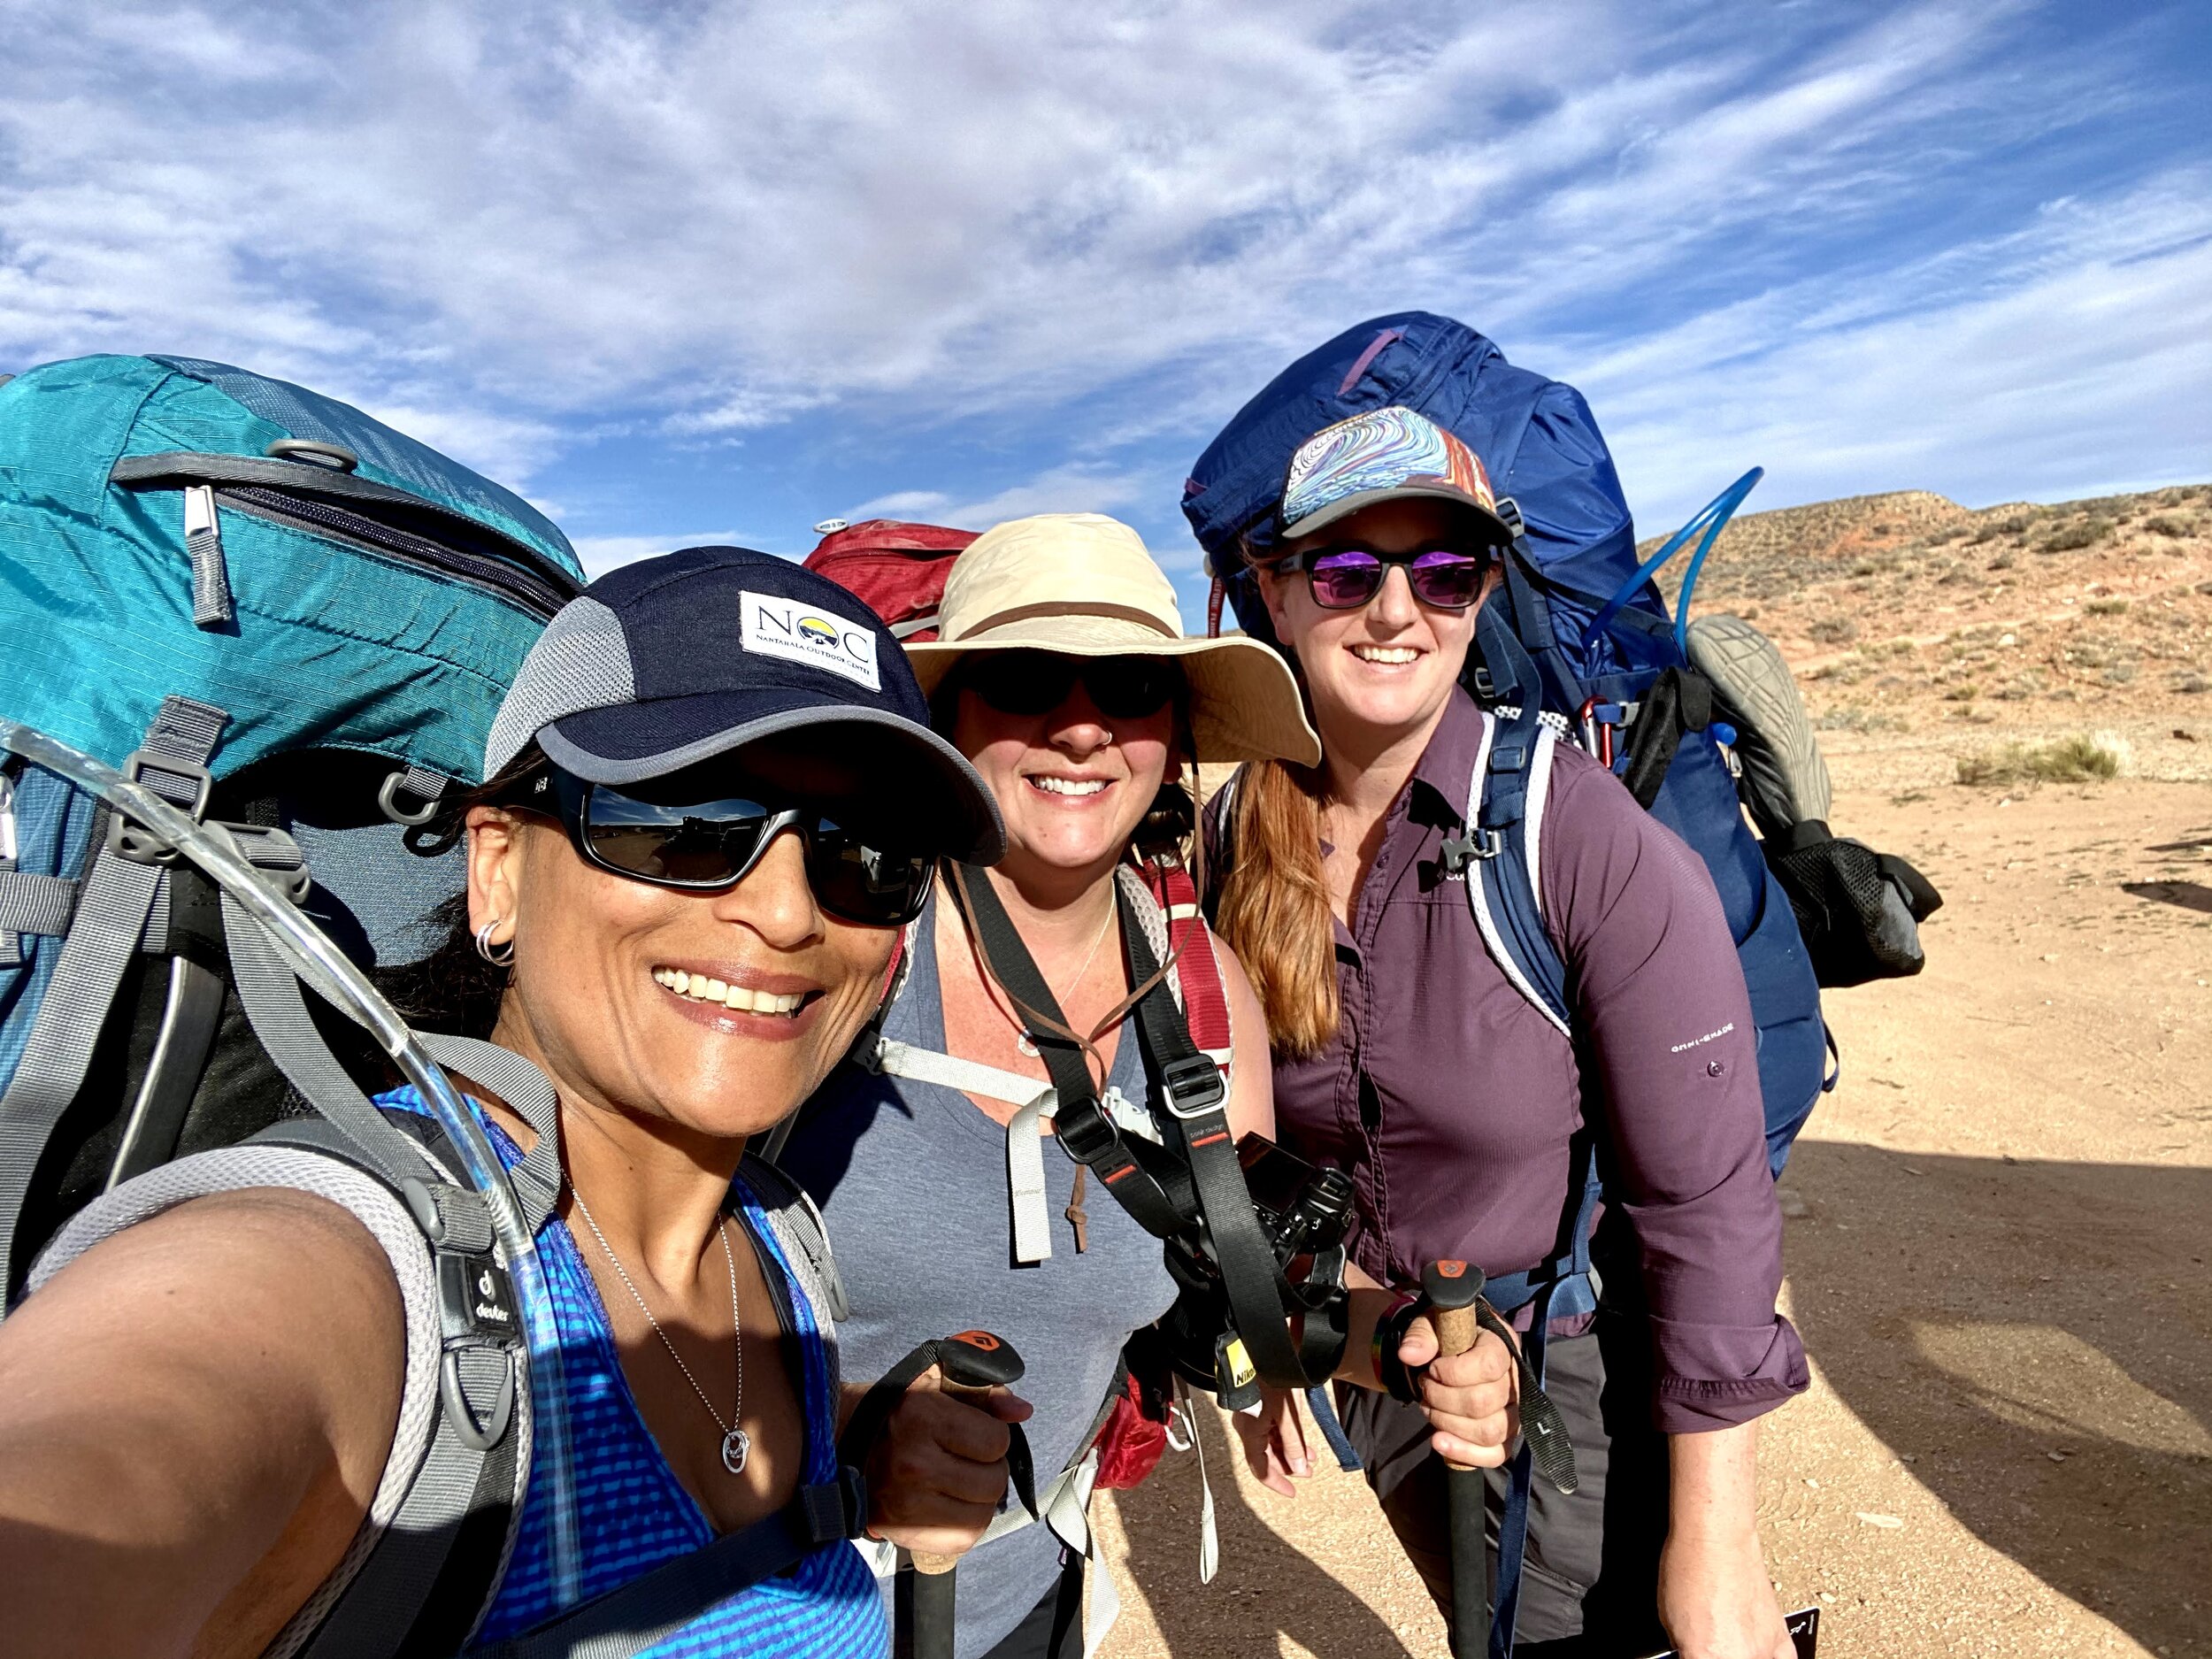
Today is about backpacking. Although, I did paint en plein air during this trip, so there was some art as well. I have lots of photos too for future painting reference! There will be future paintings from this trip, promise! There are a bunch of affiliate links in this post in case you want to know what gear and food I used and I am always appreciative if you shop through these links.

Image by Michelle Craig

Image by Michelle Craig

I don't have lots of experience backpacking. I did a couple of short trips when I was 18 and then nothing until I took my oldest son backpacking last August for the first time. If you'd asked me 10 years ago if I wanted to give backpacking a go again, I'm sure I would have said I'm too old. My 11yo asked me about backpacking last year after he watched YouTube videos of folks who backpacked to secluded fishing spots and I figured we could give it a try and see if he liked it. We did a one-night trip in American Fork Canyon and he had a blast. I've done a lot of reading about backpacking, and I plan to take my son a few times this summer, so I don't really feel unprepared; I'm just still a newbie.

IMG_8667.jpg

My friend, Michelle shared her desire to backpack in the Escalante region of Utah last month and asked if I wanted to join. I jumped at the chance. I already had 99% of the gear I would need, so I just needed to commit and go for it. Michelle’s friend, Sumitra decided to join at the last minute and flew to SLC from Indianapolis and we all drove down to Escalante together.

IMG_2875.jpg

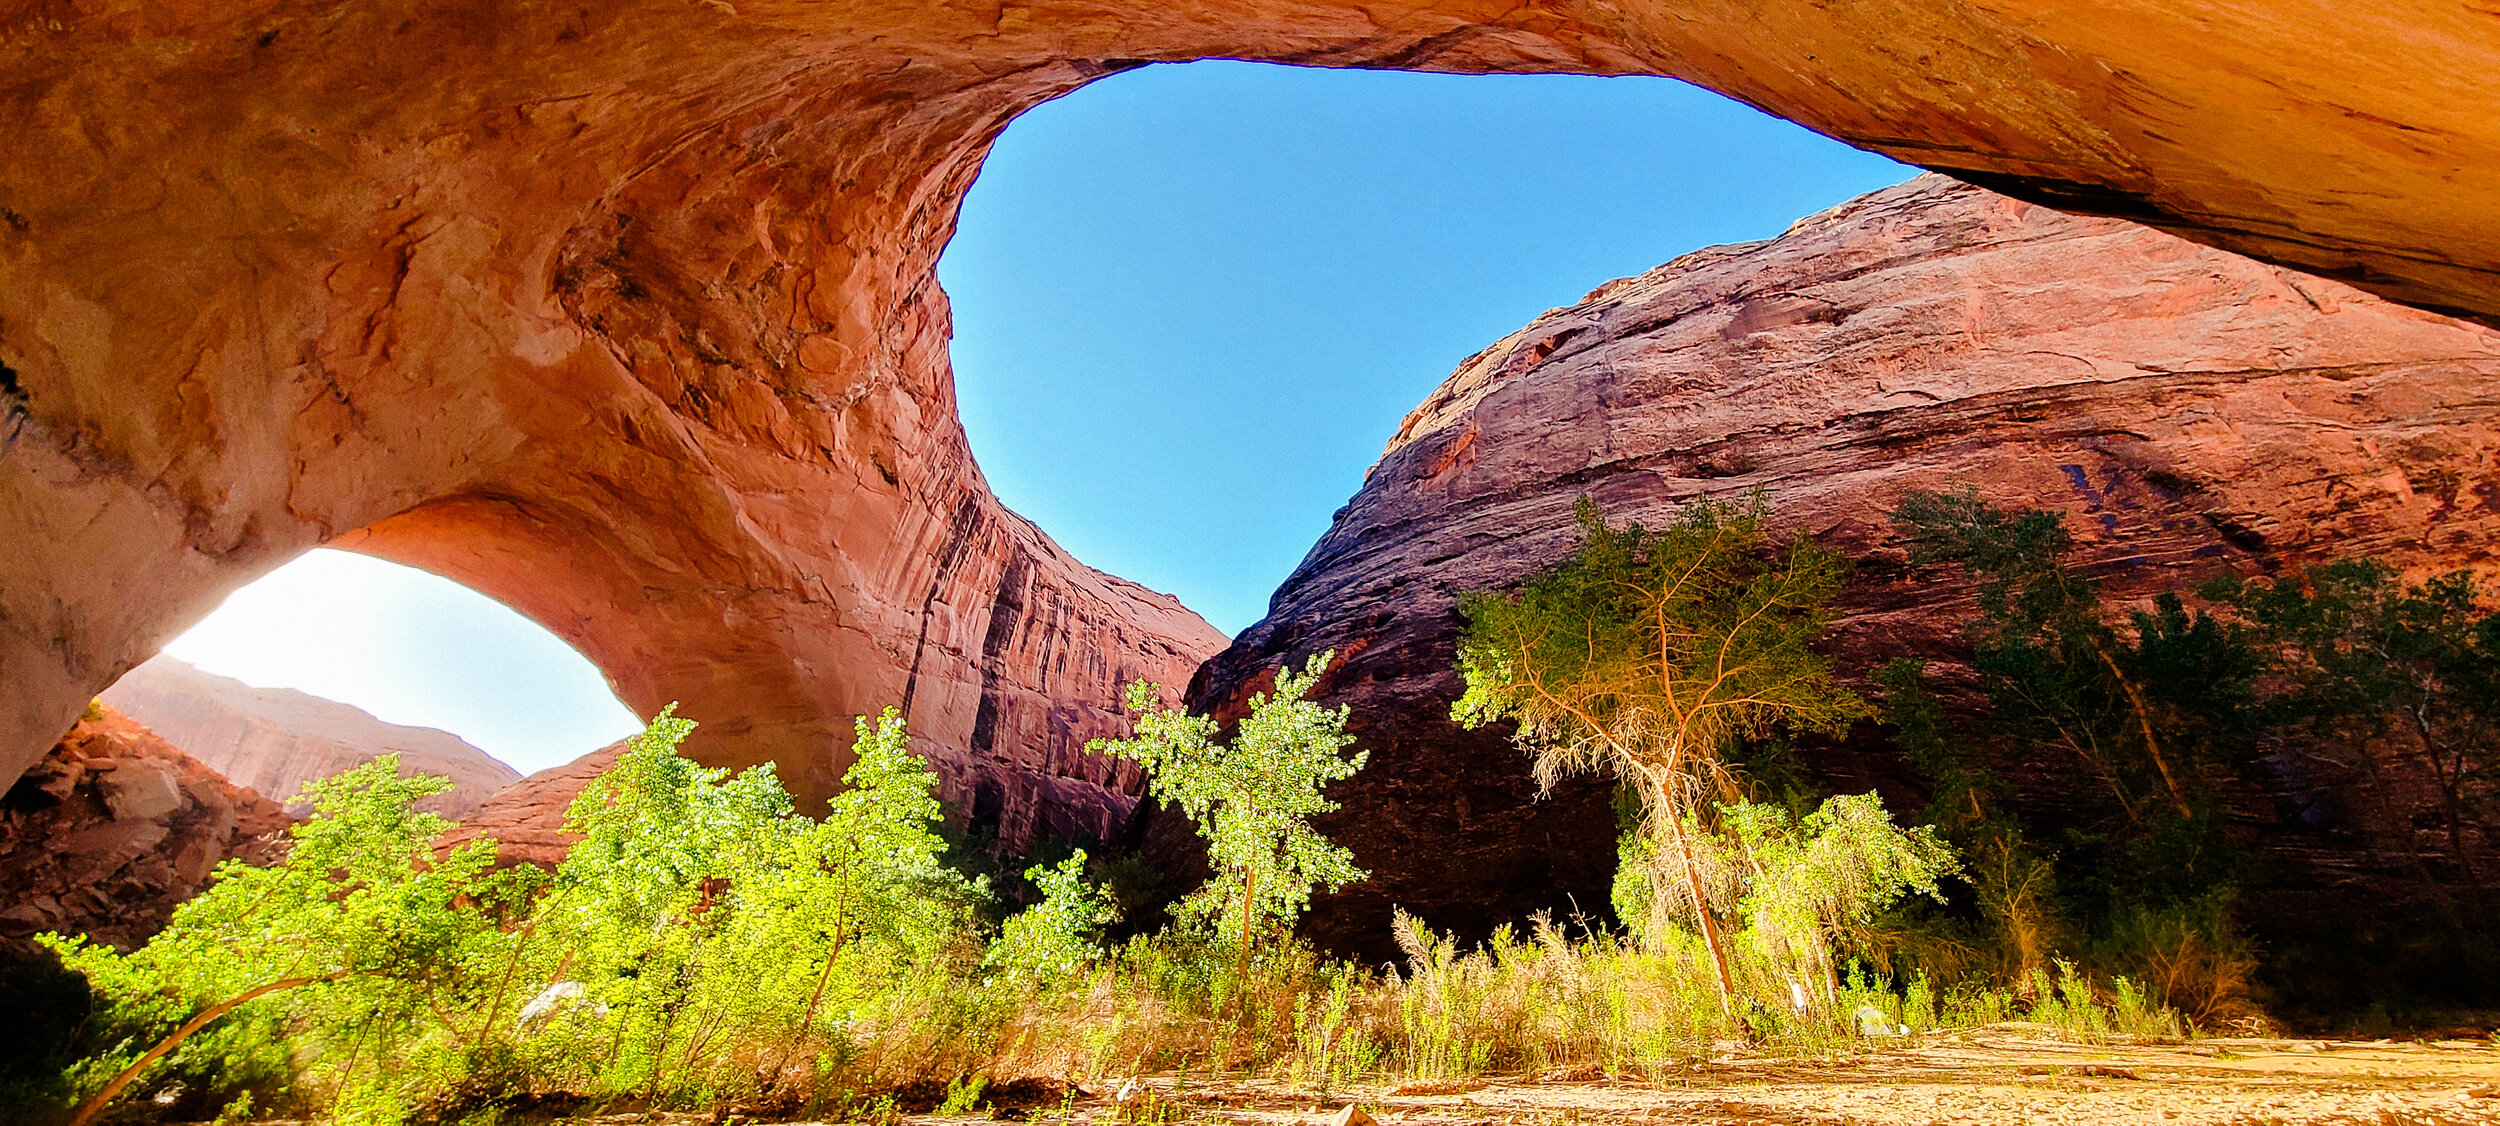
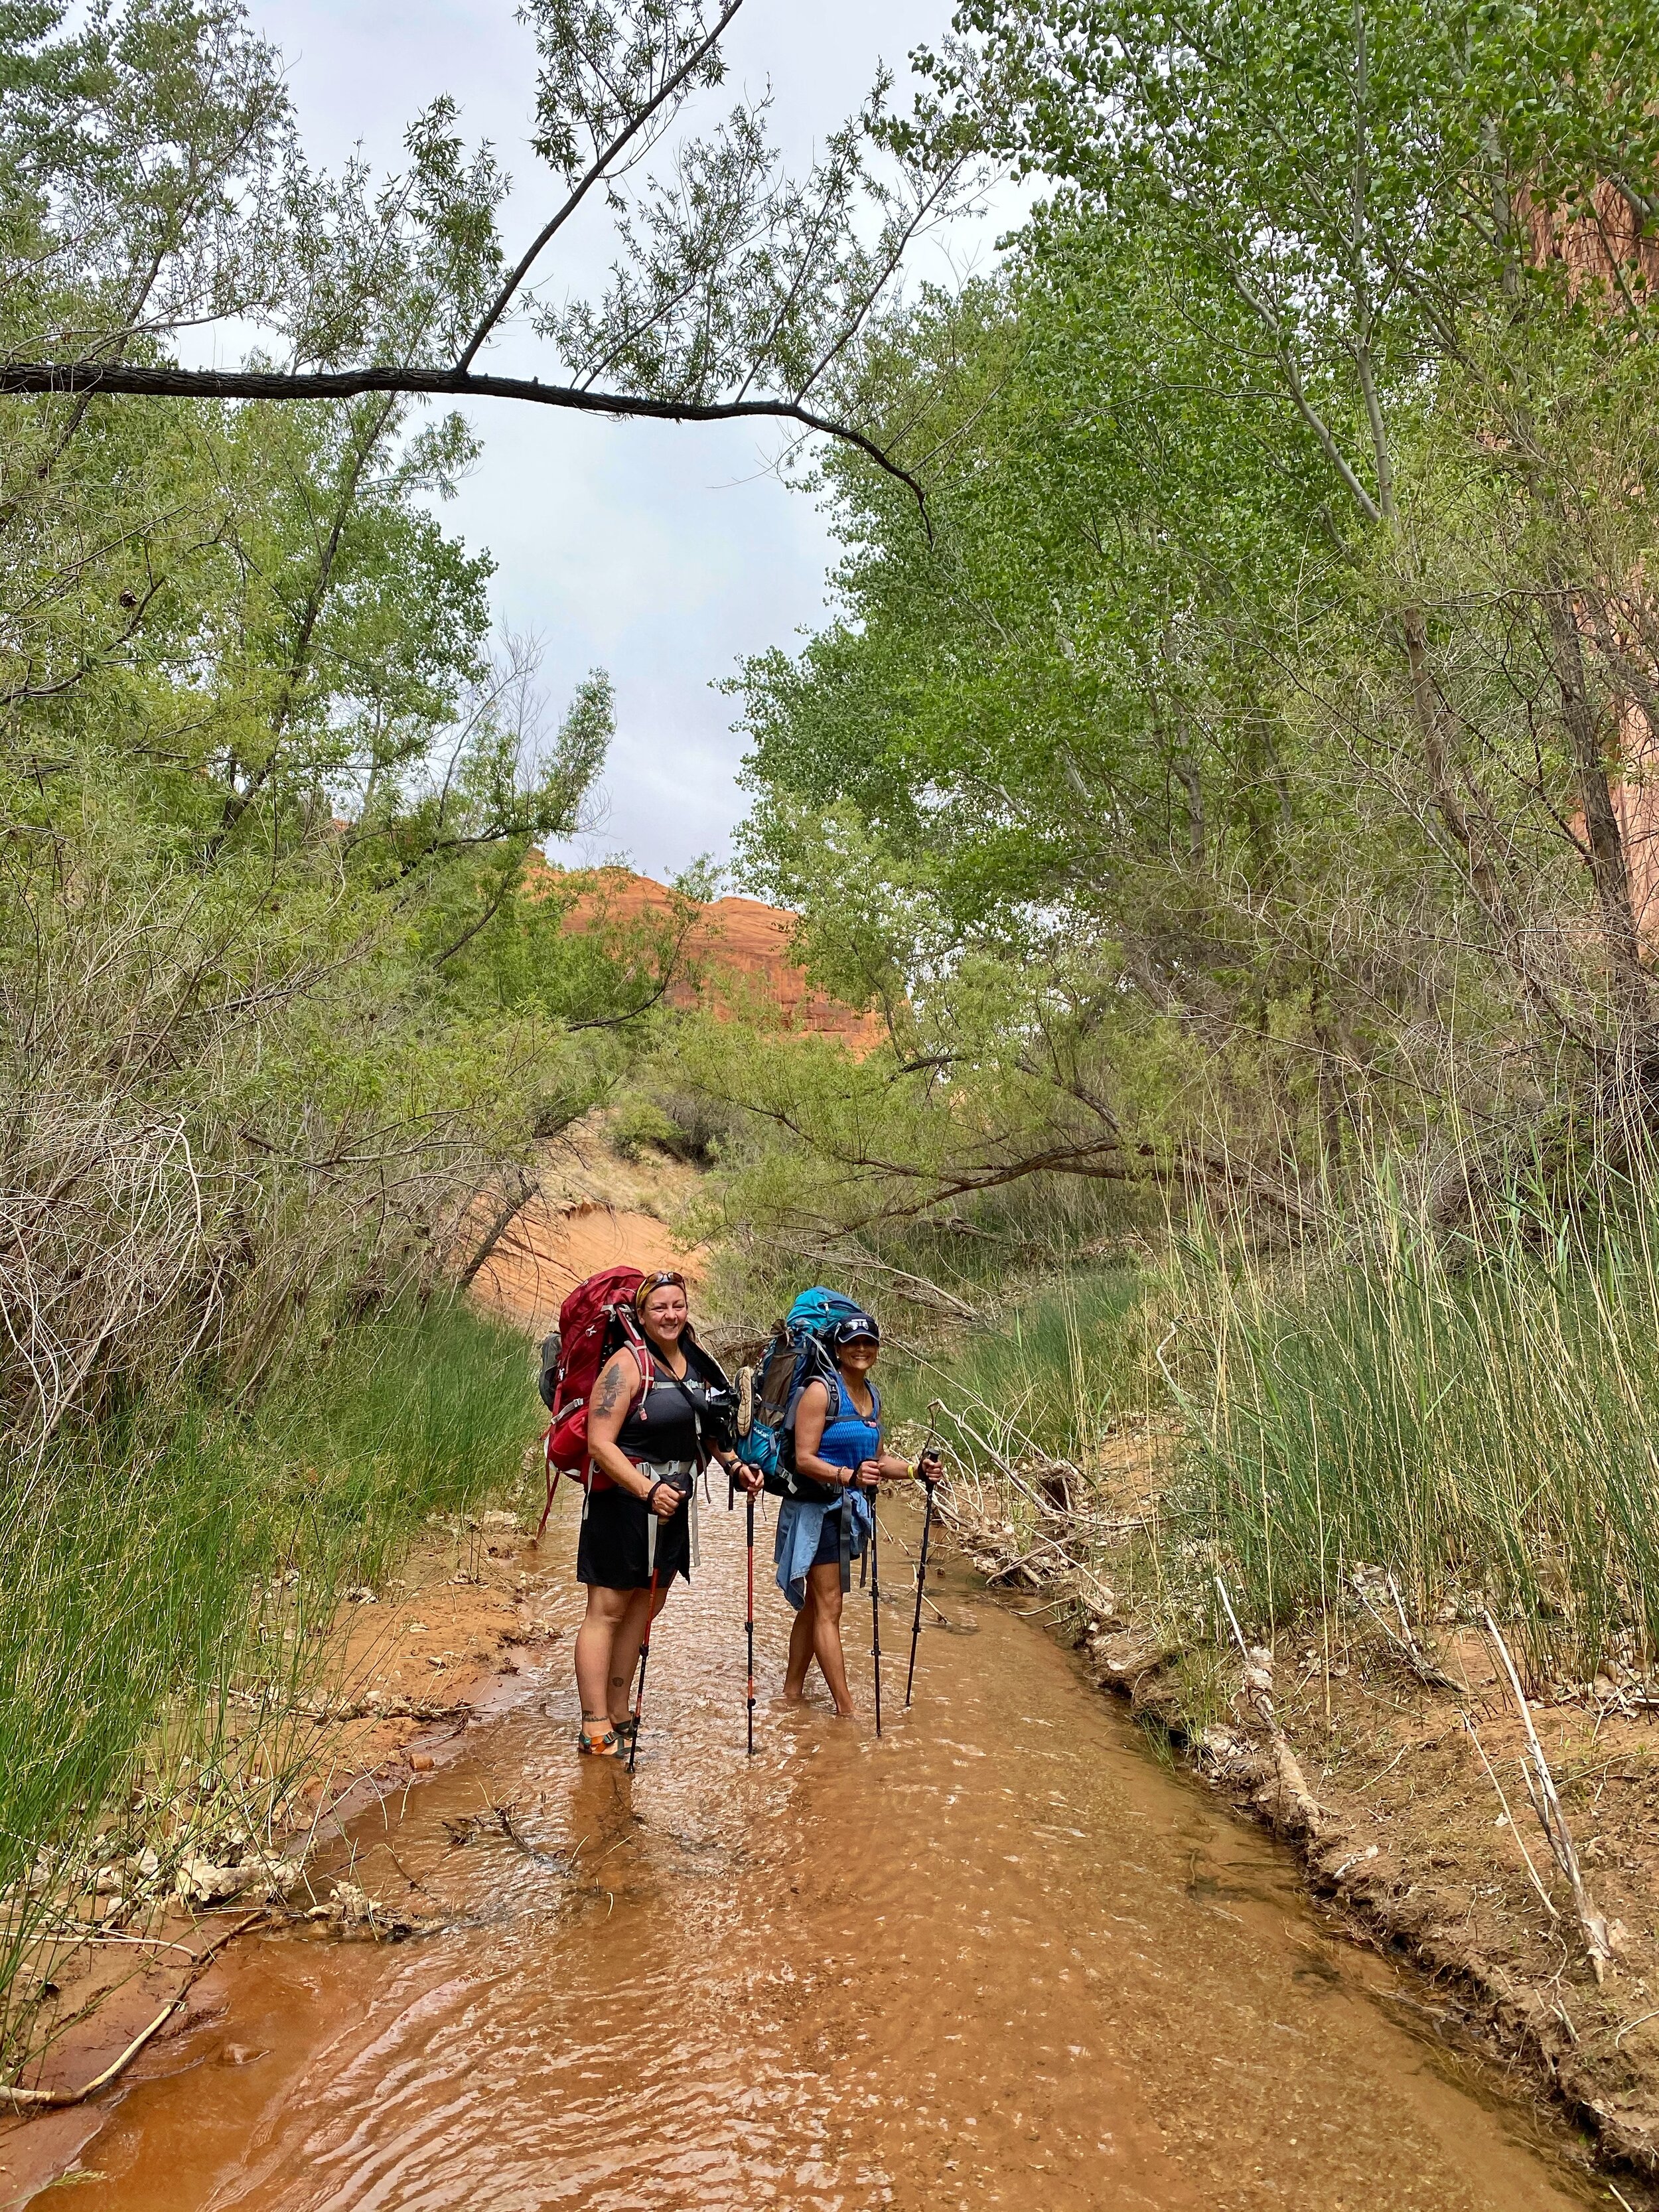
Coyote Gulch is a meandering, zig-zaggy canyon, carved by the Escalante River, that has massive arches, towering caverns, and waterfalls. There's usually water flowing year-round so it's ideal for backpacking because it has reliable water. It resides inside Glen Canyon National Recreation Area where the Escalante River flows into Lake Powell. There are a handful of access points that can make your trip shorter or longer depending on how long you plan to be there. A few routes can easily make it a day hike, but I HIGHLY recommend backpacking to explore more.

Coyote Gulch Backpacking

We opted to hike into the Gulch via Hurricane Wash. It's one of the longer routes, but it's also very easy to follow, which is what we were going for. Also, to get to the other access points, we would've needed a vehicle with 4WD and possibly some climbing rope; which we didn't have this trip.

In all honesty, one of the hardest parts of this trip for me was driving on Hole in the Rock Road. It's a dirt and gravel road that's grated like a washboard and it's painfully slow going in a car like my Toyota minivan; like between 10 and 15 MPH most of the way. There are lots of wonderful places to visit along this road, but driving 35 miles one-way took almost 2.5 hours the first day and just over 3 hours the last day. When we do this trip again, I really, really want to have a vehicle that will allow us to get there faster.

IMG_2949.jpg

Hiking with a heavy pack isn't all that different from hiking with a toddler on my back, so while it's been a while since I hiked carrying a kid, my body remembered how pretty quickly.

We hiked into the canyon late in the afternoon on Tuesday and made good time reaching the confluence of Hurricane Wash and the Escalante River right around headlamp-o-clock. There were at least half a dozen tents camped at the confluence, so we hiked on for another mile before stopping for the night at an empty, sandy beach that stuck out from a bend in the river. As the full moon rose, it cast bright light on the sandstone cliffs and made it look like there was a spotlight. There was no way our cameras could capture it, but it was pretty amazing. It was beautiful watching the stars and bats come out.

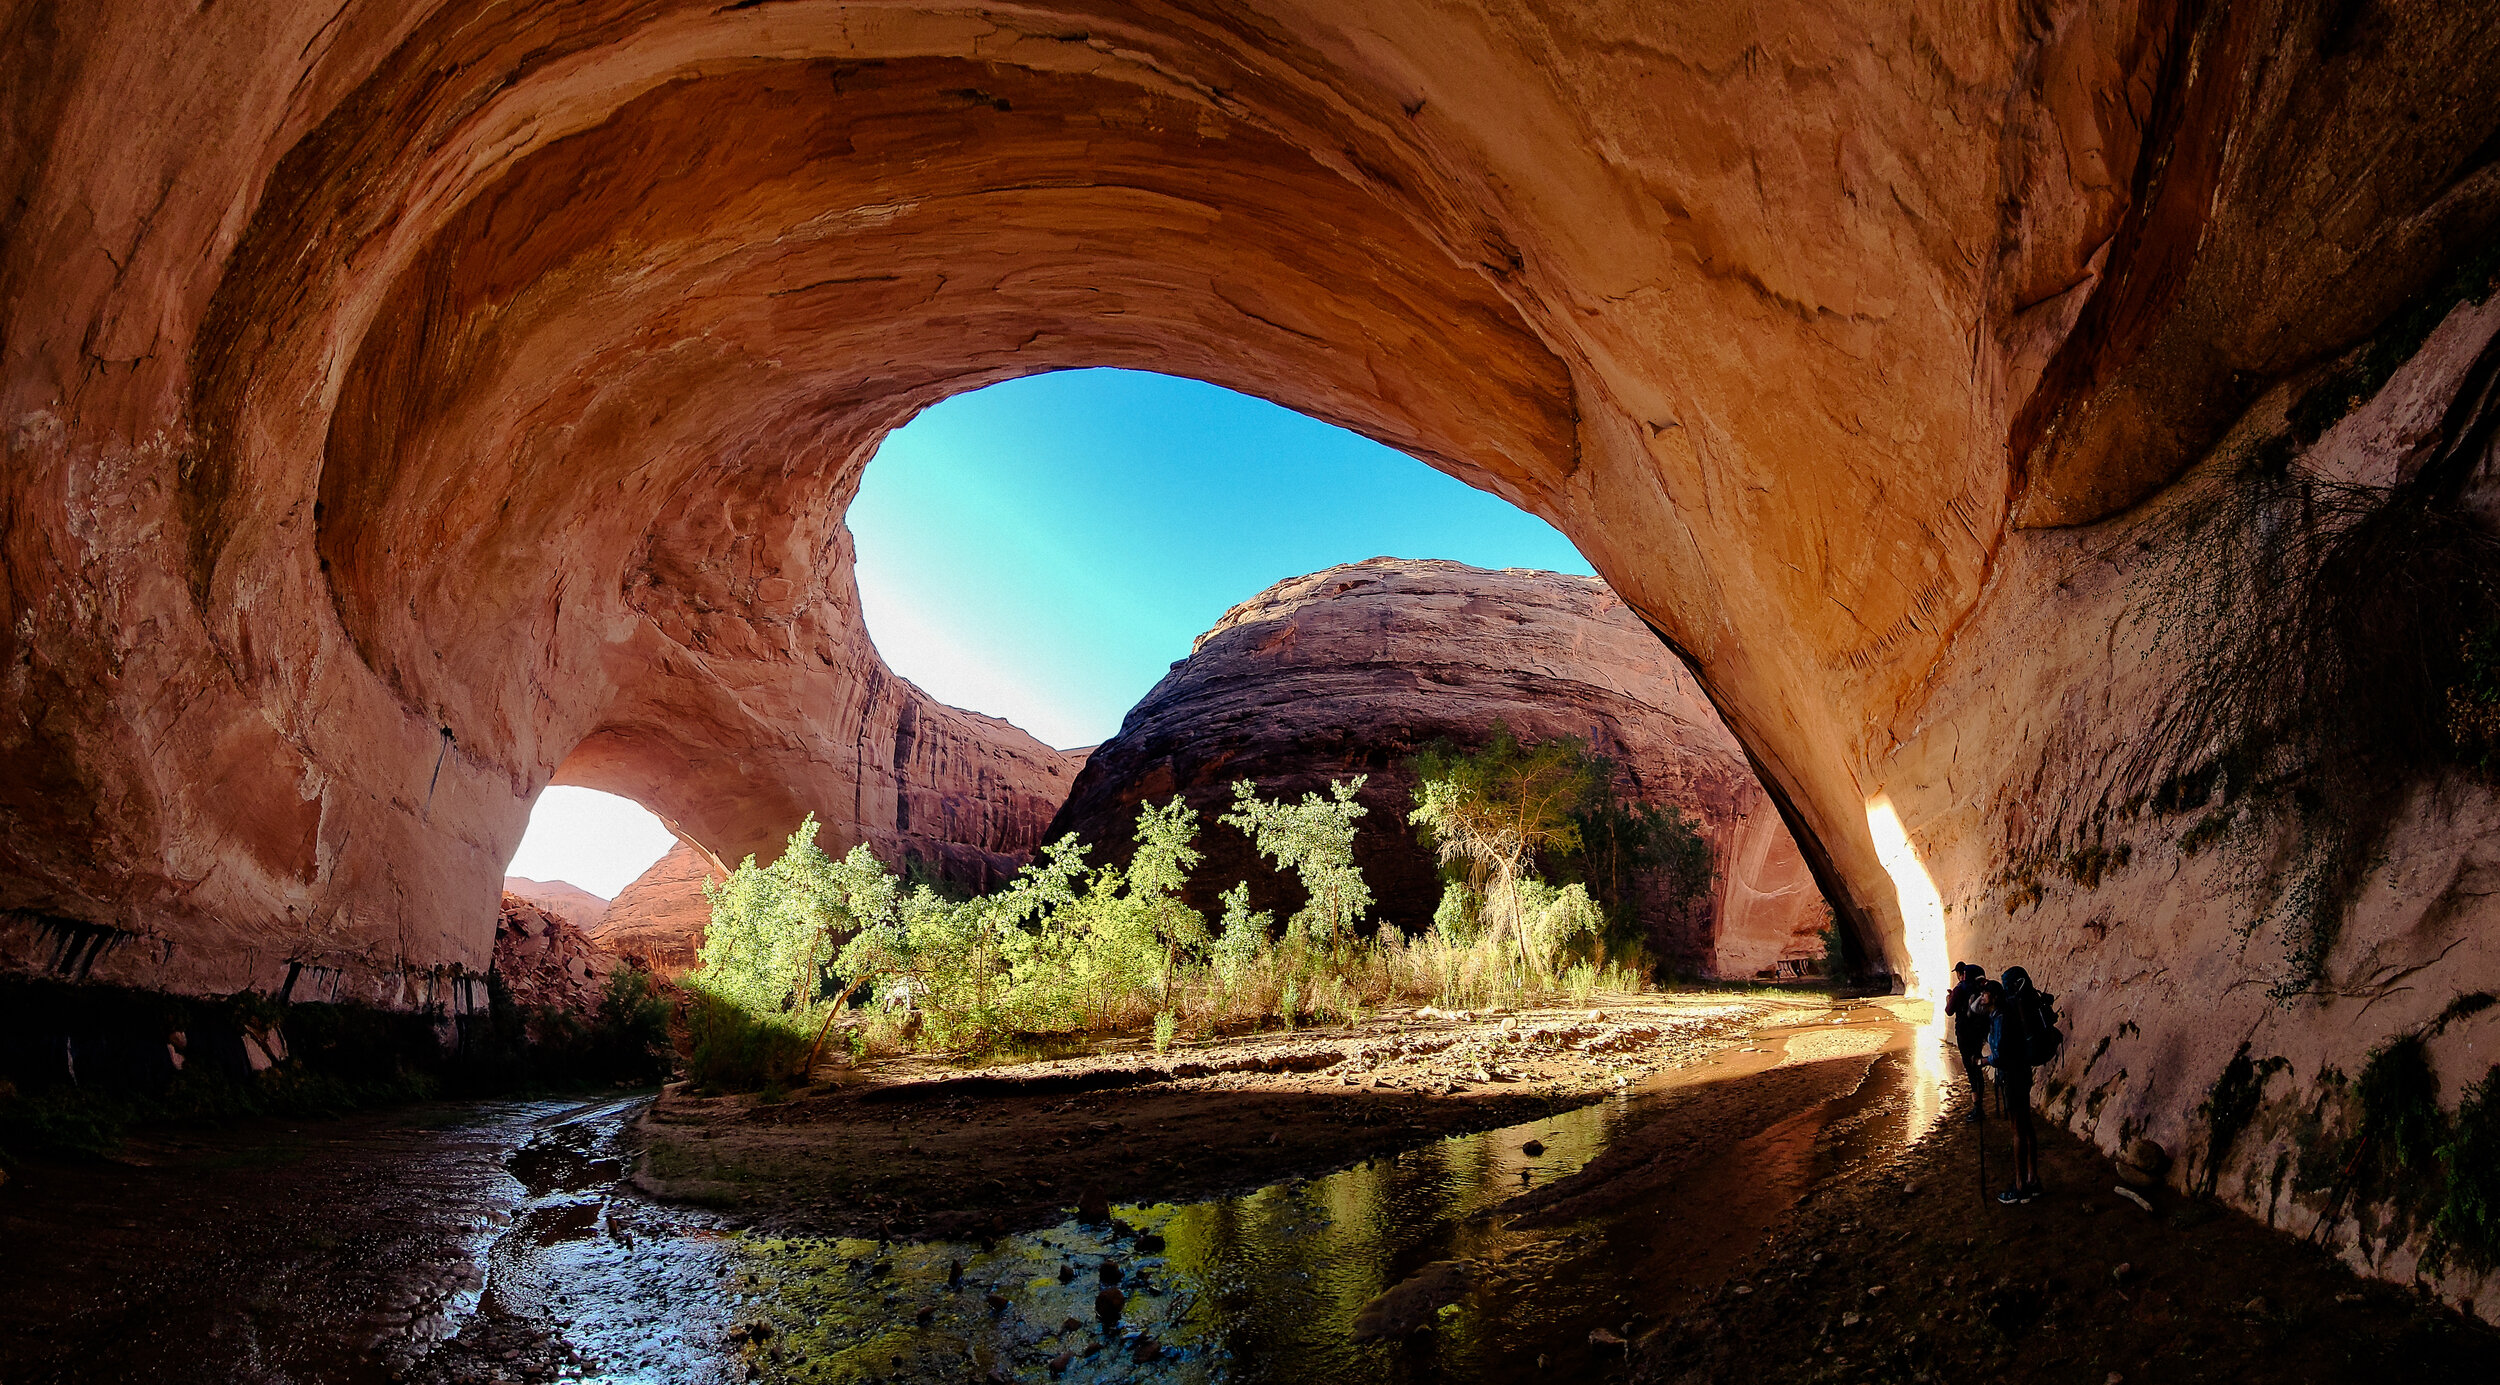
In writing this post and sorting through the photos that all three of us took, one thing that stands out to me is that photos really don’t do this canyon justice; especially when it comes to the sheer size of the sandstone cliffs. There are a few shots that have people in them and you can barely see them because the cliffs are so huge. I’ll try to point them out in the captions.

They are so tiny compared to the cliffs!

They are so tiny compared to the cliffs!

The next morning we packed up and headed further into the Gulch intending to explore Jacob Hamblin Arch and to get closer to Coyote Natural Bridge or Cliff Arch, depending on how we were feeling. There was some cloud cover that morning, so we were spared having the hot sun beating down on us.

Image by Michelle Craig

Image by Michelle Craig

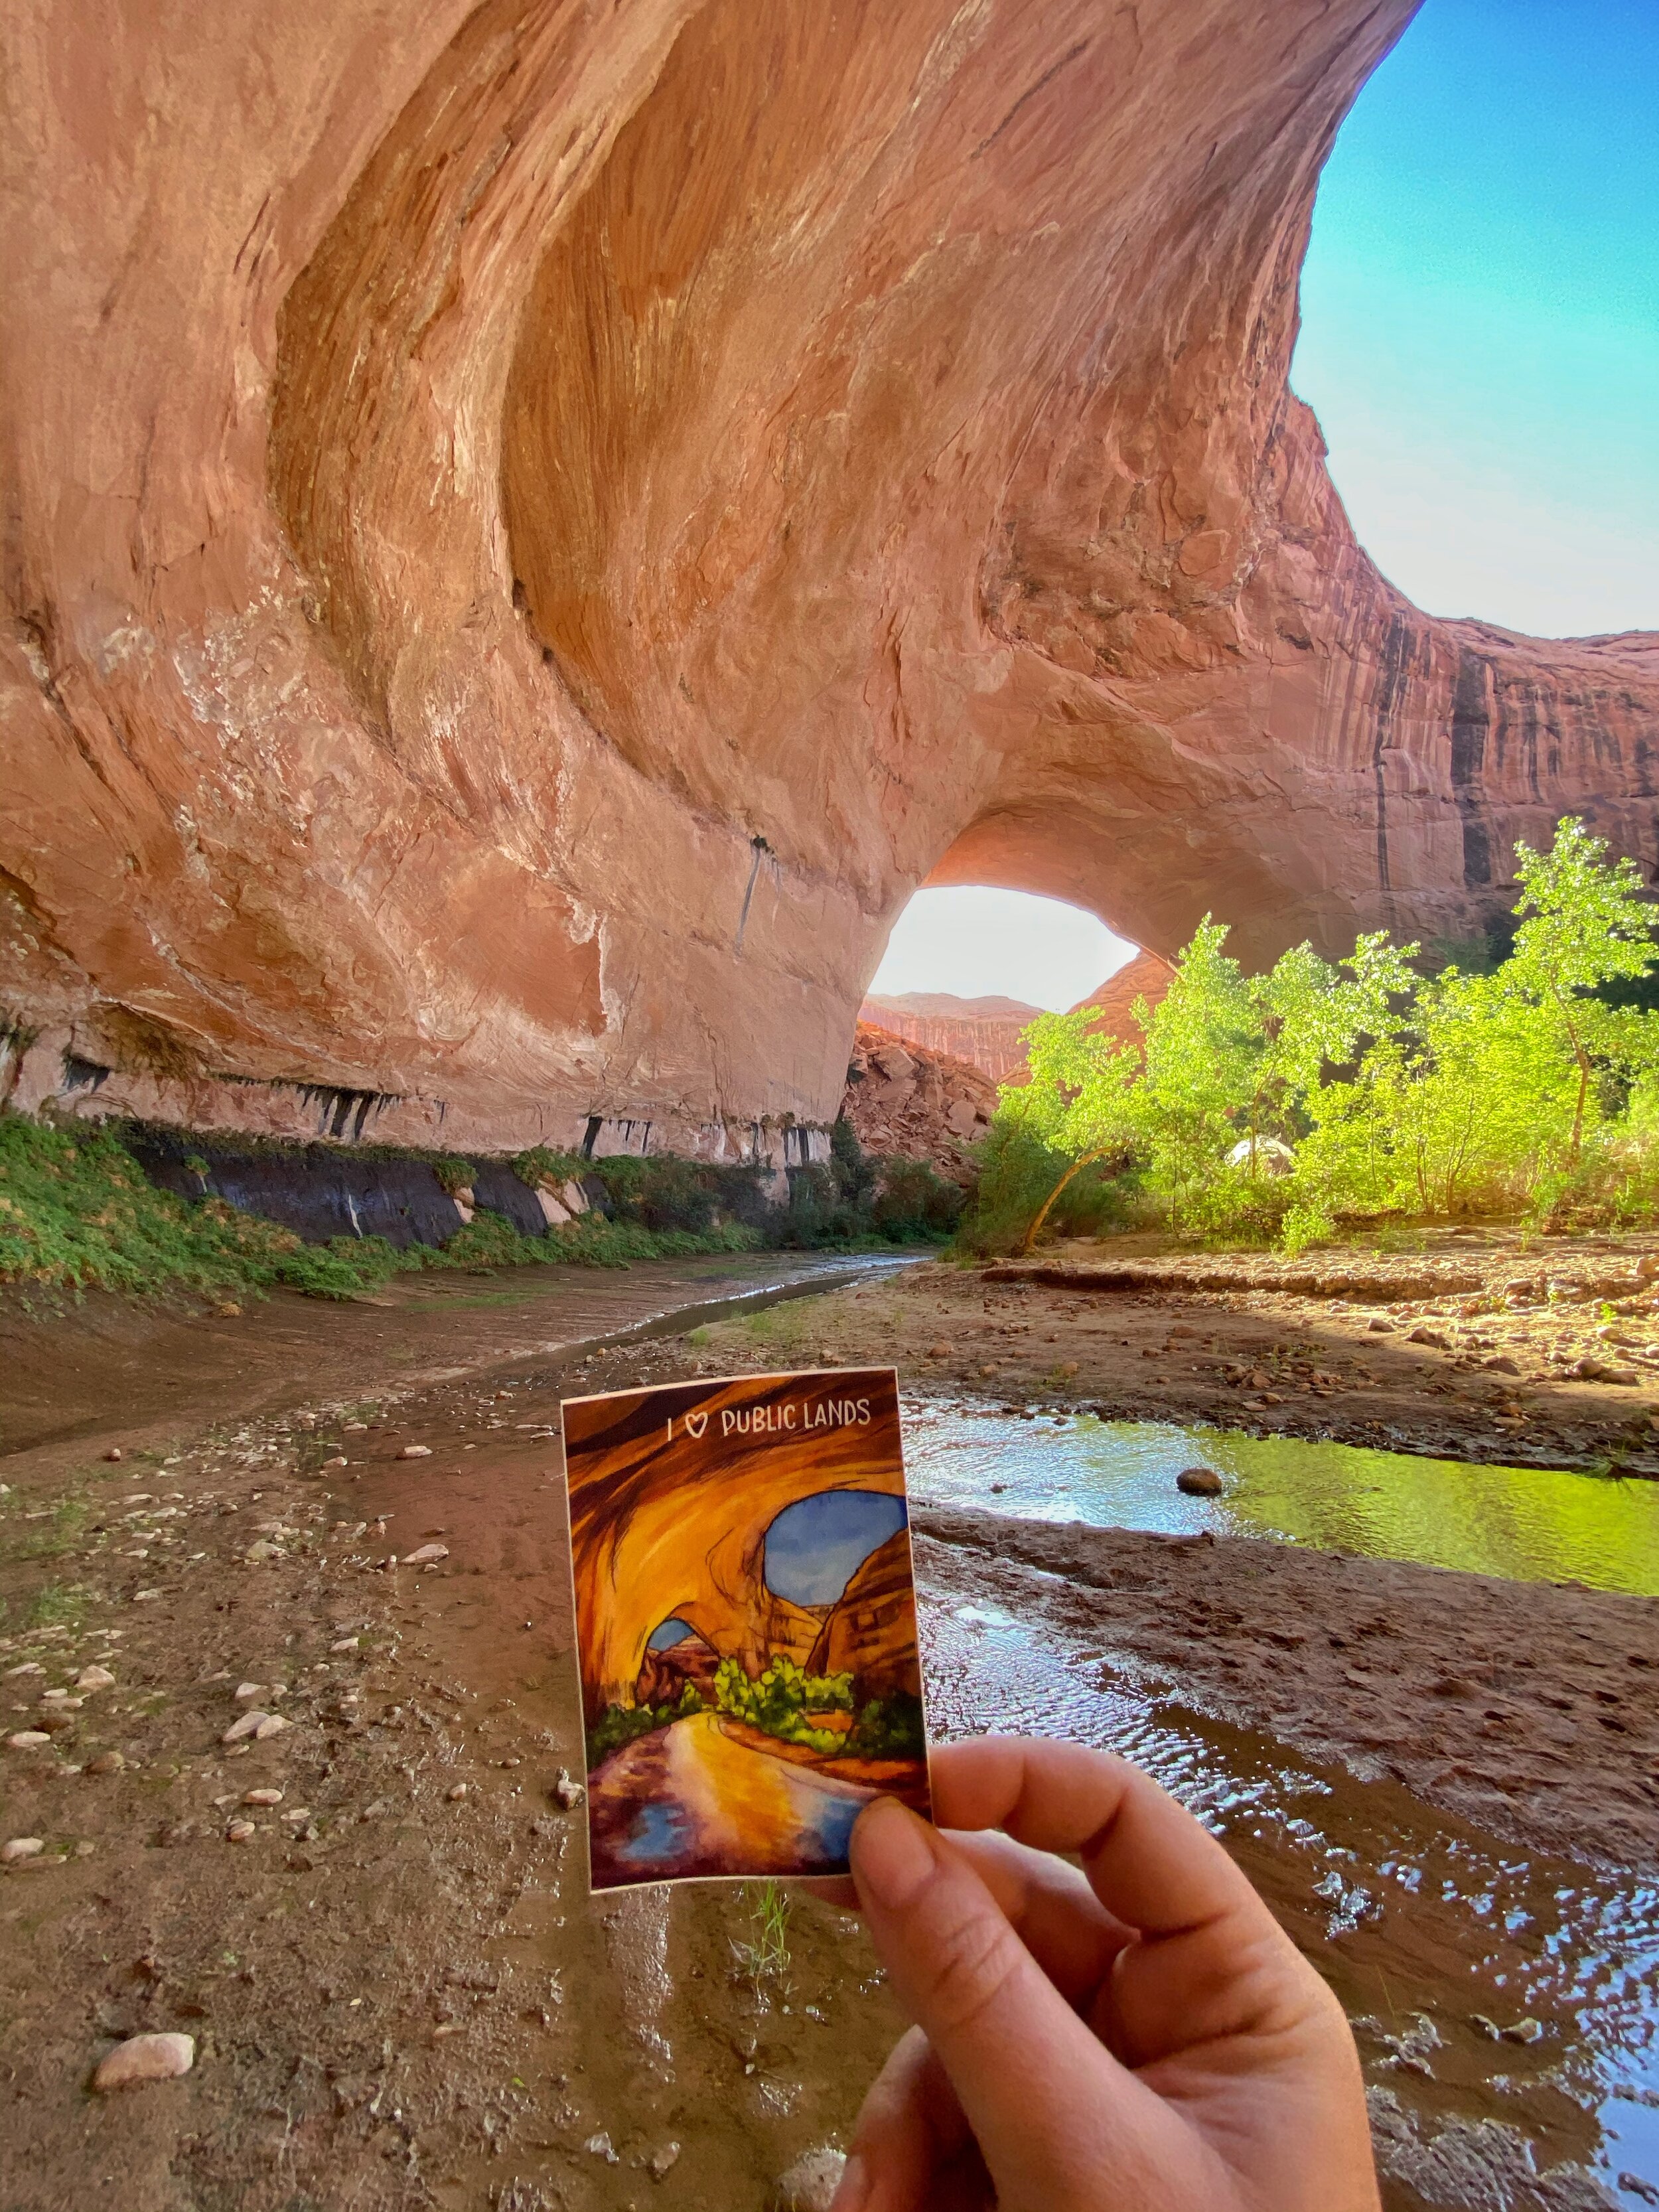
Jacob Hamblin Arch was freaking epic!! Cameras really can’t capture the scale. My iPhone struggled with the light, but Michelle’s Galaxy did a great job. I had brought a few stickers with me and made sure to get a photo of my sticker at Jacob Hamblin Arch.

Click on this photo if you’d like to buy one of these stickers.

Click on this photo if you’d like to buy one of these stickers.

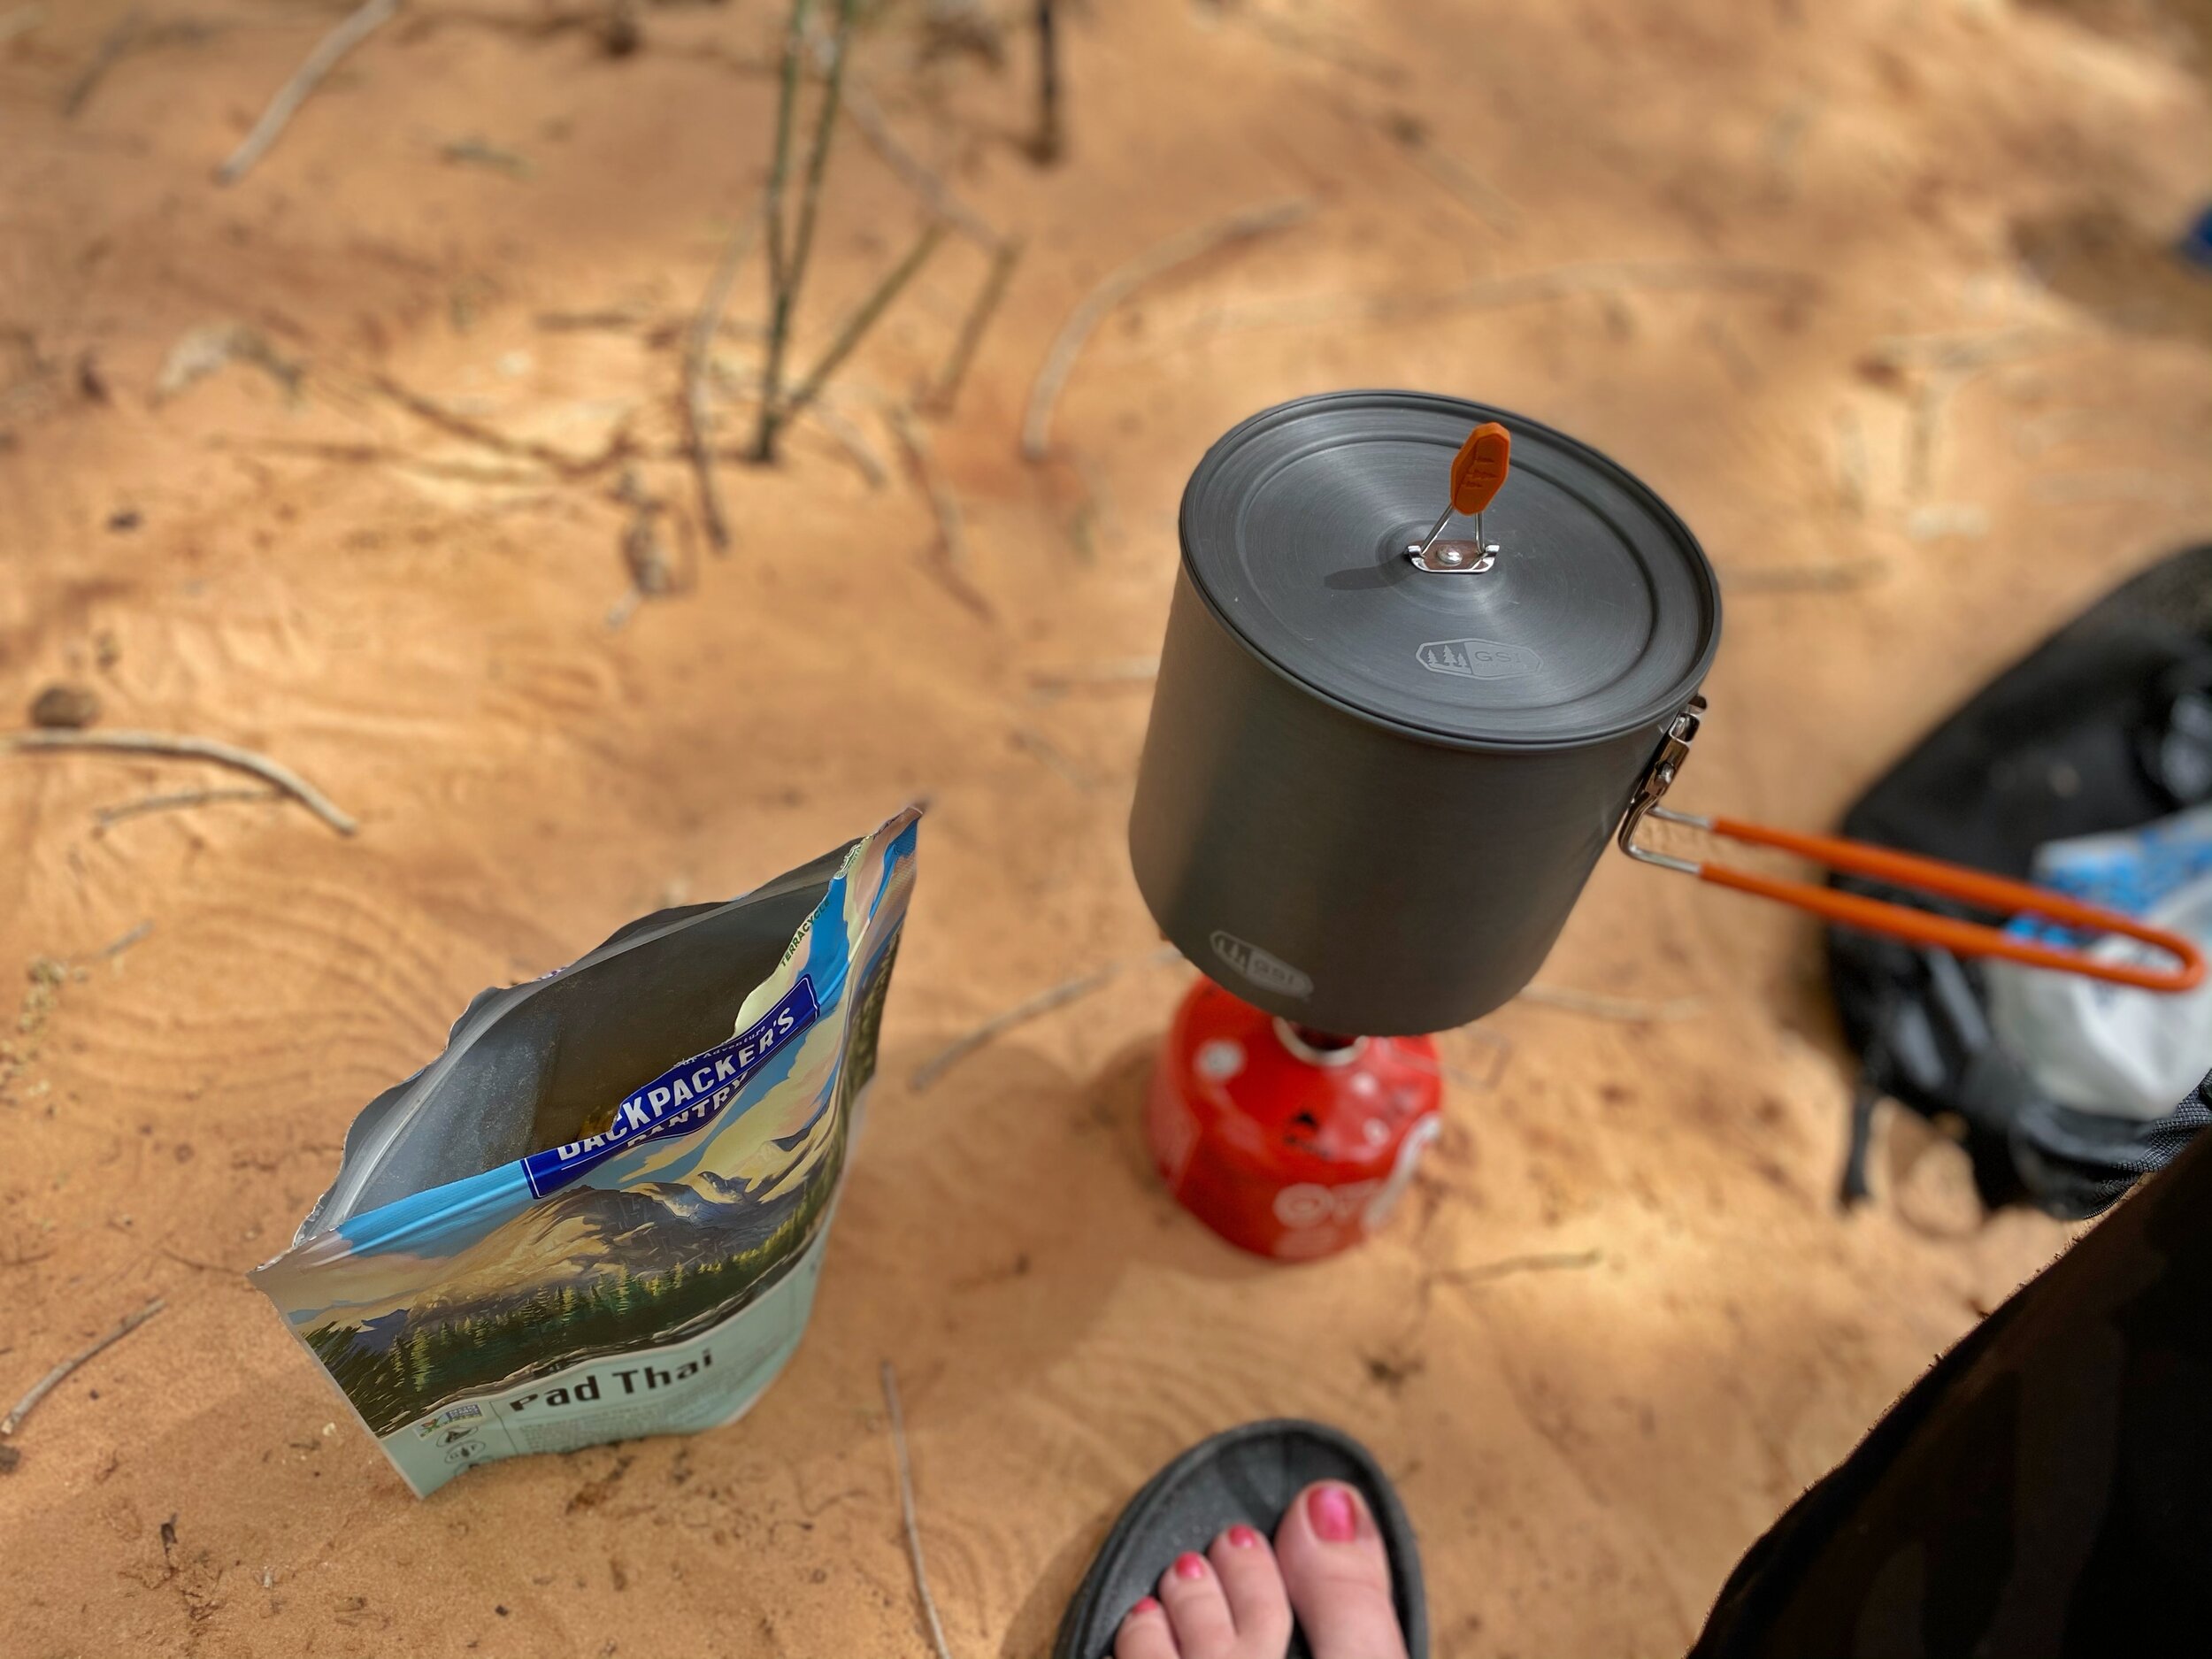
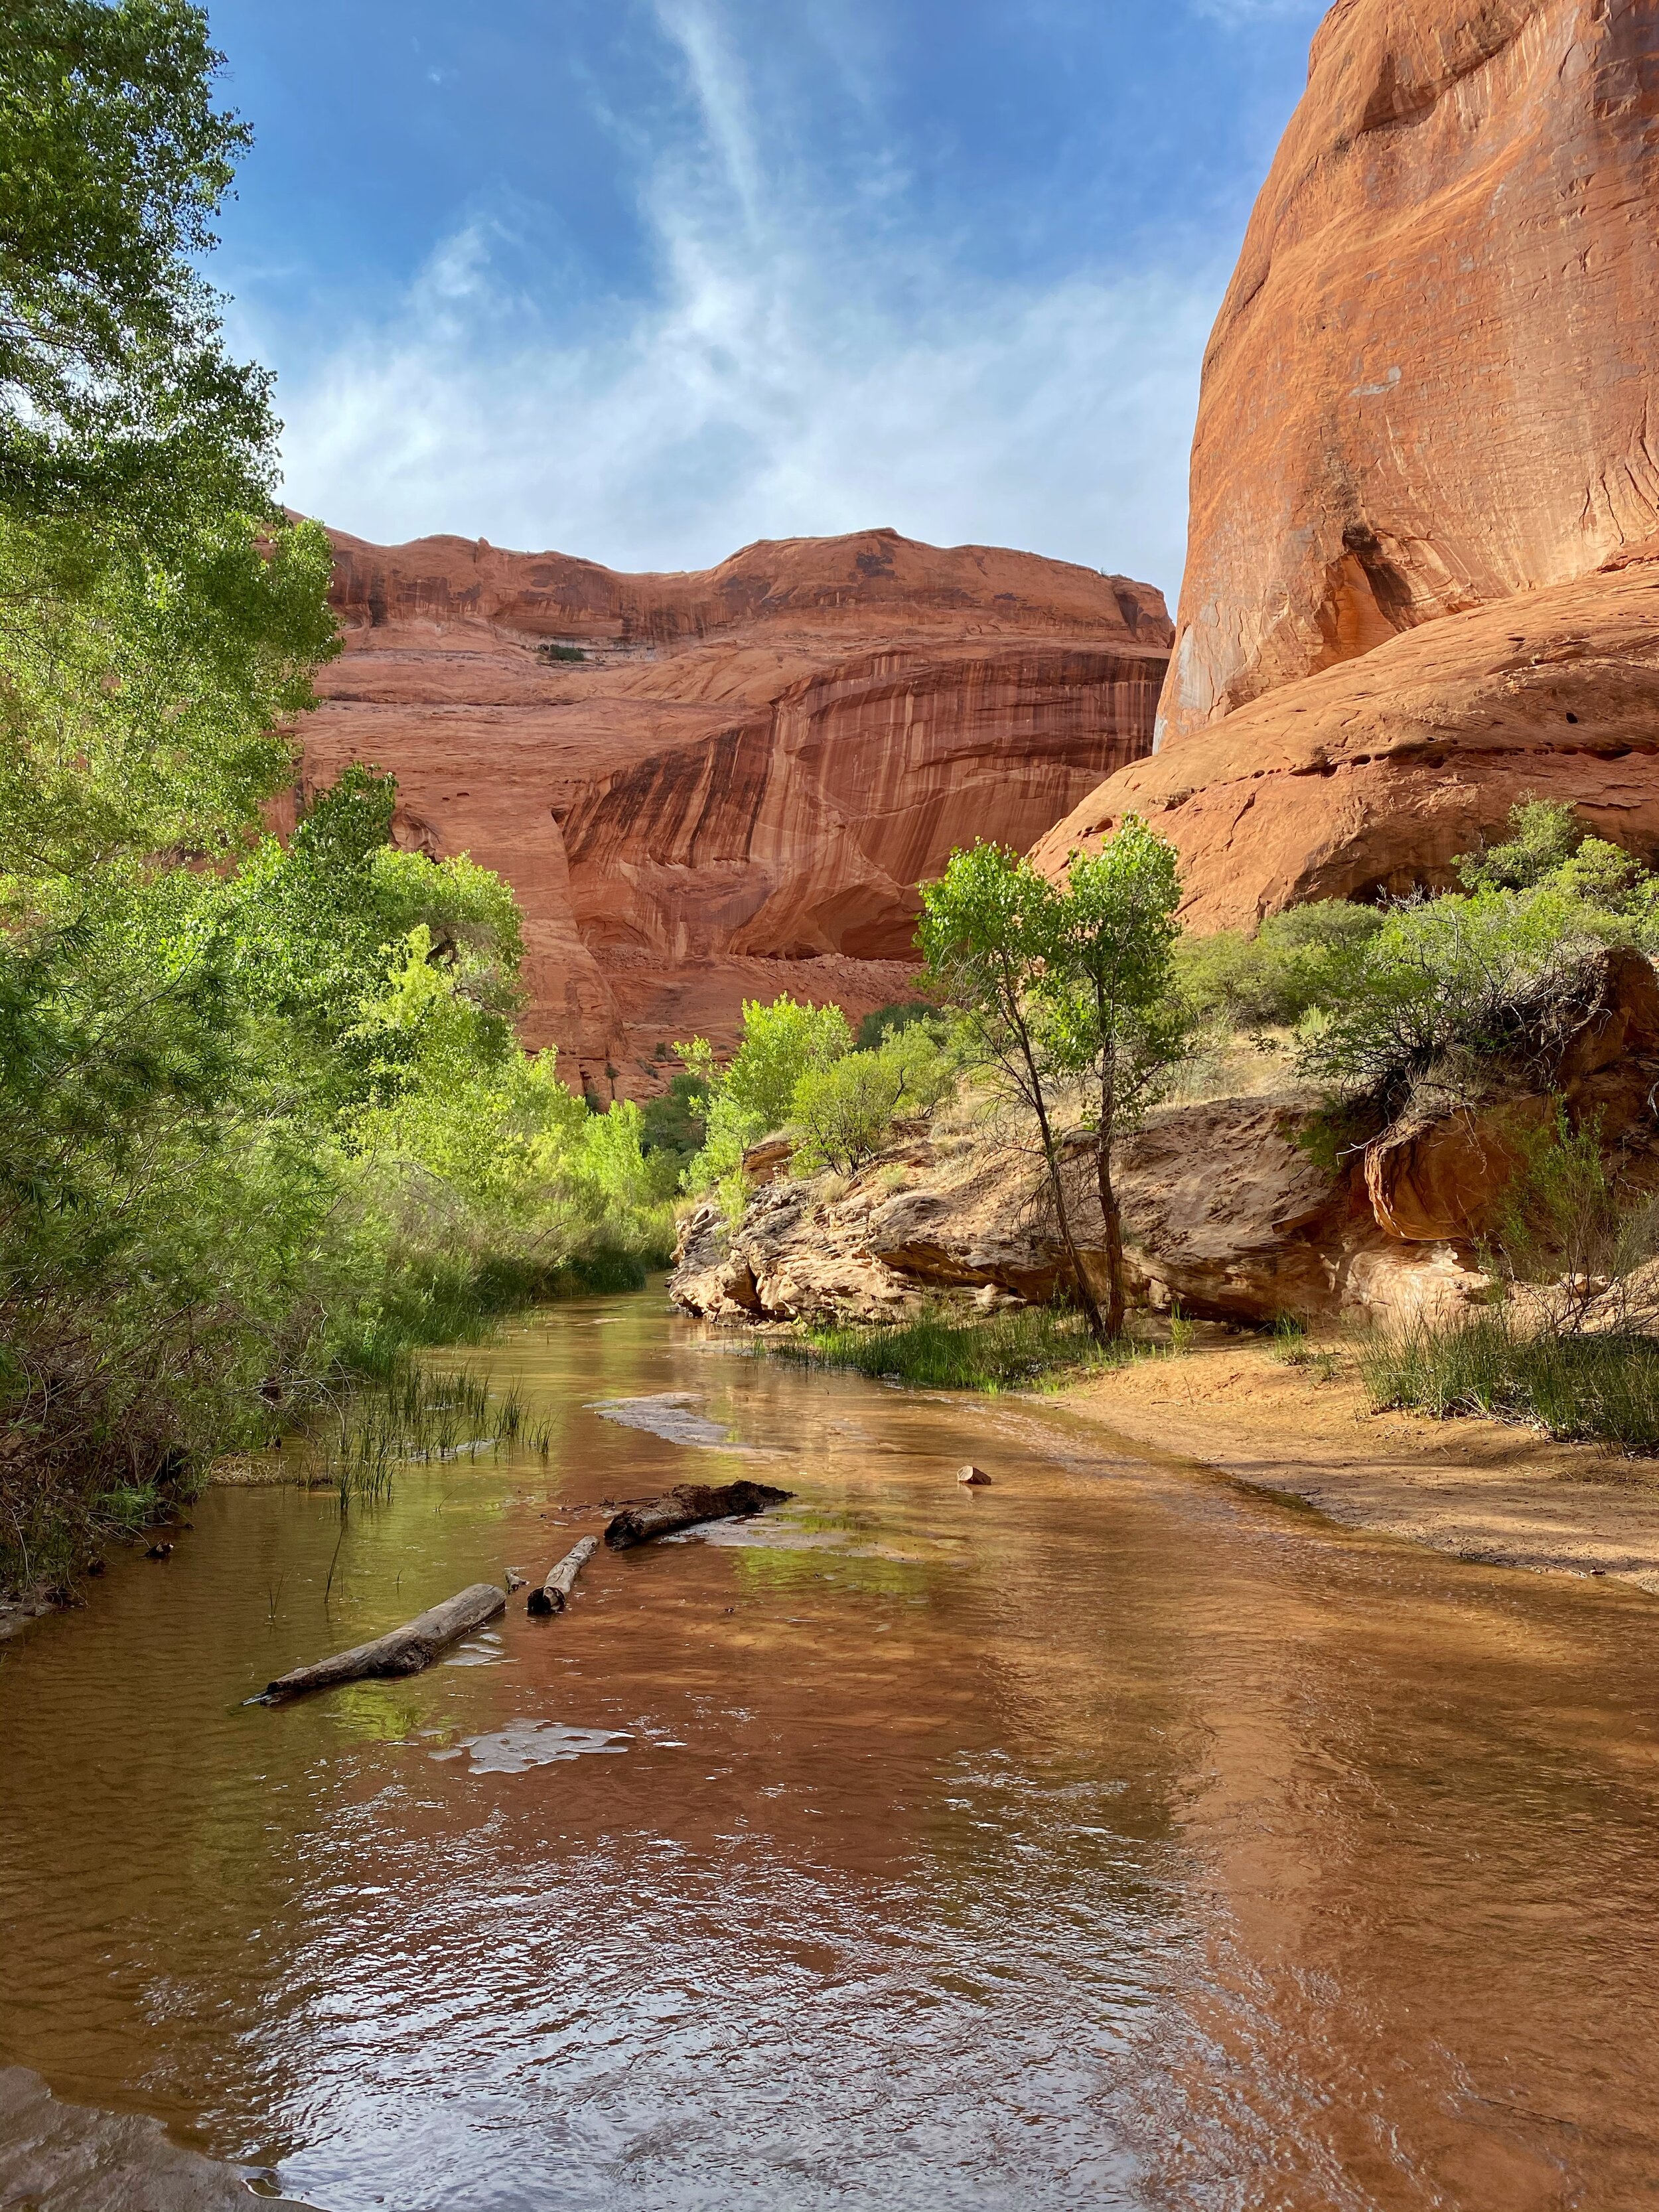
We hiked further into the canyon and physically in the creek for a little bit, and then set up camp. For lunch I had the vegetarian Pad Thai from Backpacker's Pantry and it was delicious, but it was also a really massive portion; even for two people. I felt bad that I was barely able to eat half of it. Michelle and Sumitra shared the vegan Thai Curry from Good To-Go and it was delicious too… almost shockingly so. I need to find more food options that are just one serving.

Backpacking Lunch - Alex Tebow Designs

After lunch we stocked up on water and snacks with our day packs and headed further into the canyon to see if we could get to the confluence of the Escalante River and one of the northern arms of Lake Powell and also find Stevens Arch; another massive arch in the area. We were also on the lookout for a spot called the Black Lagoon. It's a somewhat-hidden swimming hole that was supposedly easy to find, but also easy to miss if you didn't know where to look. We used satellite and topographic maps that Michelle had downloaded from AllTrails to see if they could help, but alas, we couldn't find it. No hikers we passed seemed to know either.

IMG_2959.jpg
Coyote Natural Bridge

Coyote Natural Bridge

IMG_2972.jpg

We didn't see another soul for the hours we were there, soaking up the last of the day's sunlight and watching the bats come out. It was pretty magical.

Coyote Gulch Backpacking

We headed back to camp and called it a night and fell asleep to a much noisier section of the canyon. The trickle of the river was drowned out by crickets and another creature we assumed was like a cicada, but it sounded like a monkey. I think we ended up hiking about 10 miles total that day.

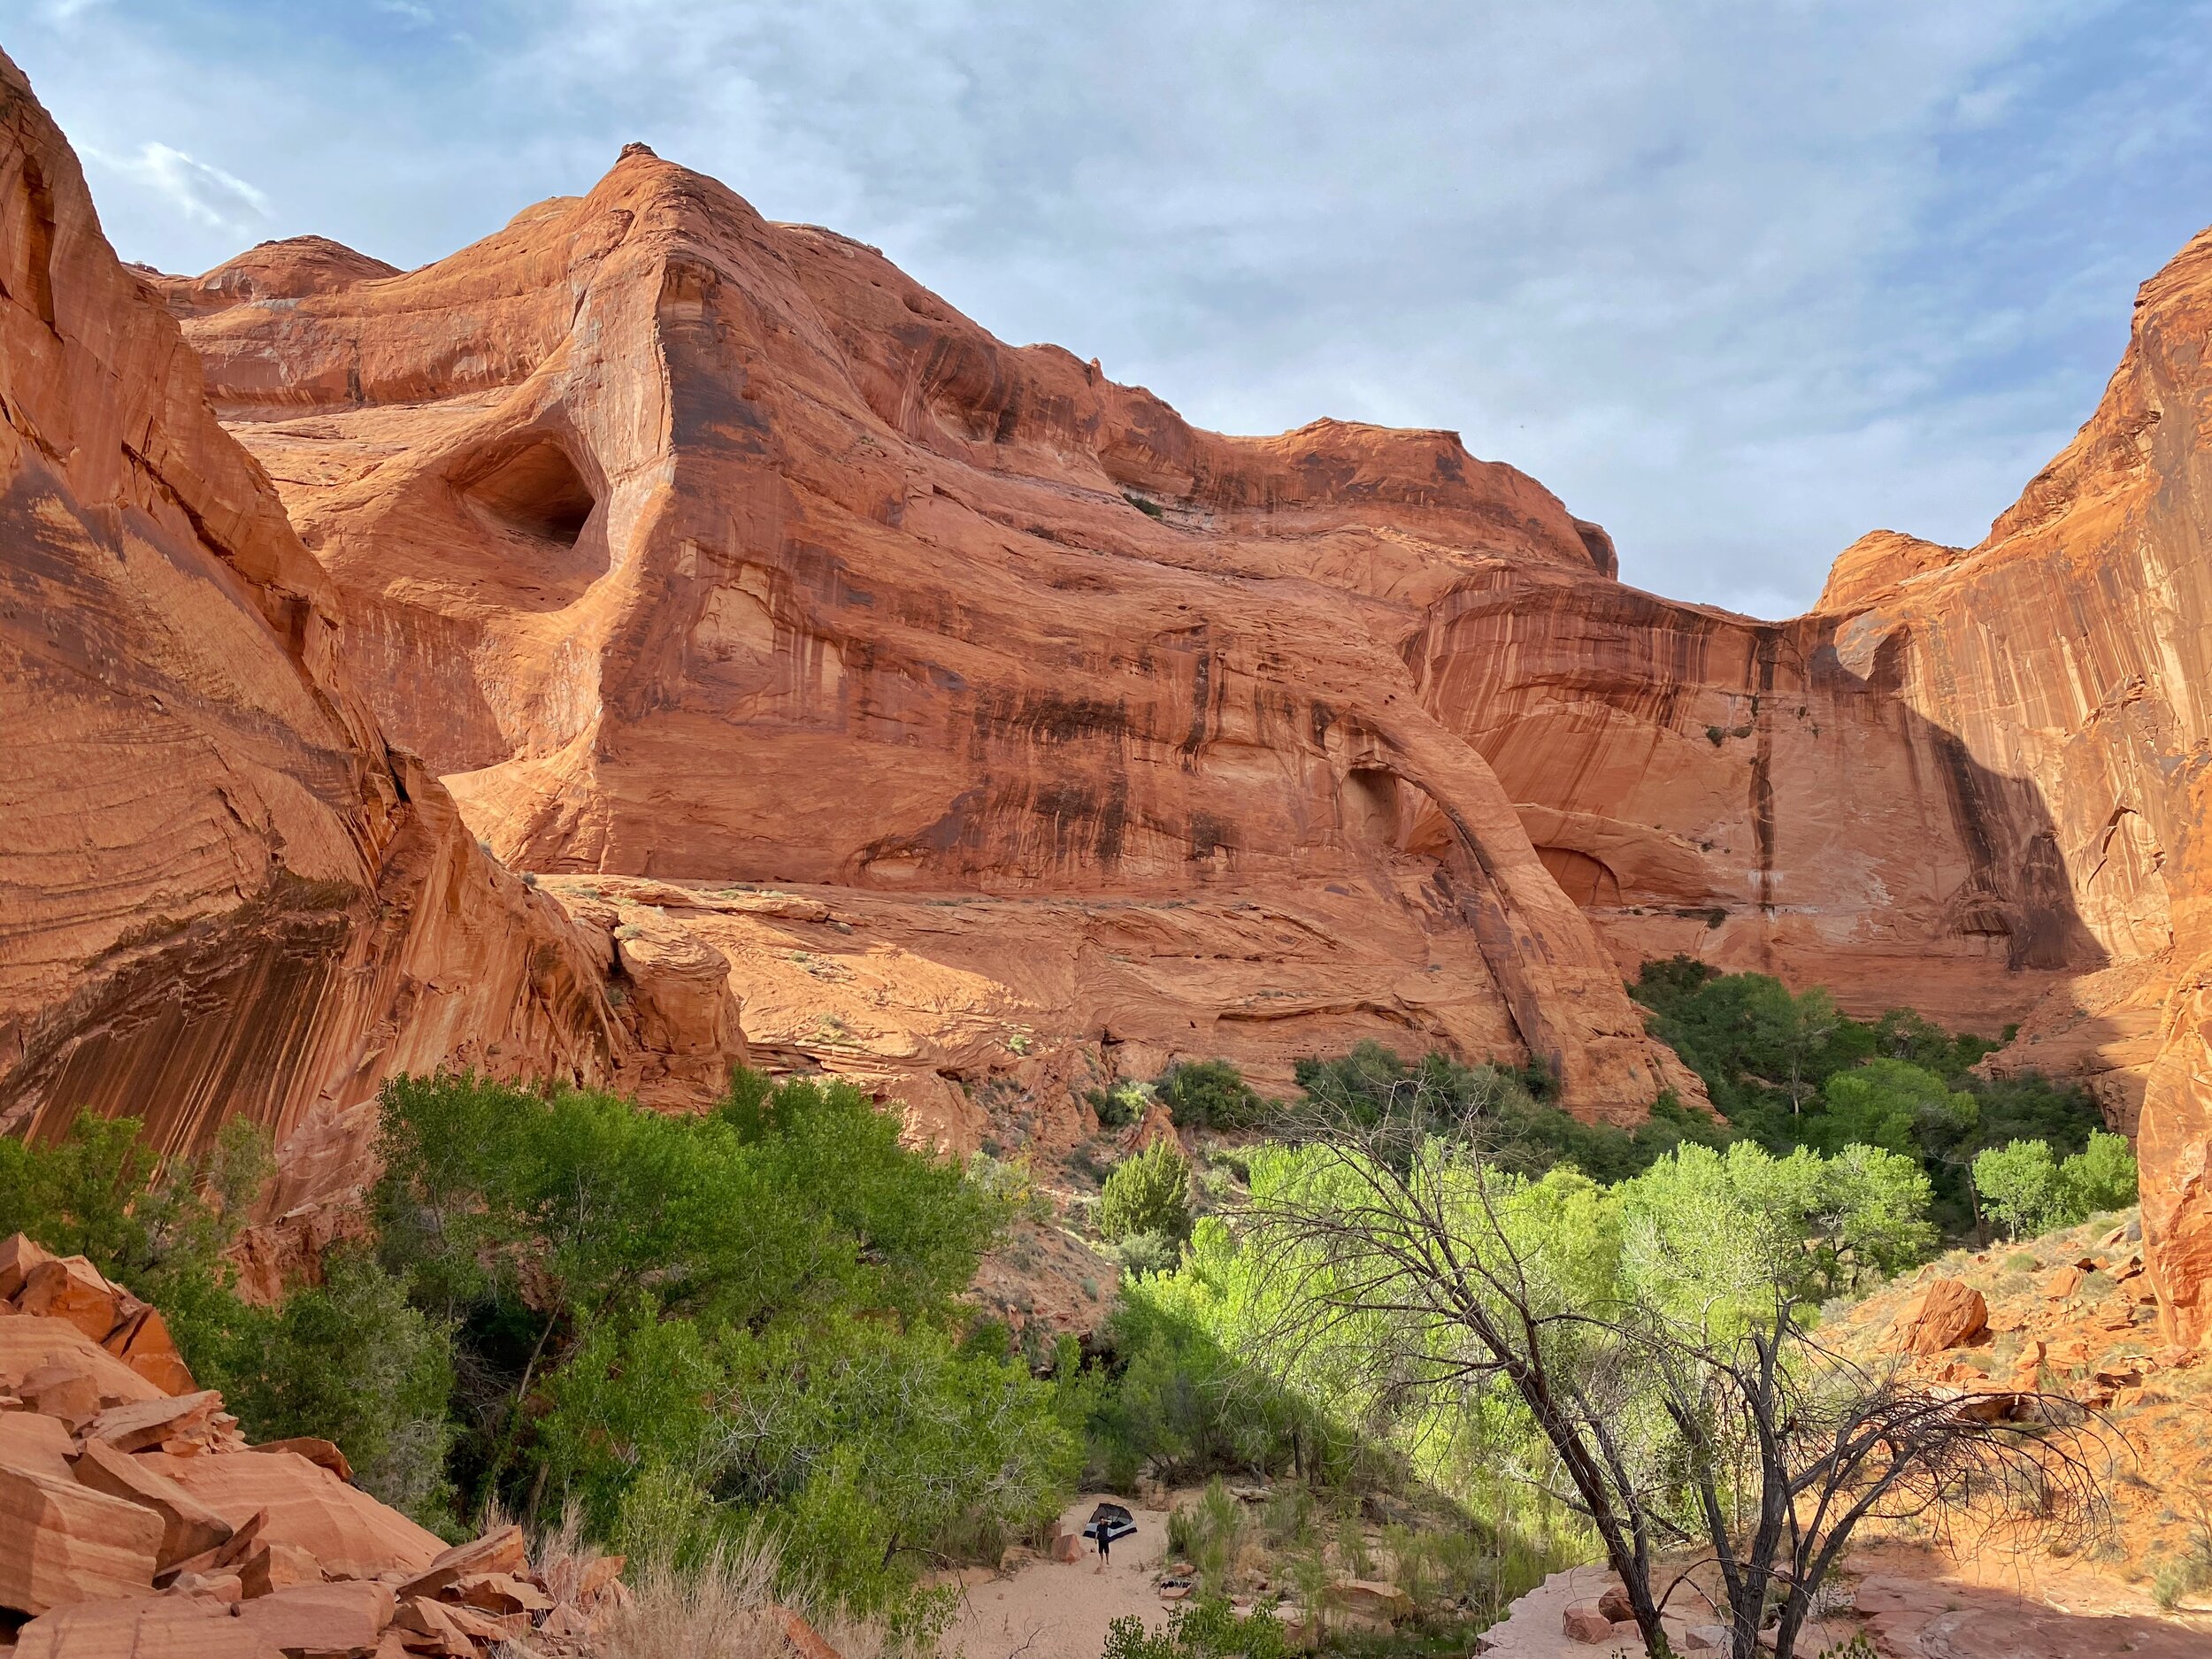
Cliff Arch. You can see a tiny tent at the bottom of the frame. Helps with scale a little bit.

Cliff Arch. You can see a tiny tent at the bottom of the frame. Helps with scale a little bit.

The next morning we headed out with daypacks on the hunt for the Black Lagoon again. After looking at the maps again, we thought we had a better idea where it might be. We explored for a little bit and "thought" we might have found it, but the water was quite low and didn't look great for swimming. Utah is in a severe drought this year too. We snapped some photos with plans to look online again to see if we had been in the right spot. I have looked at a few blog posts and I still don't think we were in the right spot.

We headed back to our camp, packed everything up, and started heading back toward Jacob Hamblin Arch with plans to camp and then head back to my car the following morning. We stopped for a couple of hours at Swiss Cheese Falls to have lunch and play in the water. Michelle took some photos of the Lily Trotters compression socks she had and we enjoyed the water and the shade. We didn’t see any other hikers for the time we were there either.

IMG_3009.jpg
IMG_3012.jpg

We only hiked a little bit further before stopping in what I've seen others call the Great Alcove just before Jacob Hamblin Arch and we decided to set up camp. It was quite an epic place to camp and we chilled for the rest of the afternoon.

We’re so tiny!

We’re so tiny!

Seriously one of the best campsites ever!

Seriously one of the best campsites ever!

I broke out my Art Toolkit and I did a quick painting of the Great Alcove while Sumitra and Michelle went on short, solo hikes. I’ve painted a lot of desert landscapes and I’m used to painting the muted, silvery-greens of sagebrush and yucca. But in this lush canyon, the cottonwood trees are a bright and surreal shade of green that contrasts incredibly with the oranges and red of the sandstone. It almost looks artificial!

Images by Michelle Craig

Images by Michelle Craig

For dinner I had Peak Refuel's Chicken Pesto Pasta. It was tasty, but a little rough on my stomach. Michelle and Sumitra had the Forever Young Mac n Cheese from AlpineAire. It was really delicious too and we all agreed that it would be great with some tuna thrown in.

We chilled that evening watching the stars come out. It was a pretty perfect evening after a short amount of hiking that let us rest up for what would be a tough hike back out to the trailhead the following day.

IMG_8708.jpg

The last morning we set out before 8am for the last slog back to the trailhead. We knew we would be pushing 7.5 miles on what was supposed to be the hottest day of the week, and in the middle of the day. We stocked up on water, energy drinks, salt tablets, and hit the trail. The first half was really pleasant with lots of shade.

IMG_3050.jpg

Once it was all exposed, I really struggled and the last 2 miles were really hard for me. I ran out of water close to the end, but the others were happy to share. It was hot, I was really, really tired, and I was feeling a little nauseated because I should have eaten more at breakfast. But I knew there was a 6-pack of Cokes waiting for me in the cooler of my car and it helped push me to the end.

IMG_8771.jpg

Overall, we hiked about 27 miles between 4 days. A lot of it was in loose sand.

Would I do it again?? YES!

Coyote Gulch Backpacking

I know that my 11yo would have a blast, but I don’t know if my 7yo would be up for it quite yet; especially hiking in so much sand. He’d need some seriously motivating factors. Michelle, Sumitra, and I agreed that it would be really fun to bring our kids and I think we’ll talk again and consider trying next spring. They would likely have the most fun if we set up a basecamp in one spot and just explored the canyon with day hikes rather than pack up every day. We also want to learn more info on the alternate routes into Coyote Gulch. Hurricane Wash is the flattest and easiest to navigate, but it’s also the longest with a stretch of about 5 miles with no water. The Sneaker Route is one we’re going to see about because it’s only about 2 miles and places you really close to Jacob Hamblin Arch.

We also would want to have a vehicle that’s an SUV or a truck that can handle going a little faster than 10MPH on Hole in the Rock Road. Hell, we will rent a damned truck if we have to next time!

Image by Michelle Craig

Image by Michelle Craig

Lessons to Myself for Future Trips:

  • Double check that my sunscreen is functioning! Literally right when we got started at the trailhead, I noticed that the nozzle on my sunscreen bottle was broken, rendering it useless. I had sunscreen for my face, but not enough to also use on my arms and shoulders. Thankfully, I had a lightweight, long-sleeved shirt from Columbia that worked for when I needed it. My shoulders still got a little burnt and that shirt was sooooo smelly!

  • Get some supportive water sandals like Chacos or Keens. I really would have liked to be able to hike through the water without worrying about my socks getting wet. My hiking boots did amazing, but some sturdy and supportive sandals would have been nice too.

  • When the weather is warm, rely more on snacks and less on meals. At mealtimes, if I was tired or really hot, I didn’t feel like making and eating a full meal. I ended up eating all of my snacks, but only a couple of the meals.

  • Research more about food options. Michelle taught me about bringing vacuumed-sealed packs of tuna or salmon to add to dehydrated food like Mac n Cheese or to mix with preprepared mayo and spices for a quick sandwich. Payday candy bars don’t melt like chocolate would and are great for when you’re tired of granola bars or energy bars. Tortillas are kinda heavy, but awesome for nut butter sandwiches. They’re also handy for making a breakfast burrito with a breakfast skillet like the one from Mountain House.

  • Add arch supports to my hiking boots to keep my feet from pronating when I hike (or consider getting custom insoles). I ended up with blisters inside my heels because of this misalignment. It wasn’t the boots but rather my ankles.

  • Bring a swimsuit or quick-drying clothes so I can swim when there’s a place to swim.

Swiss Cheese Falls, my kids would LOVE to play in the water here.

Swiss Cheese Falls, my kids would LOVE to play in the water here.

My Gear: (lots of affiliate links here!)

I am sure there are plenty of lighter-weight options for most of my gear. I’m never going to be a UL backpacker, and I’m perfectly alright with that.

Image by Michelle Craig

Image by Michelle Craig

Worth Bringing: (even when it adds weight)

  • A CHAIR! On a whim, I bought the lightweight chair that Costco was selling this year. It’s from Cascade Mountain Tech and it’s about 3.5 pounds and has a 250 pound weight limit. It was SO nice to be able to rest my legs and back every afternoon and evening. I almost didn’t bring the chair because my pack was full, but I was able to strap it to the outside of my pack and it was super easy to bring. I will never NOT bring a chair with me from now on and I’m looking at investing in one that’s lighter weight like the ones from Klymit or Helinox.

  • A pillow. To make backpacking and camping more enjoyable on my body, I have been working hard on figuring out the best way to get a good night’s sleep. I learned years ago that I can’t sleep on an inflatable pillow. Then I found that Thermarest makes collapsible pillows filled with memory foam. They come in a bunch of sizes and roll down to less than half their size. They truly feel like I’m sleeping on a real pillow at night and have been really amazing. I actually have two in Small and Large and they come with us on every camping trip and every road trip. The best part: they are machine washable and can go in the dryer.

  • Wet wipes. Having some simple wet wipes to scrub down my face, neck, hands, and feet every night really helps me feel cleaner and refreshed. I may or may not use them for a quick PTA bath too. Totally worth bringing.

  • A measuring cup. When rehydrating backpacking meals, it’s important to use exactly the right amount of water. Too little and you end up with crunchy chunks of meat or noodles. Too much water and you have mush. A few makers of backpacking food are starting to give us a fill line rather than a measured amount, but a few still list 2/3 of a cup or whatever measured amount. Having a small, plastic measuring cup is really helpful to have; especially if you can store it somewhere out of the way. Mine fits in my cooking pot along with some soap, matches, and my MSR stove.

Image by Michelle Craig

Image by Michelle Craig

To end, this trip was a truly memorable experience and it has really lit a fire in me that makes me want to delve into backpacking more. While it was physically exhausting and really pushed me outside of my comfort zone, I would totally do it again and it makes me really appreciate how stunningly beautiful Utah is and just how little of it’s gems we’ve seen. And I feel like we’ve seen a lot!

What are some other amazing places to backpack in Utah? Got any suggestions?