birthdays

Jaxon's 6th Birthday

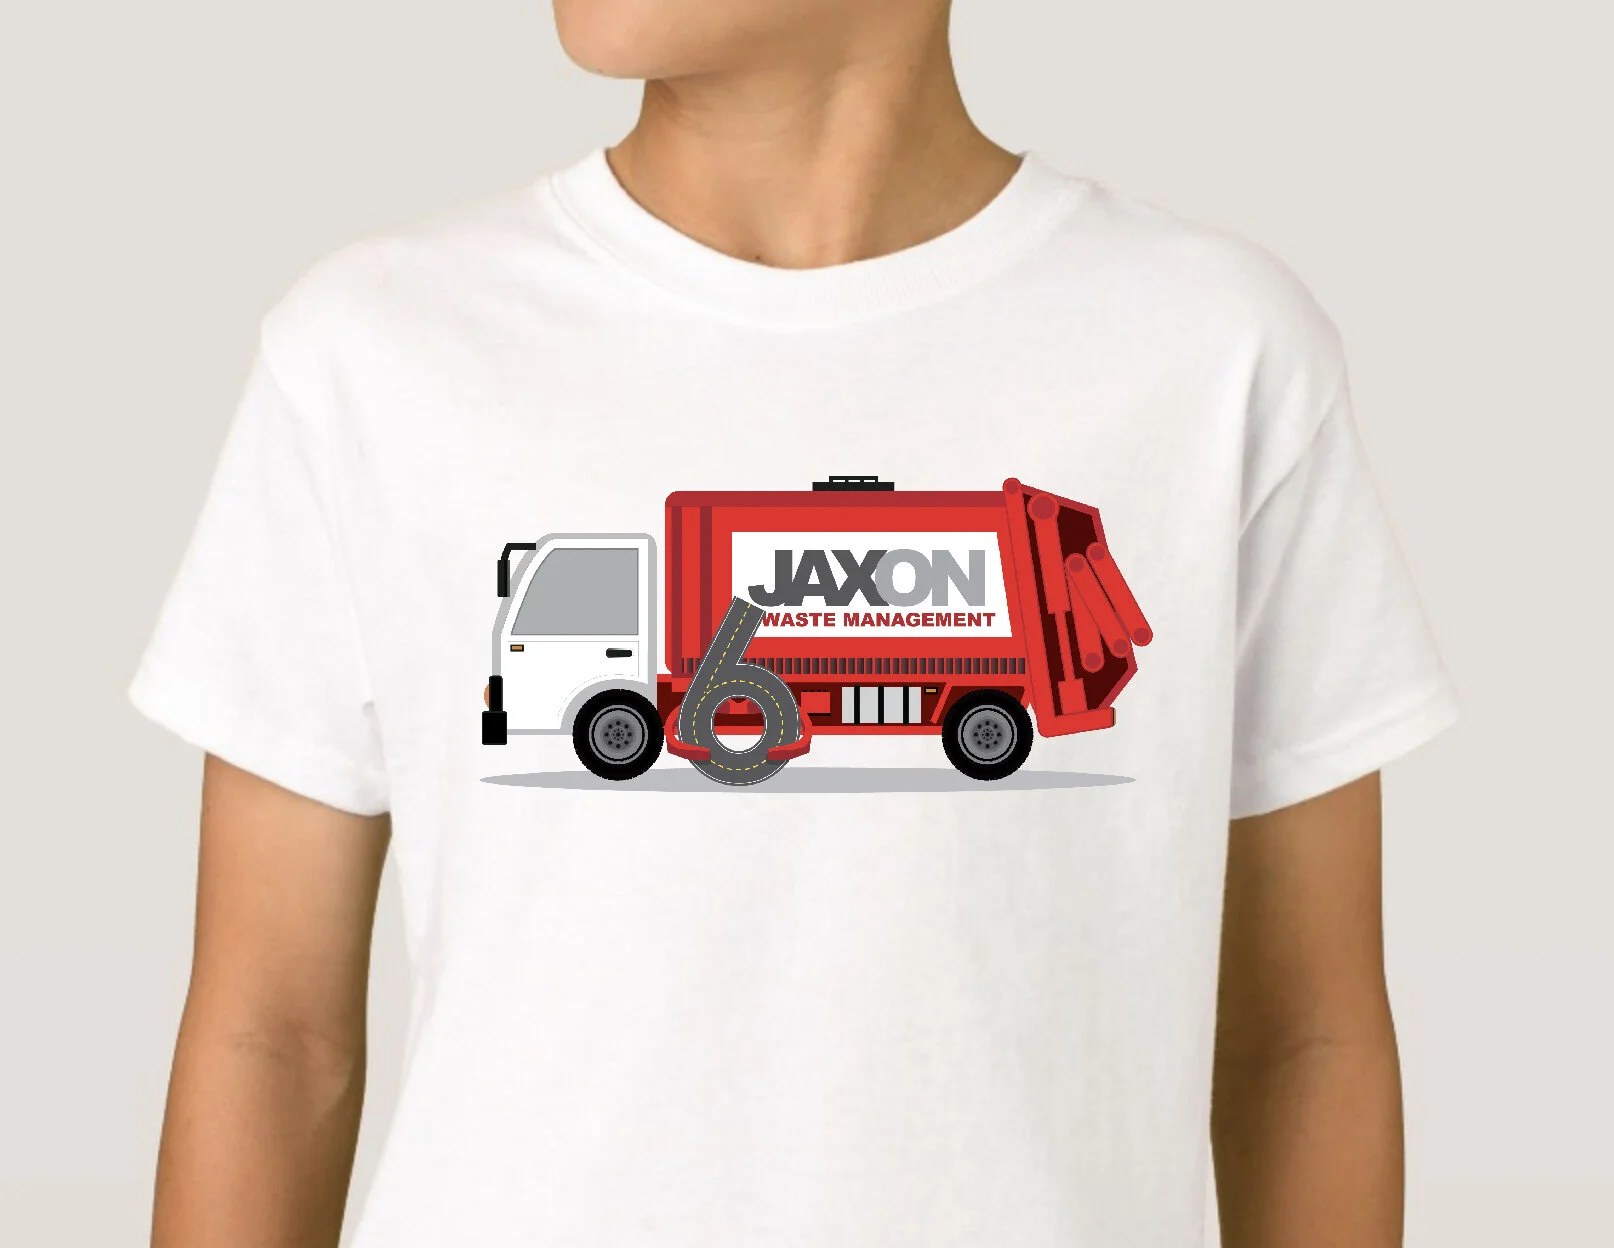
Jaxon had an awesome garbage truck themed party for this 6th birthday. His mommy JoAnna and I worked on some fun printed items for his big day. We started with basic green garbage trucks because they are pretty common, but then Jaxon asked his mom to ask me to change them to red, because that’s what the garbage trucks look like in his neighborhood.
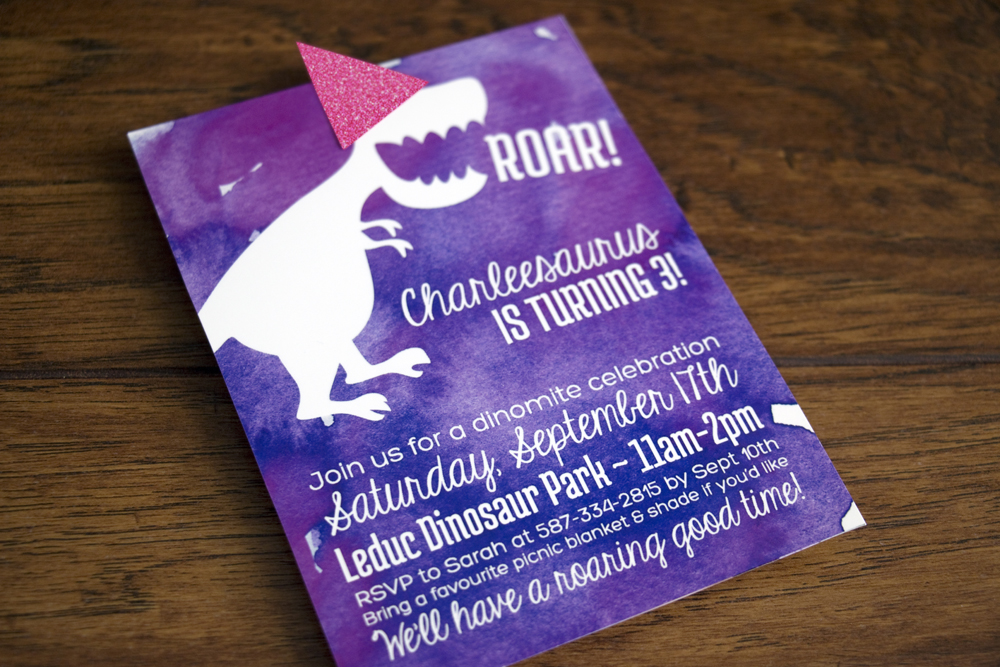
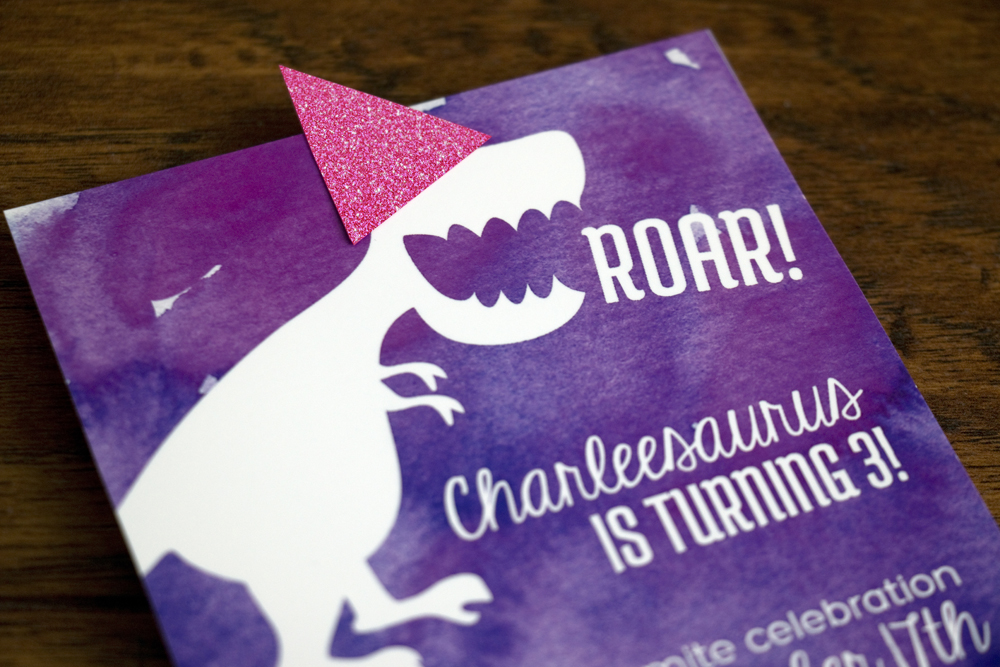
Custom invitation:

JoAnna_Invite_Web2.jpg

After the invitations were printed and sent, Jaxon had another request for the red garbage truck: could I add the grabbing-arm that is on the side of the trucks. So I made it holding the number six for the favor labels, welcome sign, and t-shirt graphic.

IMG_0755.PNG

I LOVE the mini trash can favors!!

IMG_0756.PNG

T-shirt graphic:

JaxonTeeMockup.jpg

Happy, happy birthday Jaxon!!

Ian's 1st Birthday

For his 1st birthday, Ian wanted a monster struck theme and his mommy, Syrita had his party at a children’s art studio. So, what to do? Create an invitation with both monster trucks AND art!

I love how it turned out!

Syrita_IanBday_Web2.png

Happy birthday Ian! I hope your party was a blast!

No-Sew Fleece Blanket; a Toy-Free Birthday Gift

IMG_0300.jpg

In the month of March this year, my kids were invited to five birthday parties. FIVE! Three of them were all in one weekend! In April they were invited to three. Two birthdays in July and then two again in August. Birthday kids varied in ages, from three all the way up to age nine. Some were close friends, some were school acquaintances. We didn’t have a ton to spend on these multiple birthday gifts and I have been striving to have less toys in our kids’ lives, so I somewhat vowed to myself not to buy toys as birthday gifts… which is a lot easier said than done, especially for younger kids.

Instead I decided to to make fleece blankets for the first month of birthdays and from then on, we were hooked. Depending on the age of the kid, we usually bought one and a half yards of no-pill fleece in two colors or patterns. The top layer is always a favorite character or some genre they’re into at the moment (Star Wars, Paw Patrol, Minecraft, or just unicorns, puppies, or a favorite sports team). There are LOADS of choices in fleece patterns. A quick text to a mom or dad helps us choose too. For the bottom layer, we chose a solid color that compliments the pattern. For the birthday kids who were turning nine, we got two full yards so they could have a slightly bigger blanket. With coupons, the fabric ends up costing between $20 and $30 per blanket. I’m sure if I planned ahead better, I could get an even better deal.

IMG_2023.jpg

For three of the birthdays, the pre-cut, no-sew fleece blanket kits that you can find at craft and fabric stores happened to be on sale for 40% or 50% off, so a few times we opted for those. They ended up being $15-$20 with sales or a coupon.

JoAnn’s is my first choice for fabric when it’s time to make a blanket. I choose not to shop at Hobby Lobby and we don’t have many other fabric stores where we live. Plus, JoAnn’s often has great deals through sales or coupons.

IMG_8237.jpg

Materials Needed:

  • 2 pieces of no-pill, polyester fleece, size is up to you. I like 1.5 to 2 yards for a great kid-sized throw. For an adult, I may opt for 3 yards.

  • 1 pair of very sharp scissors (I recommend having a pair ONLY for fabric. I have like 3, but you do you)

Step 1: Choose your fabric.

Step 2: Lay them out, stacked on top of each other and trim any edges so they’re the same size. If one or both of the fabrics are patterned, make sure the RIGHT sides are facing out.

Step 3: Cut a 4 inch square from all four corners. You can cut a piece of cardboard to use as a guide if you want, but I have always just eyeballed it based on the knowledge that my fabric scissors blades are about five inches long.

Step 4: Cut a 4 inch fringe along the sides, through both layers of fabric, all the way around the blanket. They should be about 1 inch wide and 4 inches long. Use your corner cuts as a guide. If you would prefer to use a ruler to make sure your cuts are precise, that’s totally up to you.

Step 5: There are lots of different ways to tie the ends. I usually take the stacked fringe pieces and tie a square knot, tying the two layers of fabric together. You can do a balloon knot like done here or once I did a braid-like tie like this (although I cut the fringe longer than they did). This video on YouTube shows four different ways you can tie off the fringe depending on what look you want. The choice is yours.

IMG_6518.jpg

Most importantly, my kids really love giving a gift that they helped make. Of course, now we need to think of something new to give if we’re invited to the same kids’ birthdays next year!

IMG_7201.jpg

Juliana's 5th Birthday

Juliana had a sweet party at a petting zoo for her 5th birthday. Her mom, Kelly really didn’t want to do a cowgirl or a farm theme, so we created this cute invitation with lots of farm animals and a lovely photo of the birthday girl herself.

IMG_2839.jpg
IMG_2844.jpg
IMG_2841.jpg

I hope your party was lots of fun Juliana, happy birthday!

Aubrey's 7th Birthday

When Jamie was planning her daughter’s 7th birthday party, she wanted a Wonder Woman theme, but Jamie wasn’t in love with the designs she was seeing at her local party store. She and I chatted about custom options, but I don’t have a license to use logos and artwork from Wonder Woman, so we created this Wonder Woman-inspired birthday invitation with a comic book vibe and I really love how it turned out!

IMG_2848.jpg
IMG_2846.jpg
IMG_2845.jpg

Happy happy birthday Aubrey!