Custom Holiday Cards

I created holiday cards that are currently available in my Etsy shop. Each listing explains what can and cannot be customized and if there are options for colors. Let me know how you're planning to print your cards and I'll make sure to set up the final files to the correct printing specifications.

Clicking on an image will direct you to its corresponding Etsy listing.

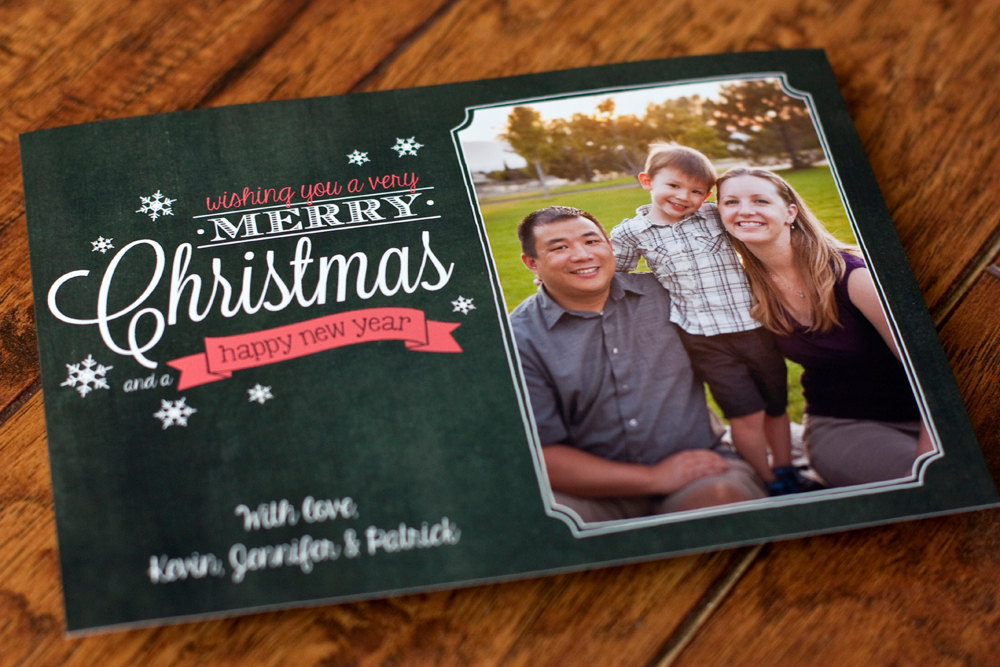
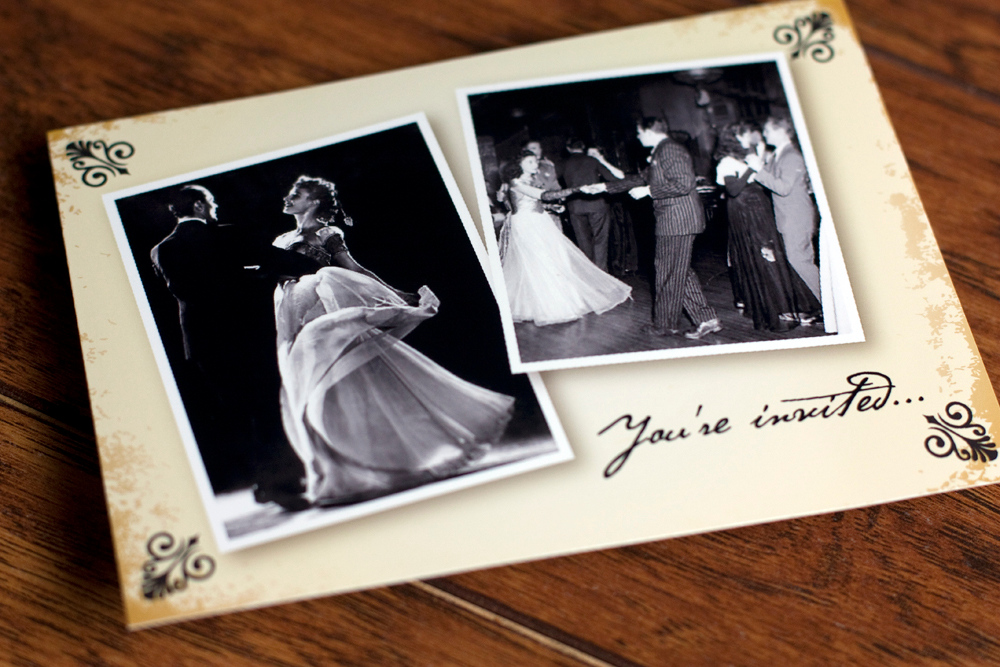
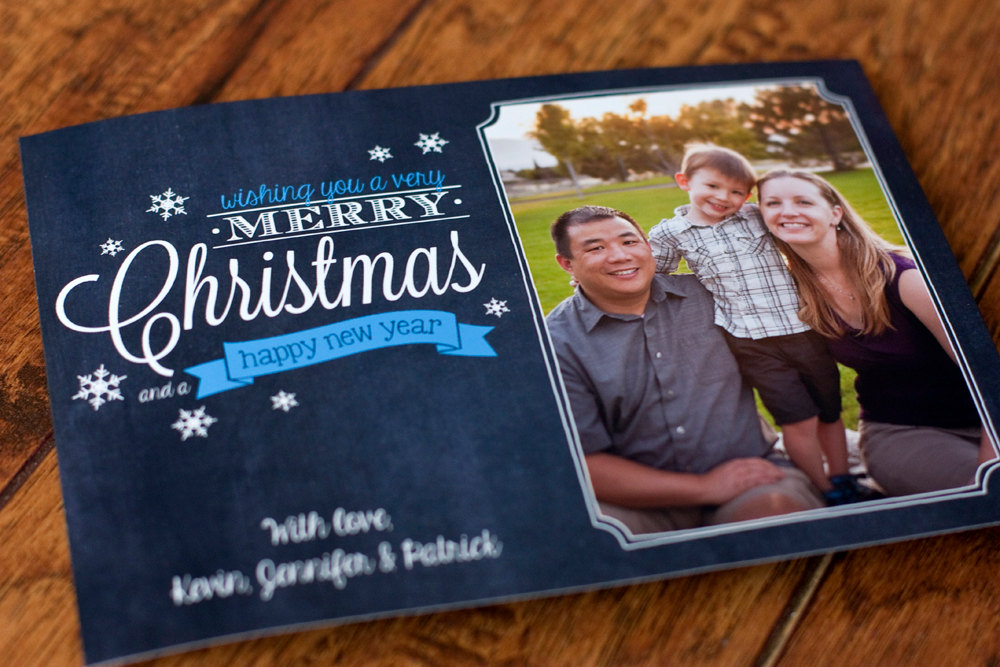
This is one of my current favorites! One image and a Christmas greeting, choose either the green or blue colorway.


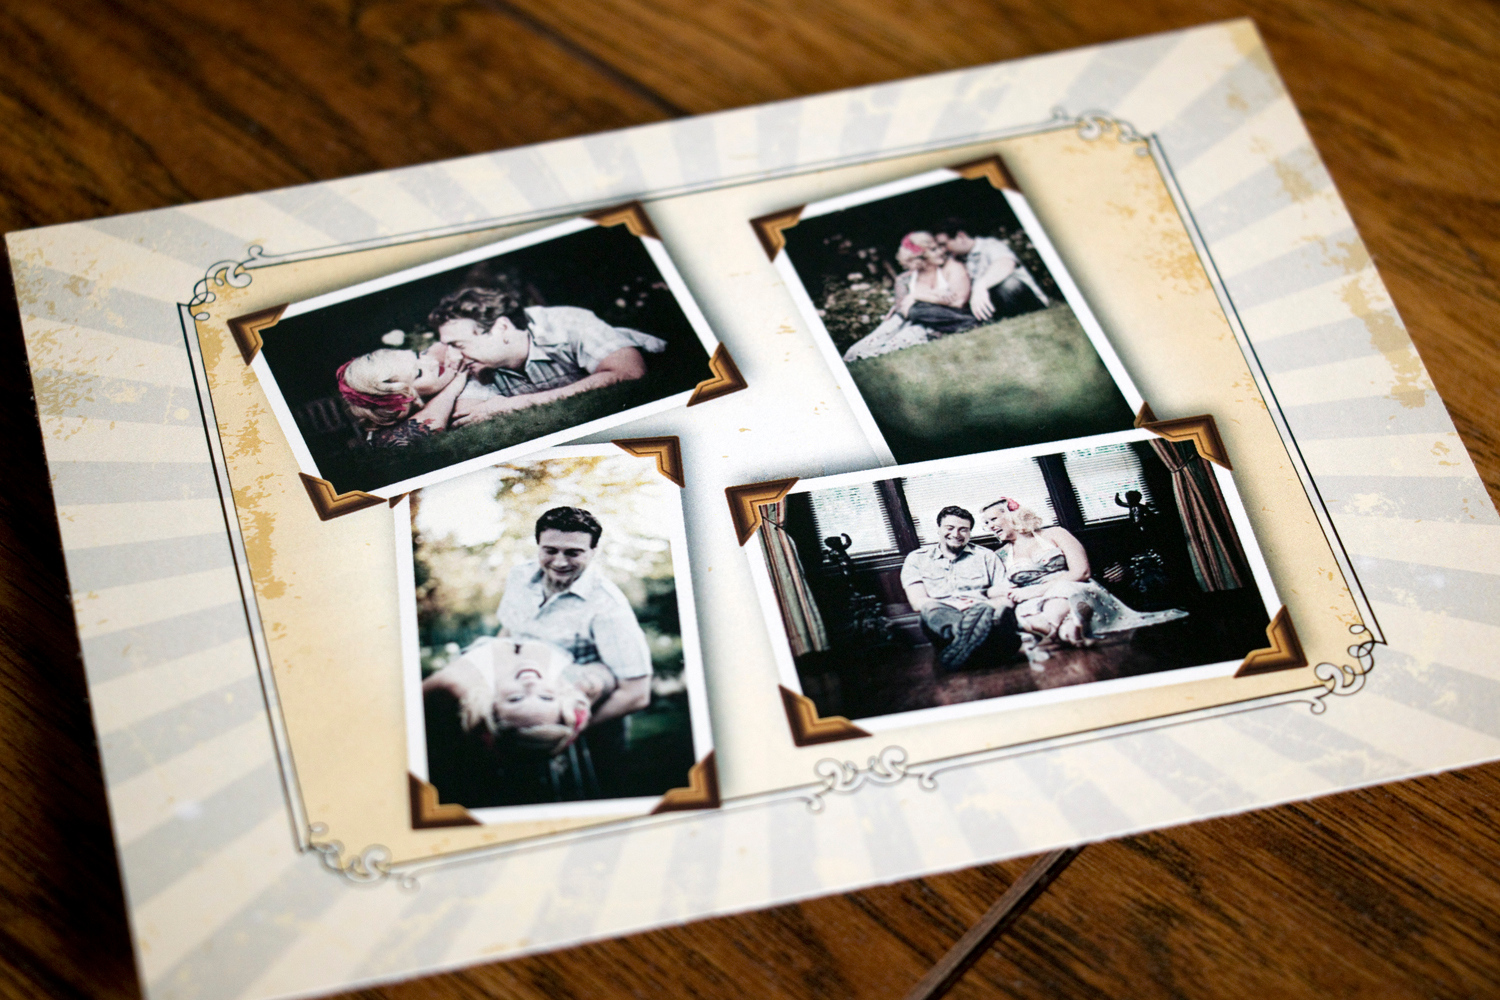
This is a two-sided design with a large image on the front. You can have it say either Merry Christmas or Happy Holidays (or some variation of those). The back has space for up to five images along with a letter to friends and family about your family's year. 


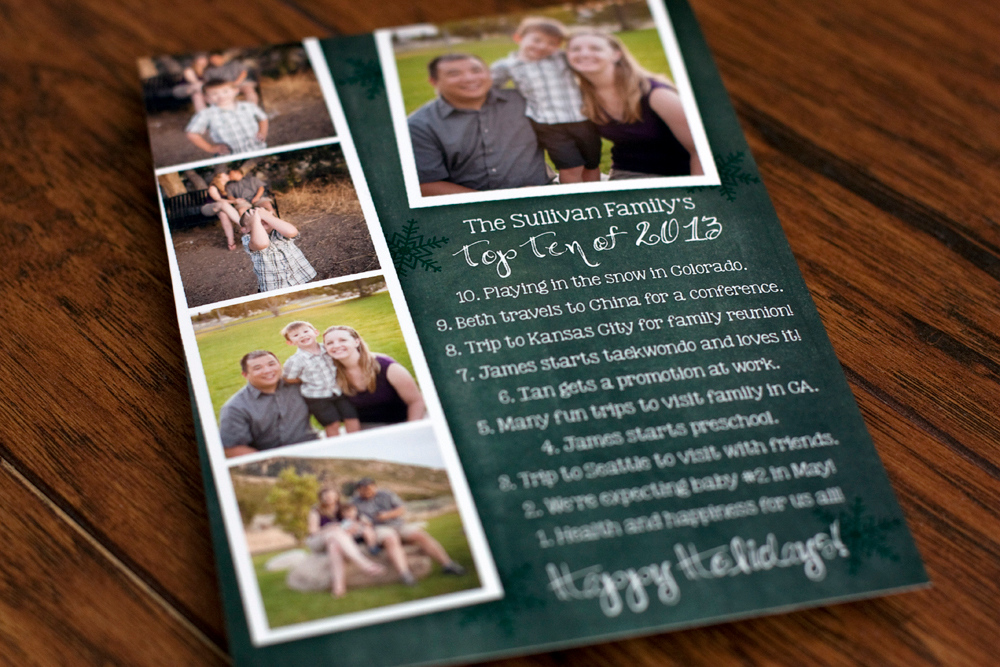
This design allows you to showcase five images and give your family and friends a top ten list of the highlights of your year. I can do either a green or blue faux chalkboard background and I have have the bottom say either Happy Holidays or Merry Christmas (or any variation of those). Please keep your "top ten" brief as space is limited.


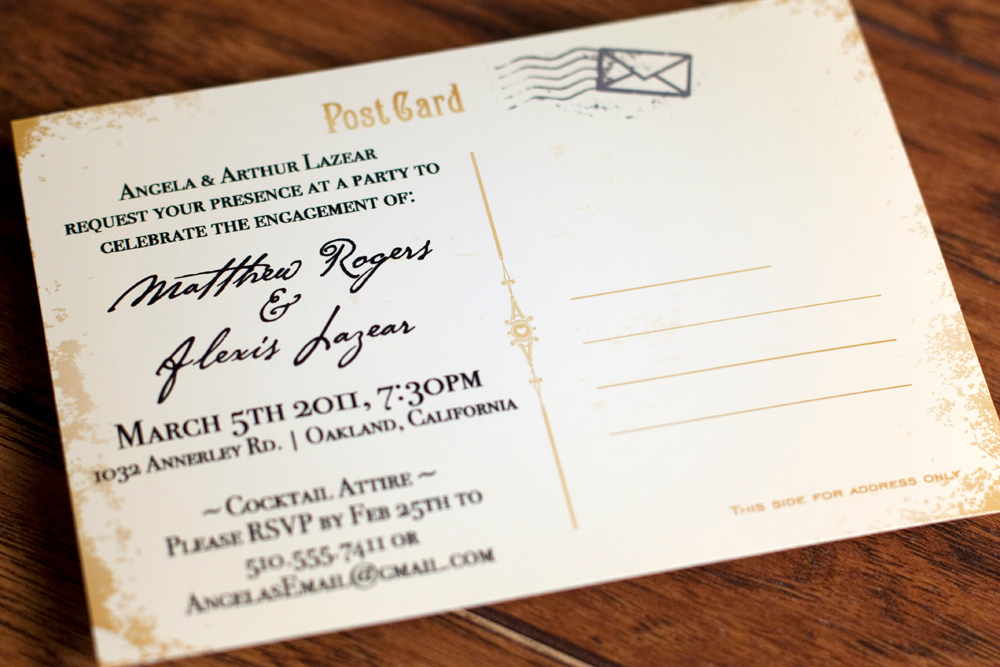
This design is laid out to be sent in a #10 envelope. You can have the bottom greeting say anything you'd like and the space at the bottom of each polaroid photo can caption each image.


Six images and a non-Christmasy greeting. Great if you're like me and you struggle to get your cards into the mail before Christmas!

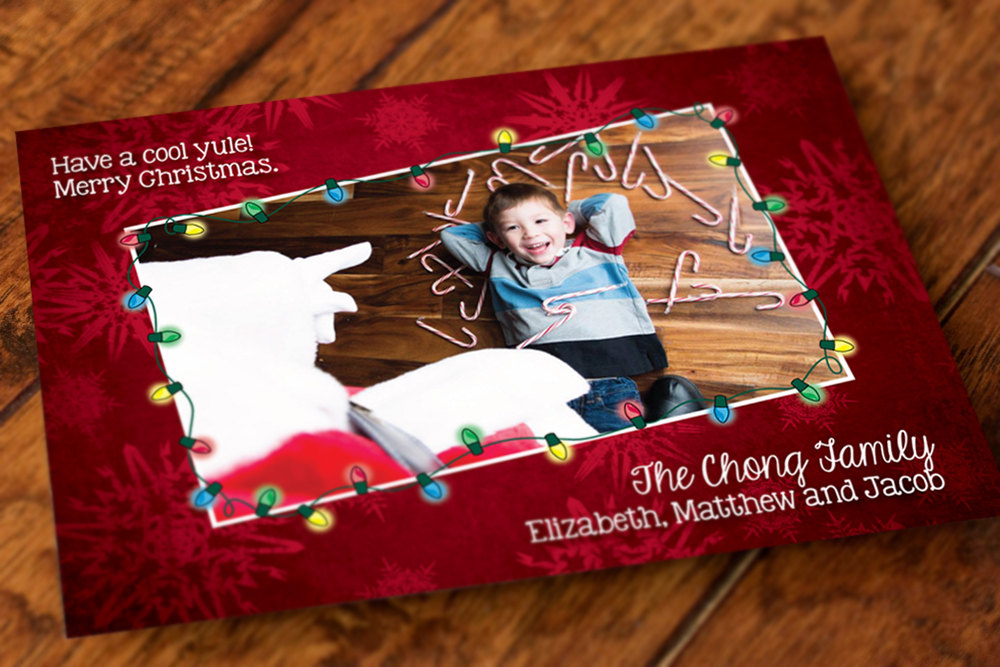
Share one image with a snowflake background and holiday lights for a border!

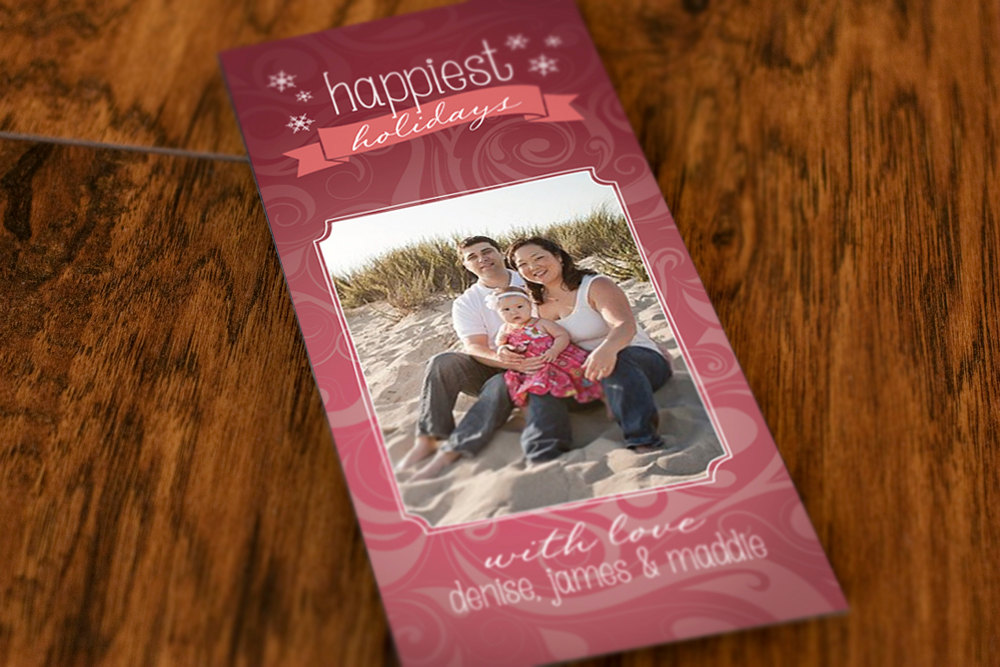
One family photo and a couple of giant snowflakes. I can customize the color of the flags at the top and bottom to correspond to colors that are in your photo or leave them as is. Let me know!

One family photo and sized to fit into a #10 envelope. You can choose between a red, green or blue swirly background too!

Simple design with a greeting you can customize. Choose either red, green or blue for the snowflake background.

Simple design that showcases one family photo. Two color options and it can say either Merry Christmas or Happy Holidays or a variation of those.

I am working on new designs that I hope to be able to add to my shop within the next week or so. 

Shoot me an email if you're looking for something custom or you want to rework one of these designs. Also check out the custom cards I've created for clients. I can rework those designs to fit your needs as well. 

Melinda and Alex

I had the pleasure of working with Melinda on the items for her June wedding. She wanted to go with a winery theme, but she didn't want grapevines or grapes on the invitations. She saw the wine ring invitations I created for Allison and Eion and she wanted to do something similar.

Many thanks to Melinda and her wedding photographer for the lovely photos!!
JF Hannigan Photography

Images by JFHannigan

Images by JFHannigan

We also created place cards and table numbers for the reception.

Image by JFHannigan 

Image by JFHannigan 

Image by JFHannigan

Image by JFHannigan

Image by JFHannigan

Image by JFHannigan

Image by JFHannigan

Image by JFHannigan

A menu also sat at each table.

Image by JFHannigan

Image by JFHannigan

Last we created a seating chart that Melinda had framed with wine corks. It turned out so awesome!

Images by JFHannigan

Images by JFHannigan

Thank you again Mel and congrats!!

Sara and Michael

The youngest of my two brothers got married last September with a small ceremony. They were originally planning to get married the following year but chose to get hitched sooner and they only gave themselves five weeks to plan it. Five weeks!!

We were tremendously lucky that Jessica from Jessica Kay Photography happened to be free that weekend and was able to come and shoot their wedding. Thank you Jess!!!

Needless to say, sending a formal invitation was really just a formality. They invited each of their guests either in person or over the phone and then mailed an invitation to those who were coming. 

We created a thank you note that was placed at each place setting:

Image by Jessica Kay Photogtaphy

Image by Jessica Kay Photogtaphy

Image by Jessica Kay Photography

Image by Jessica Kay Photography

For favors, Sara and Michael made a big batch of their favorite homemade taco seasoning and divvied it into small jars. We added silver sparkly washi tape to secure the lids (they popped right off!) and tied a favor tag to the top. 

Images by Jessica Kay Photography

Images by Jessica Kay Photography

For their guestbook, they had guests write well wishes on Jenga pieces. This was such a FUN guestbook!! The sign on the table says: Marriage is a game of balance. Please leave your words of wisdom on a block and help us build our future.

Images by Jessica Kay Photography

Images by Jessica Kay Photography

My son was so proud to write his name on a block!

Images by Jessica Kay Photography

Images by Jessica Kay Photography

Our uncle (who makes wine) bottled some delicious zinfandel for this special occasion and I created a custom wine label to go with it.

Images by Jessica Kay Photography

Images by Jessica Kay Photography

Lastly, there were bright blue signs on each of the bathroom doors at the venue, and they were kind of in the middle of the space where the ceremony was taking place, so I quickly cut out big silhouettes of Michael and Sara and we taped them over the signs on the door. It was a super last minute thing, but I really love how it turned out.

It was quite an experience getting to play a small role in the planning of this beautiful wedding. Congratulations!

Melissa & Patrick

I had so much fun working with my younger brother and his fiancé on the items for their bicycle-themed wedding. Both Patrick and Melissa are avid athletes, running marathons, triathlons, sprint races, you name it. And they love long bike rides and races, so it was perfectly fitting to have their bicycles throughout their June wedding.

In the beginning of wedding planning, Patrick was very set, he didn't want to use graphics of a tandem bicycle (which are very popular in wedding decor). "We each have our own bikes!" he said. So I created the graphic with two separate bicycles and things took off from there. 

Many, many thanks to Jessica Kay Photography for her stunning images. I don't always get professional images of the work I do since not very many photographers take pictures of the printed details unless the bride or groom specifically asks. But Jessica knew I'd want photos to share and she happily obliged. If you're ever in need of a photographer for weddings, newborn, maternity and family photos in northern California, give her a call!

Their save-the-date introduced guests to the vintage, bicycle theme and included images from their travels together:

Their invitation was a blast to come up with and the folks at FolgerGraphics in Hayward, CA were fantastic with helping us print. More than one custom print shop I contacted said they wouldn't be able to print the bicycles on the gatefold card like I mocked up, but FolgerGraphics was happy to do it for me. And they even scored and folded them all!

We used paper bag colored card stock and envelopes from Paper Source

They opted for a two-sided, postcard rsvp and we had fun with the wording.

Don't freak out, I changed their address!

Don't freak out, I changed their address!

We also included a map to the wedding venue plus information about parking and their wedding website URL:

I created a custom return address stamp with Hello World Stamps. I've worked with Kelly on a few stamps for a few different clients and she's been fantastic! I highly recommend her shop.

I changed their address here too, no worries!

I changed their address here too, no worries!

Escort tags were printed small and clipped to the spokes of a bicycle wheel that Patrick mounted inside a planter. I LOVE how this turned out!

Images by Jessica Kay Photography

Images by Jessica Kay Photography

Each table was named after favorite bike rides throughout California with the sweetheart table named after a bike ride Melissa and Patrick planned to ride in Italy on their honeymoon.

Images by Jessica Kay Photography

Images by Jessica Kay Photography

In lieu of a traditional guest book, they did a "thumbprint tree." I created a bare tree (with bicycles too!) and guests were asked to leave their thumbprint on the tree. It really turned out cute!

Images by Jessica Kay Photography

Images by Jessica Kay Photography

Patrick and Melissa made all of the desserts for their wedding (yes, you read that right, they even made the small cake!). We created signs to identify each dessert plus a bigger sign for the table. Plain white takeout boxes were adorned with a custom sticker to allow guests to take some treats home.

Image by Jessica Kay Photography

Image by Jessica Kay Photography

Images by Jessica Kay Photography

Images by Jessica Kay Photography

We created a custom wine label to go with the Zinfandel that our uncle bottled specially for their wedding along with a fun sign that sat at the bar. The label says "cycling happily ever after" at the top.

Images by Jessica Kay Photography

Images by Jessica Kay Photography

I tried my hand at creating a couple of custom chalkboard signs too. I used the method Mary Ellen used in this tutorial and I created these two signs. The big one served as their wedding program. It was quite a bit less expensive than printing one for each guest.

Old fashioned bicycle bells were the wedding favor. We added a simple sticker and these came out towards the end of the evening. No one wanted to deal with kids ringing these during the ceremony!

This wedding was truly a blast to work on. And I'd like to give some extra special thanks to my husband for his patience as I got the last minute items finished, especially those chalkboards. Oh and I was eight weeks postpartum when this wedding happened, so there's that! We even managed to get a decent family photo!

Images by Jessica Kay Photography

Images by Jessica Kay Photography

Alexis' Bridal Shower

Lexi's maid of honor, Erin contacted me to create a bridal shower invitation that meshed with Lexi's personality. We had already created a retro/rockabilly invitation for Lexi. So, we went with pin-up artwork by artist Gil Elvgren and modified it to work with the bridal shower brunch Erin was hosting. This included changing the background from green to purple, extending it to be landscape orientation and giving the pin-up girl a tattoo on her arm. 

The tattoo on the girl's has the same sparrow that I used on Lexi's wedding invitations

Alexis and Matt

I had a blast working with Lexi on the items for her and Matt's wedding. She wanted a mix of different theme elements to tie in with their wedding venue (an old Hollywood-style theater) and her own personal style. I really love how everything turned out.

We went old Hollywood for their vintage, postcard engagement party invitation:

For the save-the-date, we continued with a vintage feel and added some rockabilly style to compliment their engagement photos:

From there we kept the same fonts and graphic elements for their invitation, which was a ton of fun to work on!

For inserts we created a map and an insert directing guests to rsvp online.

The last little insert was to let guests know details about the reception. And yes, Lexi and Matt cut out each insert into the shame of a top hat!

We created signs for a few things at the wedding along with a border to go with photos printed from their photo booth and a large poster of the couple that mimicked a movie poster. Lexi gave the graphics from the invitation to her baker and elements were added to their wedding cake. Neato!

Image by 

This wedding was a ton of fun to work on and it looks like the big day was a blast. Congrats!

Custom Birthday T-shirts

Designing a custom t-shirt for your birthday party is simple; we work together to make a design that you're happy with and coordinates with whatever theme you have in mind. If we are also creating invitations and other printed items, then the graphics can match.

Recommendations:

First, choose t-shirts that are 100% cotton. It's recommended to prewash them to account for any shrinkage and then iron the shirt to create a smooth surface before you being adding the graphic. 

Iron-on fabric transfer paper is available at most office supply and craft stores. Choose the paper that is appropriate for the shirt you're using. It's available for both light and dark shirts. The dark shirt paper can work on light shirts, but the light shirt paper will not work on dark t-shirts.

To adhere the graphic to a t-shirt, print the design onto iron-on paper. Please note whether the directions specify that you print a mirror image of the graphic. Typically paper designed for light fabrics requires a mirror image print. 

Carefully cut out the design and then iron it onto the shirt following the directions that came with the paper. 

If you would like to have your t-shirt graphic professionally printed onto a t-shirt please don't hesitate to ask me for a quote. I have worked with a couple of small shops that can do professionally screened t-shirts with custom graphics.