birthdays

Cameron's 1st Birthday

Cameron's parents have called him Cam-Man since he was born, so his mom Lindsey wanted to do a PacMan theme. Perfect!!  We had a ton of fun with the invitation:

No worries, I changed their address and phone number. 

No worries, I changed their address and phone number. 

A pennant banner was next:

I created a t-shirt graphic that Lindsey ironed on to Cam's t-shirt using DIY transfer paper.

A high chair banner adorned his seat, complete with ghosts.

Tyler & Cameron's Birthday

While they are still young, Lindsey wanted to take advantage of the opportunity to have a joint birthday party for her two boys. She chose a pirate theme and we had fun coming up with a few items for the big day.

I had some fun with the wording!

Lastly, I created t-shirt graphics for Tyler and Cameron. 

It's not easy to read, but they say "Aarrg matey, I'm Captain Cam" and "Captain Ty" and their age is printed on the skull's eye patch. I love how they turned out!!

Happy birthday Cam and Ty!

Nathan's 4th Birthday

For his 4th birthday, Nathan wanted to go with a fun robots theme. His mommy, Cari also asked me to make sure we incorporate a lot of orange, Nathan's favorite color. 

Cari is a photographer and was gracious enough to take some great photos from his party. I love how everything turned out!

Food signs... loose screws, spare parts, mega bytes... there was also robot fuel, nuts & bolts, and fuel cells.

Cari wrapped juice boxes in aluminum foil and adhered the robot parts that I designed to each box, turning them into miniature robots.

Nathan's birthday t-shirt!

Favor tags. I love the striped bags!

Pennant banner.

Lastly, we created this fun sign for the front door. In case you didn't know what the password was...

Happiest of birthdays Nathan!!

Ken & Carolyn's Anniversary & Reunion

My grandparents were celebrating their 90th birthdays and their 67th wedding anniversary. Our entire family made the trek to Kansas City to celebrate with them. Because it was the biggest event we were celebrating since their 50th anniversary, my aunts asked me to create an invitation to commemorate the occasion. It also served as a way to let guests know what get-togethers were happening throughout the course of the weekend.

I used Cobalt pocketfolds from Cards and Pockets and learned that six is the maximum amount of inserts that will fit into the pocket when they are printed on card stock.

I created wraparound address labels for matching envelopes and each pocketfold was held closed with a circle of the patterned paper.

Clara's 3rd Birthday

For her 3rd birthday, Clara wanted a dinosaur theme and her mommy, Kelly made it happen! Kelly had already purchased a birthday t-shirt for Clara that had orange gingham on it, so we continued that pattern on a few items. 

In addition to the invitation, we also did a pennant banner.

The food signs (below) and the favor tags (above) were the same tags, I just sent a writable file to Kelly so she could type whatever she wanted into the space and then print them. Mmmm, I want a Nutella lava cake! 

Lastly we did a single circle with the number three done in the same gingham pattern from the other items. 

Happy happy birthday Clara!

Custom Birthday T-shirts

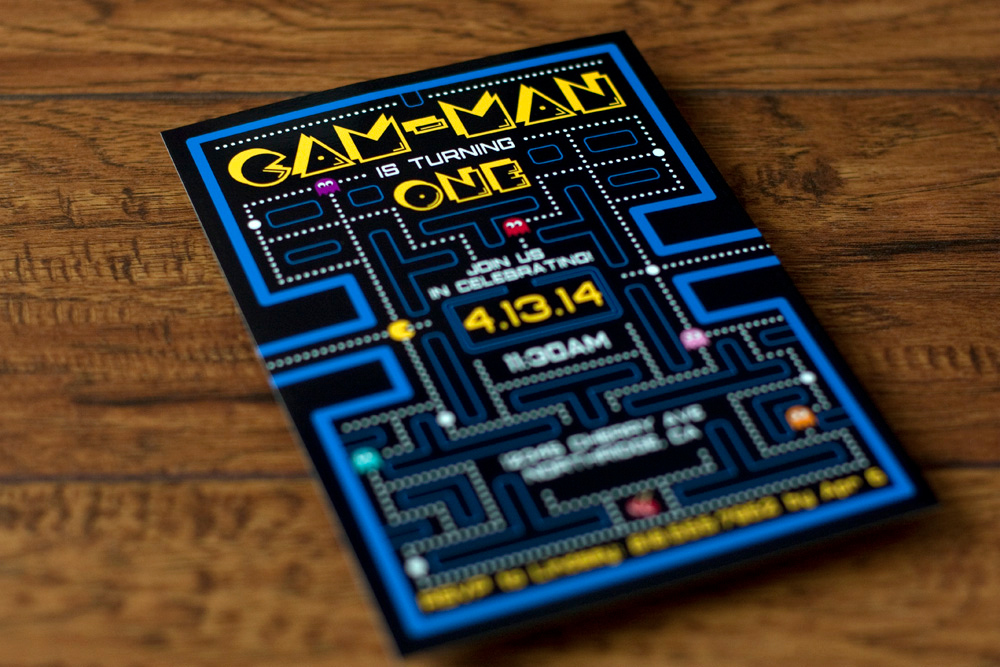
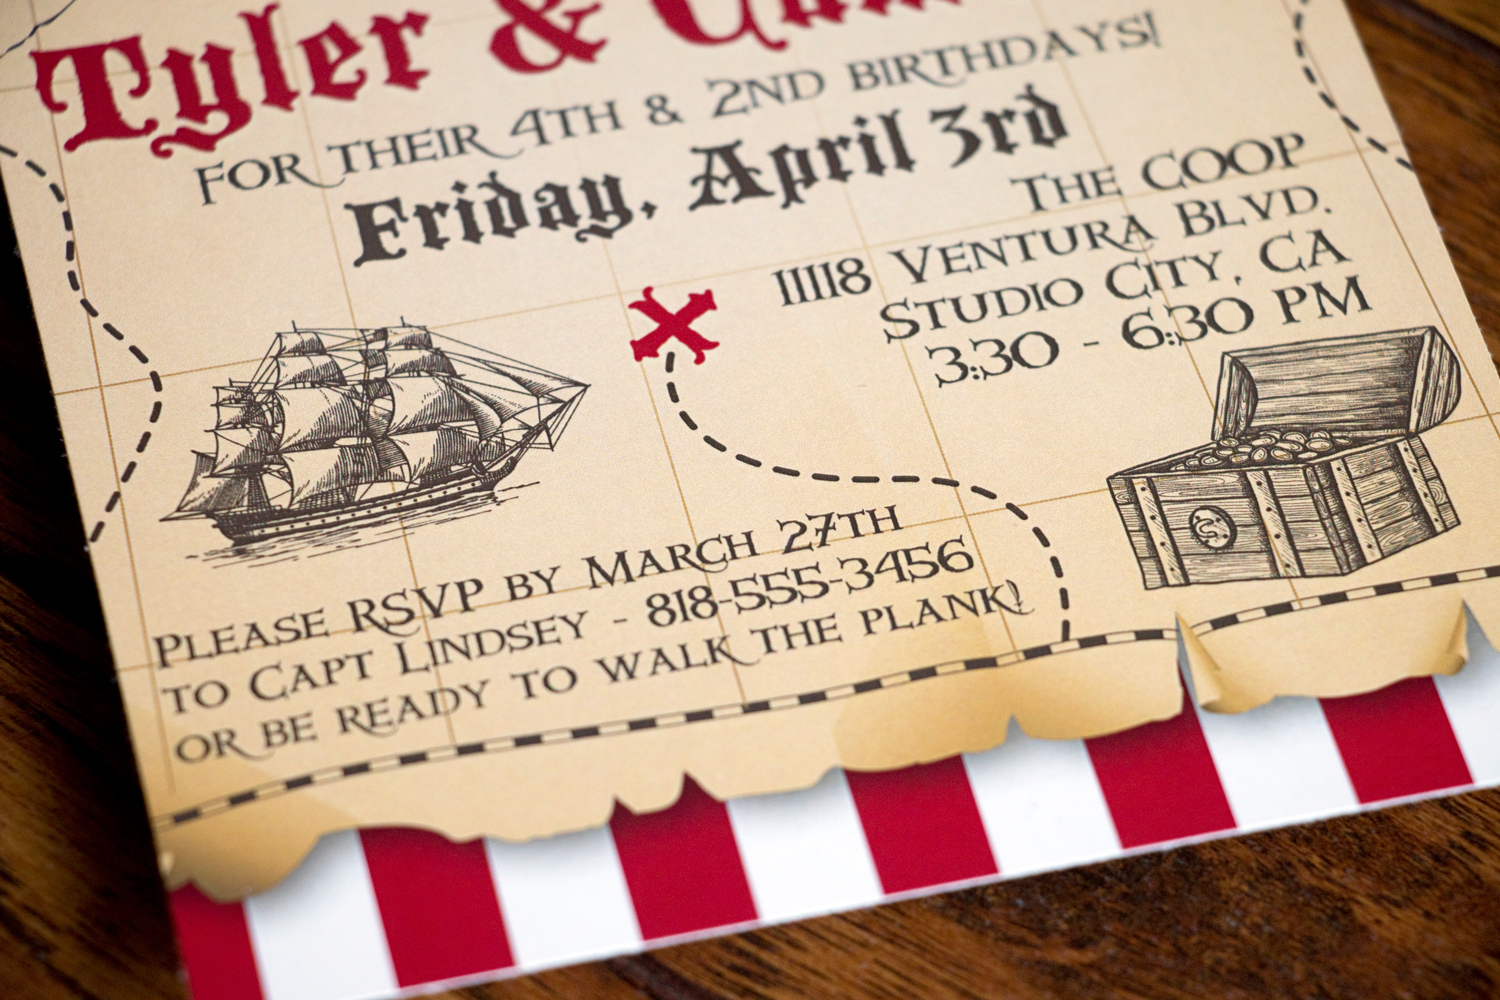
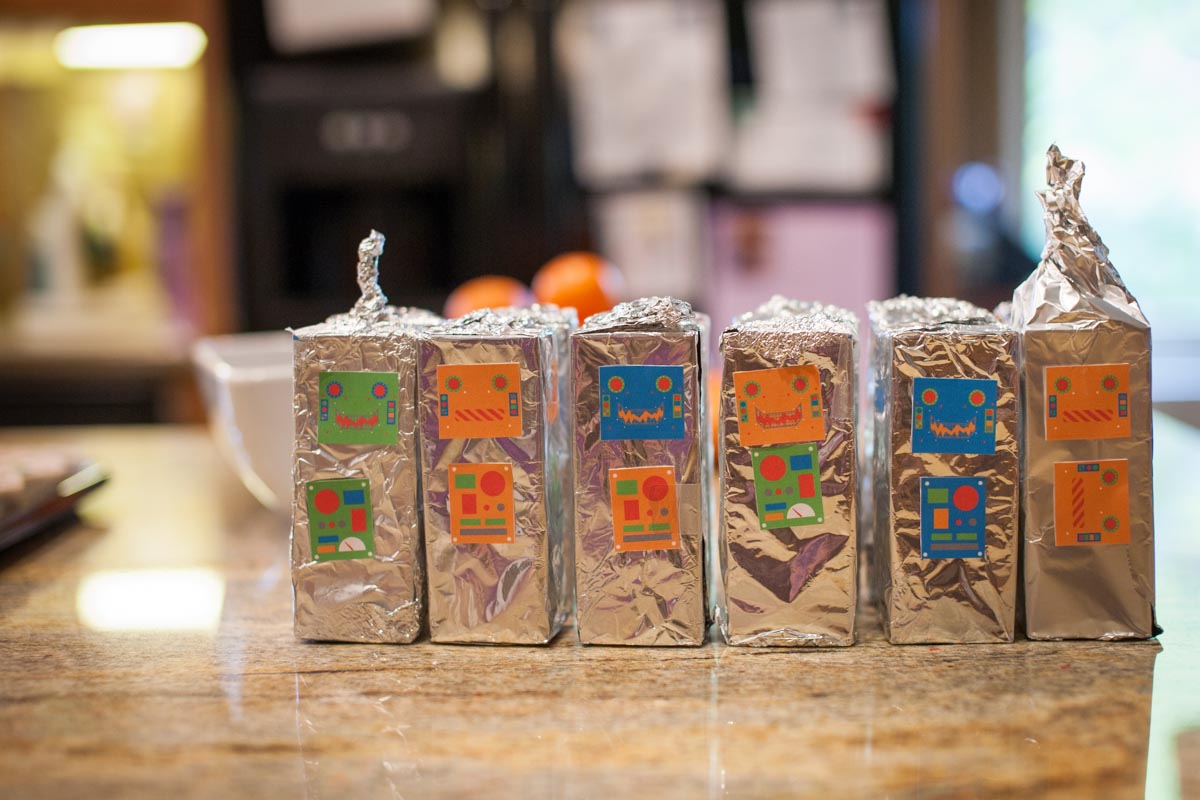
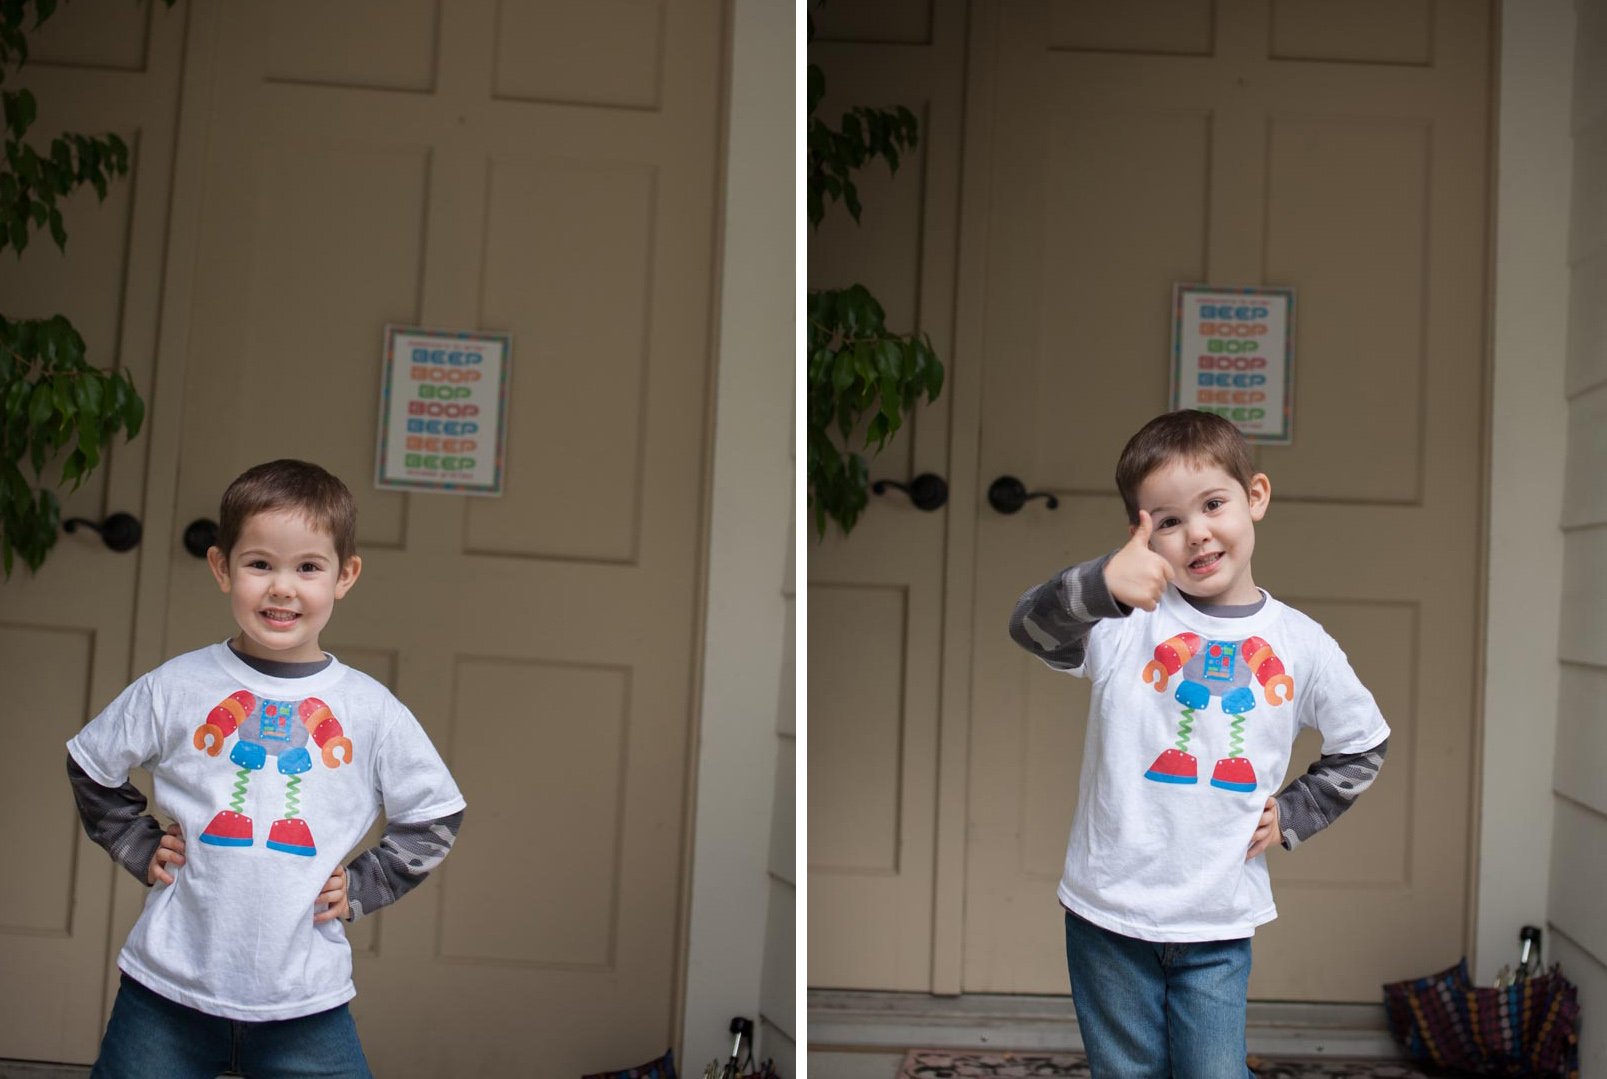
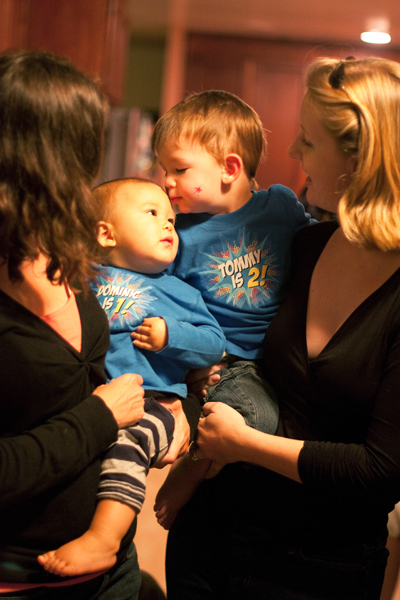
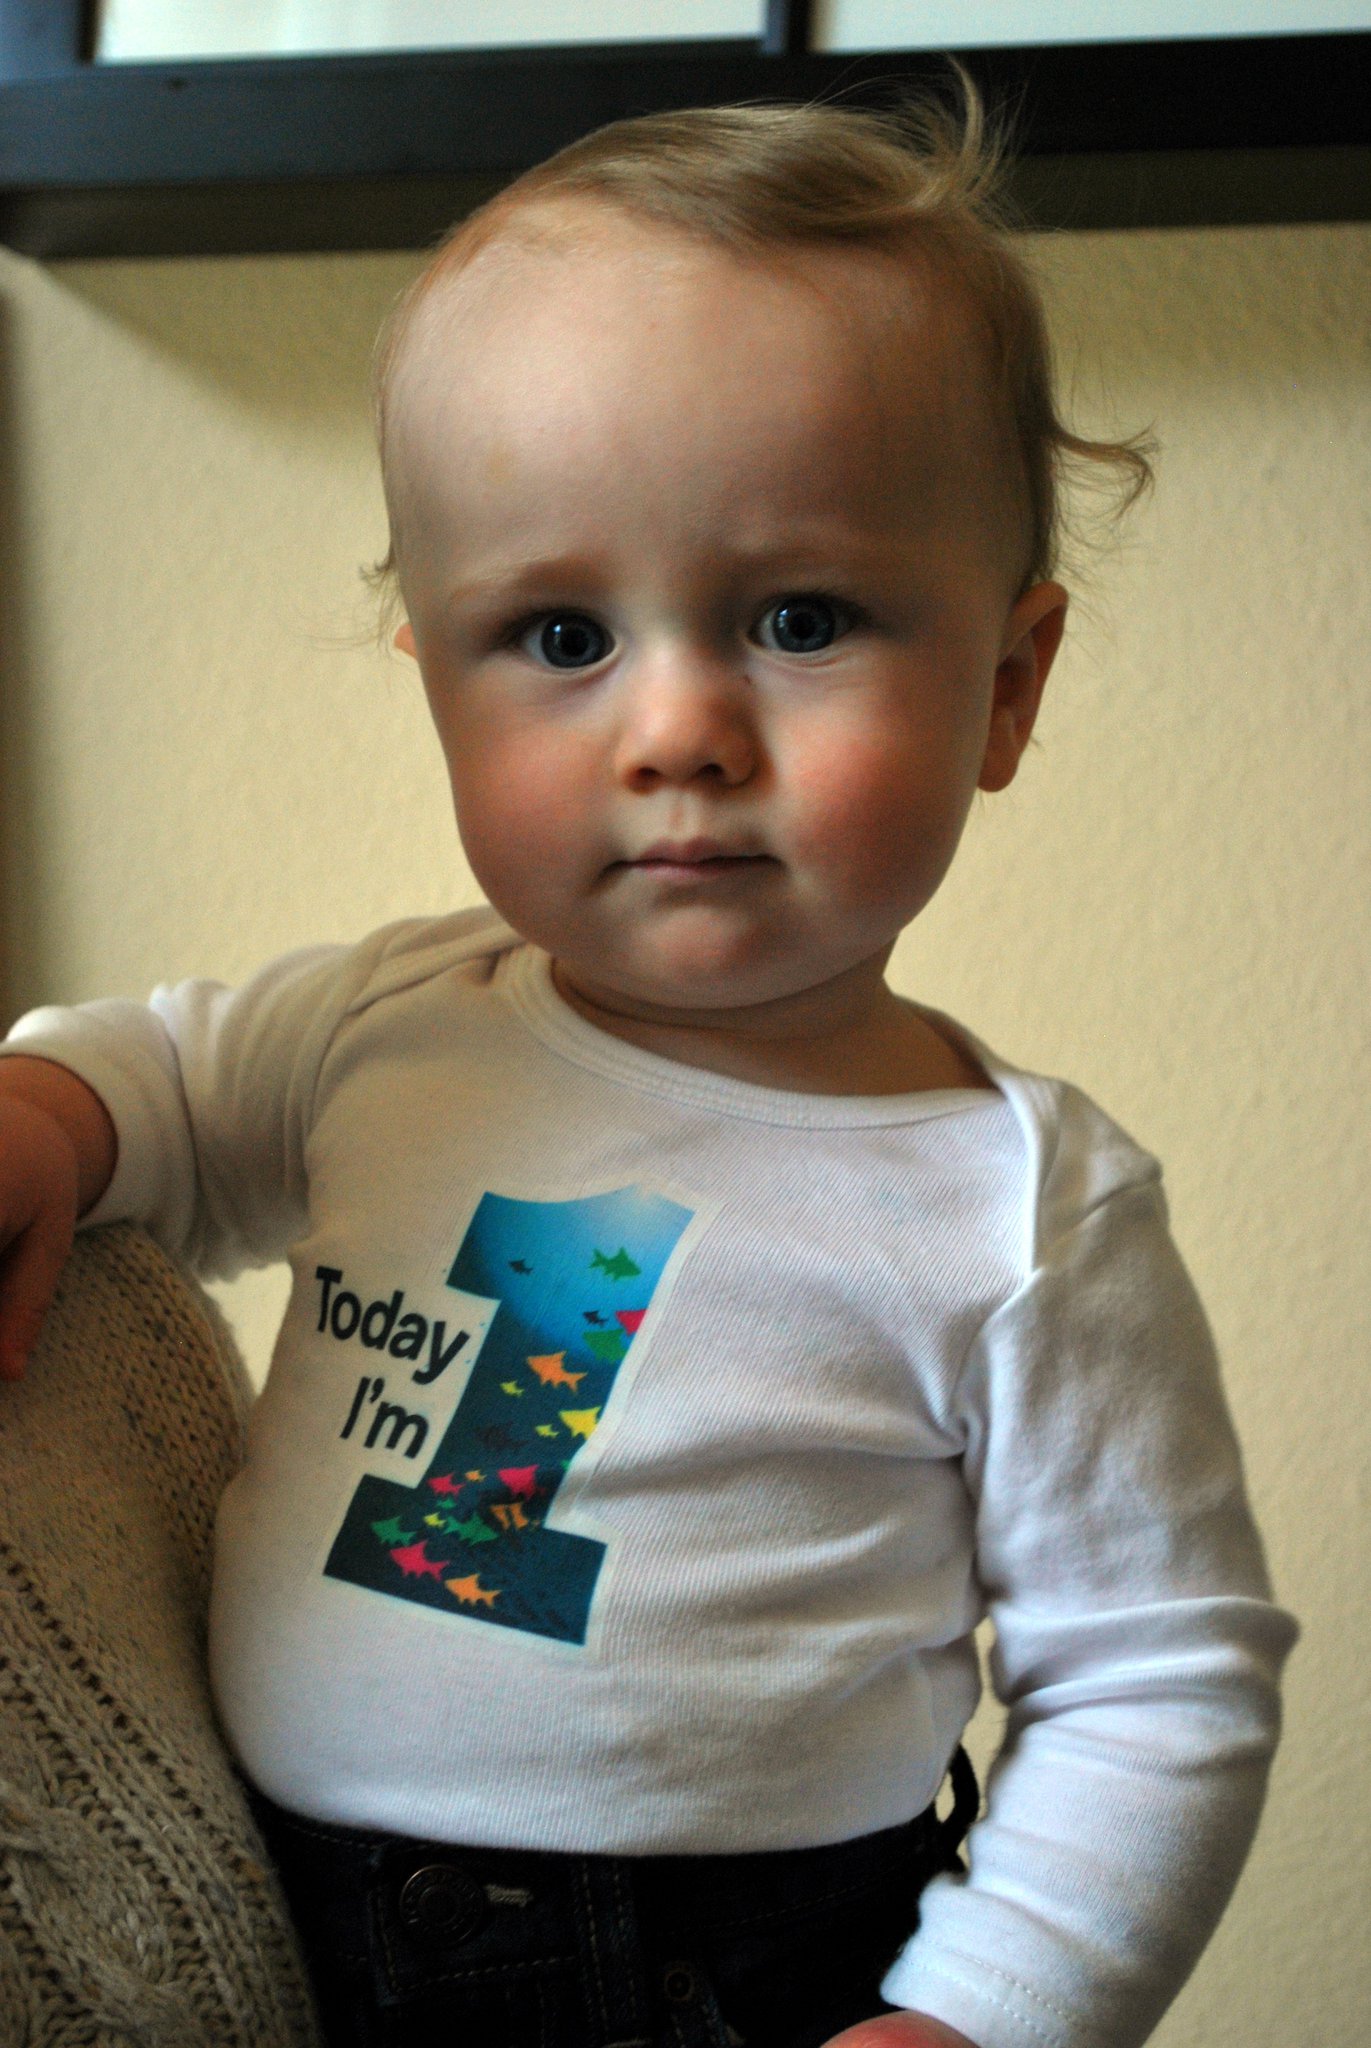
Designing a custom t-shirt for your birthday party is simple; we work together to make a design that you're happy with and coordinates with whatever theme you have in mind. If we are also creating invitations and other printed items, then the graphics can match.

Recommendations:

First, choose t-shirts that are 100% cotton. It's recommended to prewash them to account for any shrinkage and then iron the shirt to create a smooth surface before you being adding the graphic. 

Iron-on fabric transfer paper is available at most office supply and craft stores. Choose the paper that is appropriate for the shirt you're using. It's available for both light and dark shirts. The dark shirt paper can work on light shirts, but the light shirt paper will not work on dark t-shirts.

To adhere the graphic to a t-shirt, print the design onto iron-on paper. Please note whether the directions specify that you print a mirror image of the graphic. Typically paper designed for light fabrics requires a mirror image print. 

Carefully cut out the design and then iron it onto the shirt following the directions that came with the paper. 

If you would like to have your t-shirt graphic professionally printed onto a t-shirt please don't hesitate to ask me for a quote. I have worked with a couple of small shops that can do professionally screened t-shirts with custom graphics.

Addyson's First Birthday

Addyson's grandma, Betty contacted me to create a birthday invitation for her first birthday. Betty loved the Alice in Winter Wonderland invitation I created for Georgia a while back. So we took the same stacked teacups graphic and changed them to match the style that Addyson's mom and grandma were planning for her birthday... specifically these paper plates and balloons they had found on a party supply website: 

From there I used similar patterns and the same color scheme to create Addyson's birthday invitations:

After the invitation was completed we got to work on a few fun items to make Addyson's party even more festive. 

We created cupcake toppers, food labels, a pennant banner and fun clock designs that they cut out and hung from the ceiling.

We also made a fun high chair banner for Addyson.

This was such a fun party to work on. Happiest of birthdays Addyson!

Top Son 1st Birthday

When my oldest was turning one, my husband and I were kind of stumped for ideas on a theme for his birthday party. While we know that he would likely never remember his first birthday, the party was more for us to celebrate with friends and family. And dangit, we wanted to have some fun! A Top Gun theme was chosen after remembering that we spoofed a Top Gun movie poster with his birth announcement and we took off from there. 

After his party, I created more items to go with this fun and somewhat unique theme and it's been a blast adding more items over the years. 

Right now, you can purchase the files for this birthday party to work with a 1st, 2nd or 3rd birthday party. If you'd like the files for a different age, just shoot me a message and I can get the files to you. Here are links to the three listings:

1st Birthday
2nd Birthday
3rd Birthday

Here's what's currently included in the Etsy listings:

The invitation is 5x7 and you can customize the text below the header with the details for your party. The file is set up with two invitations on an 8.5x11 page.

With these address labels, the return address wraps around to the back of the envelope. These look great on red or blue envelopes! Print them on full-sheet sticker paper, available at craft and office supply stores, and Amazon. 

Simple favor tags. For an additional fee, I can customize these to say anything you'd like.

Circle cupcake toppers! You add the name of the birthday boy or girl.

Customizable napkin rings. You can type anything you'd like into the three lines of text. A simple happy birthday greeting or turn them into place cards with each guest's name, and maybe their call sign too!

Water bottle labels! Print these on waterproof labels or sticker paper.

Simply print these, cut them out and attach wooden skewers to one side and you have an instant photo prop with some very cool aviator sunglasses.

Each flag on this pennant banner is on one 8.5x11 page, complete with jets and aviator sunglasses that you can put in between the words Happy Birthday or on either side. 

A simple "I'm One" graphic that you can print onto a t-shirt or onesie for the birthday boy or girl. Use iron-on transfer paper to DIY the t-shirt or purchase a shirt professionally screen printed thru my little shop on CafePress

Lastly, a simple, blank thank you card. Available in A6 or A7 sizes.